Hey Everybody!! How's spring treating you? (Or Fall I suppose depending on your hemisphere). Or I've heard some of you out east are still suffering with winter. Blah!! Come on Mother Nature!! It's starting to warm up in Cowtown (Calgary), but right now we are at the cabin at White Lake (near Salmon Arm in British Columbia) and it's super springy here. There is still a bit of a chill in the air, but it's sunny, and as long as you stay in the sunshine, it's feels warm. Anyway, I've been going jeans crazy! I want to make all the jeans! I finished these bad boys about a week or so ag0, and I am now working on another slightly modified pair using my kit denim. Yep! I finally worked up the courage to cut into the beautiful Cone Mills denim I purchased from Closet Case Files months ago. I am really excited to see how it wears, but so far it feels wonderful. But enough about that, let's get to the pair at hand: the High-Waisted Gingers.
 I have wanted to try out Version B of this pattern for quite some time now. There have been all kinds of amazing looking high-waisted Gingers out there, and every time a new pair popped into my blog feed, I thought "I gotta try those". So I finally put the pdf together (which went swimmingly, by the way), traced it off, cut it out and got to work.
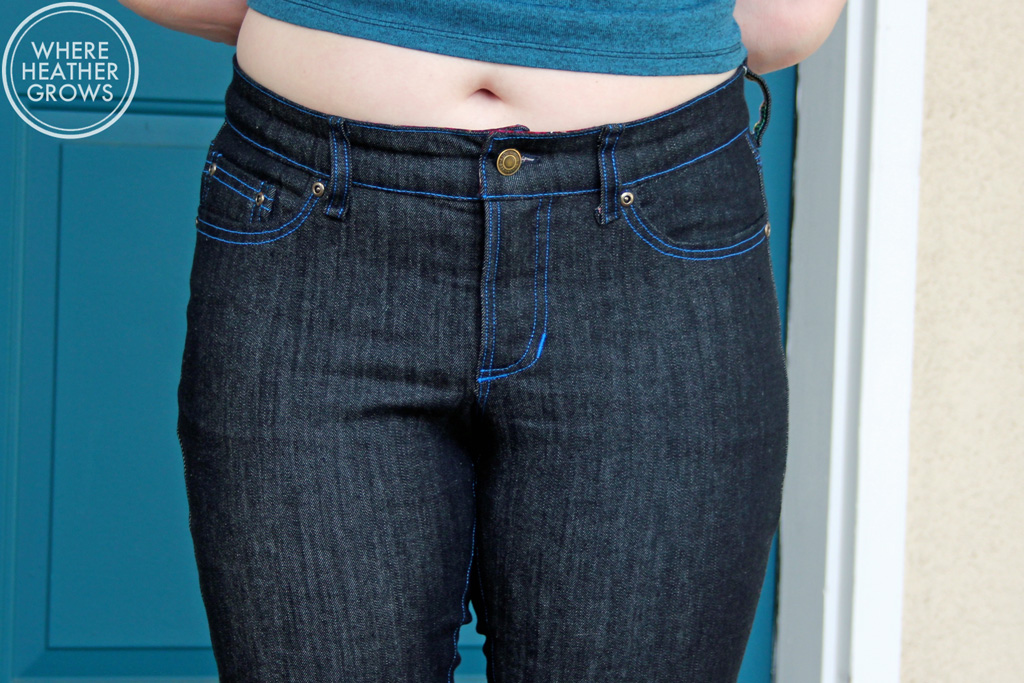
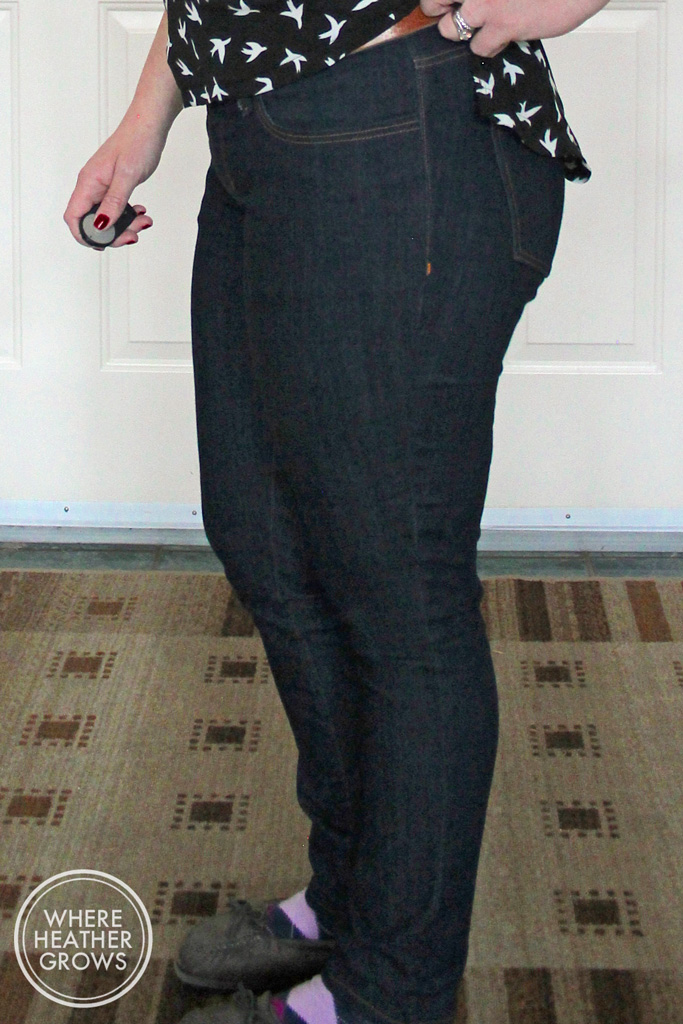
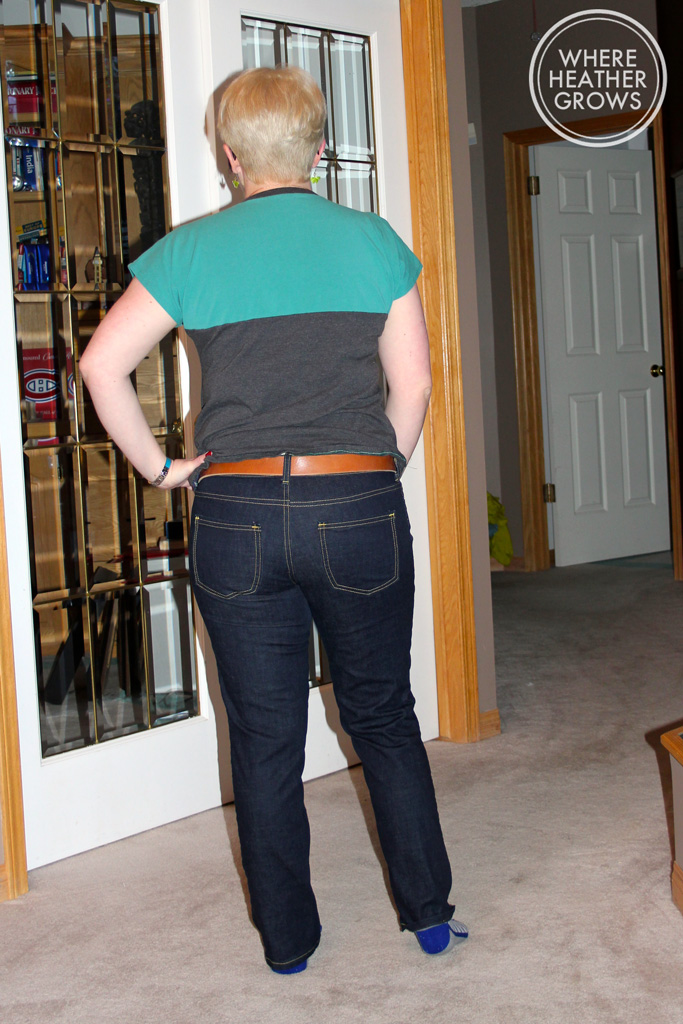
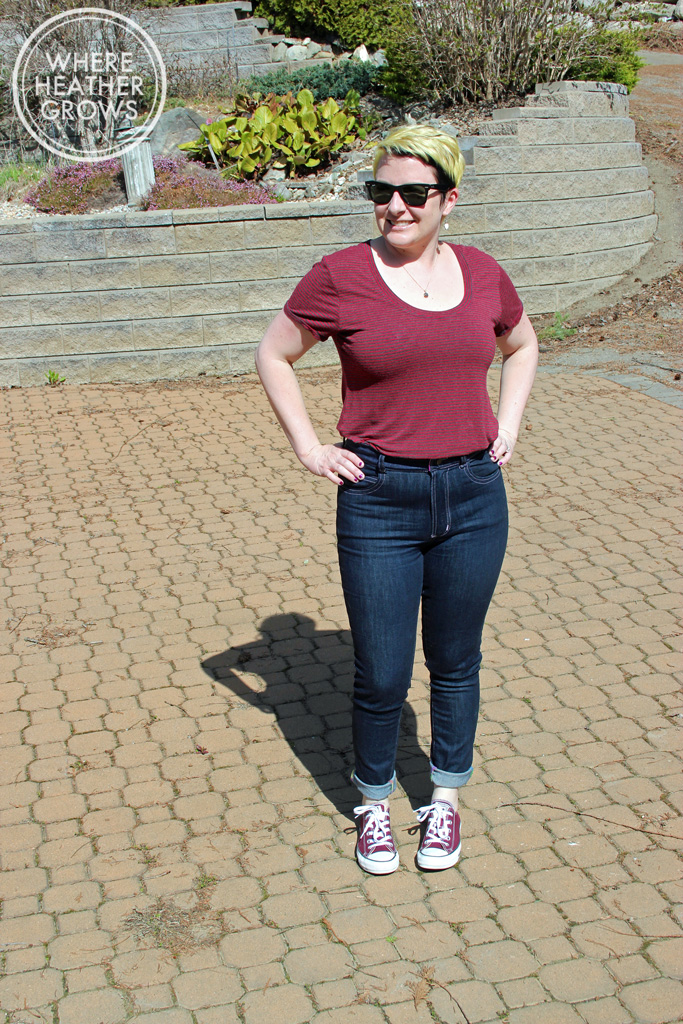 Full disclosure: I would never tuck my shirt in like this, but I wanted you to be able to see just how high-waisted these bad boys are, and how they look on a round, smooshy, vertically challenged figure such as mine. I made a size 10, and didn't change anything except to shorten the legs (at the lengthen/shorten line) by 2 inches.
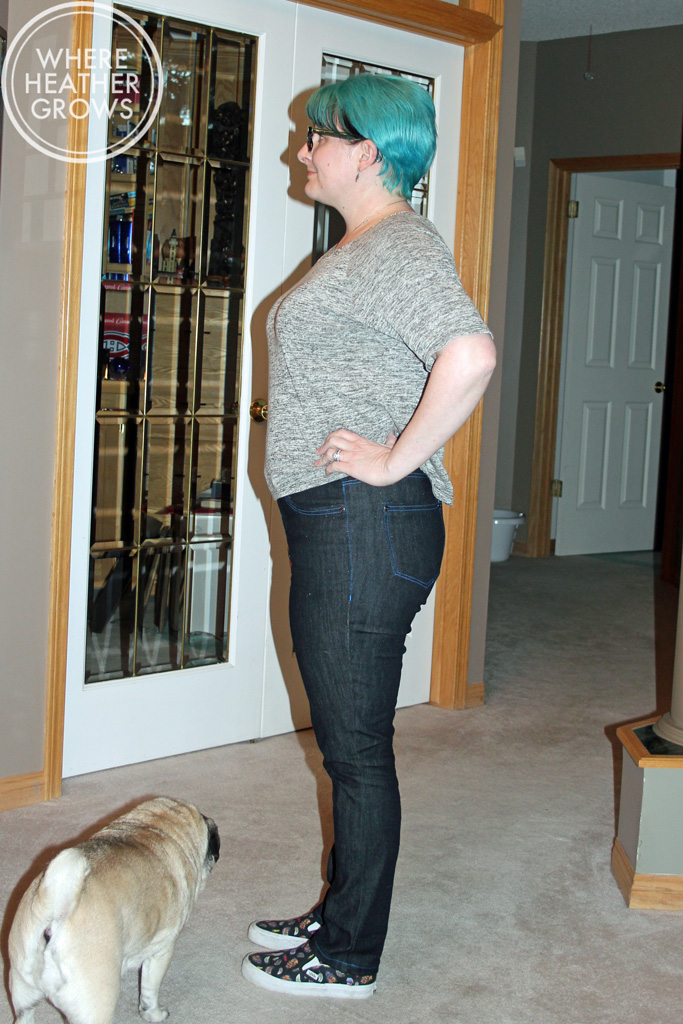
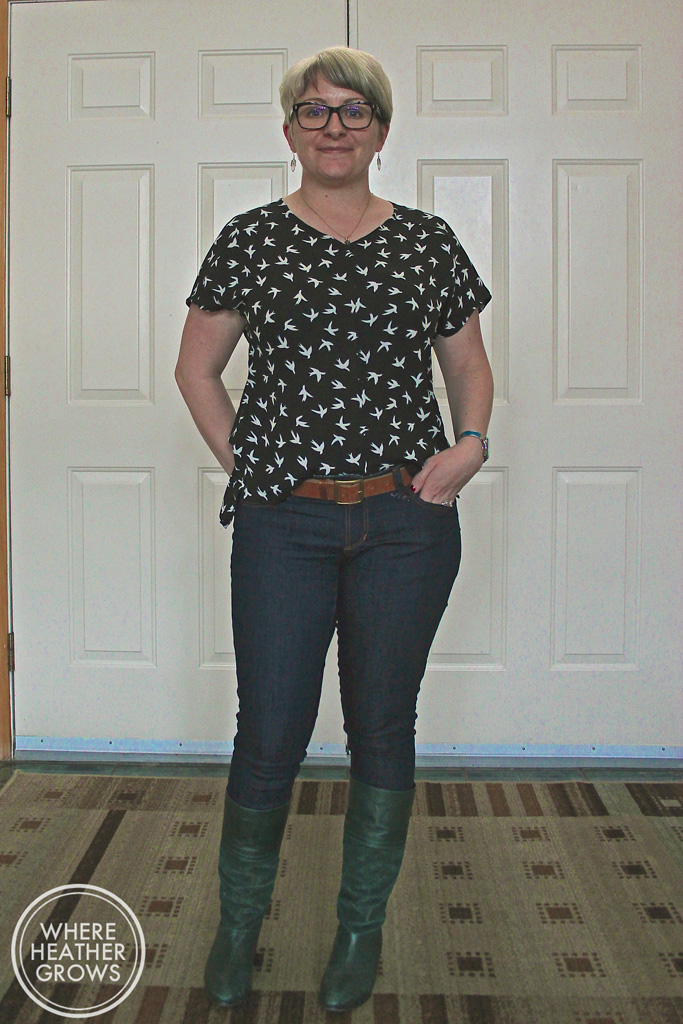
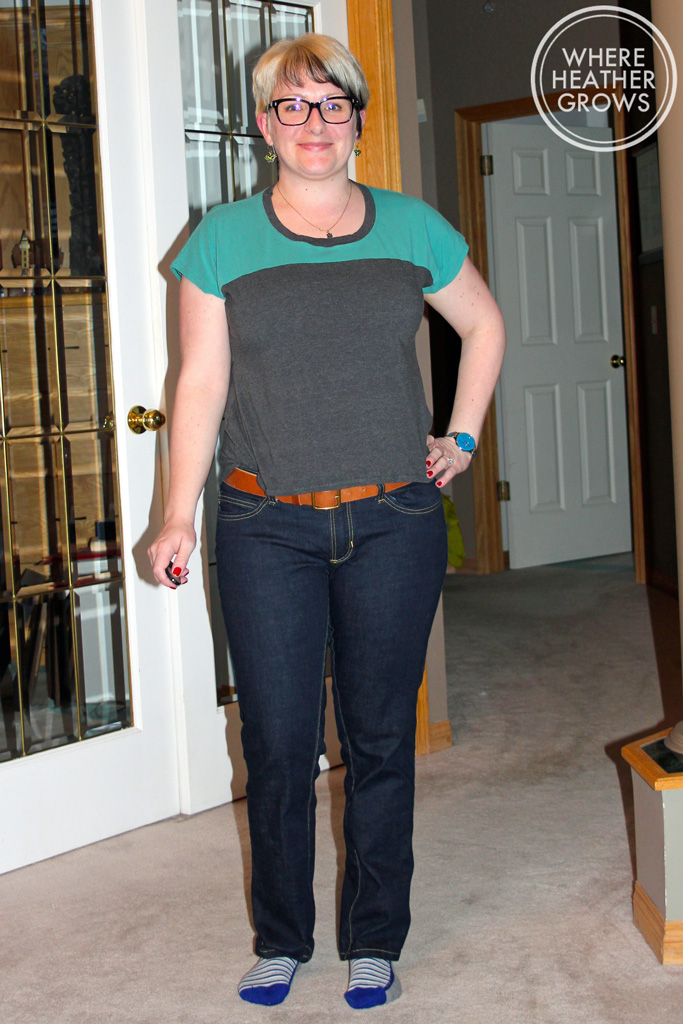
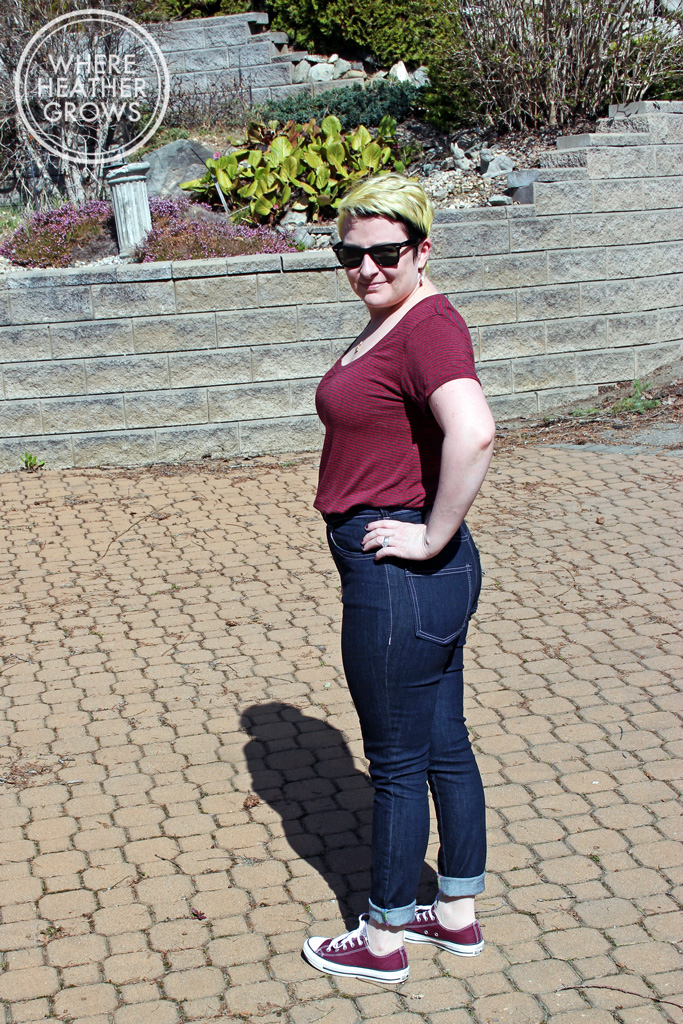 Unfortunately, when you can see the whole jean, I don't think it is the most flattering garment for me. I think rather than suck things in, they just squish things around. That being said, I think they look great with my t-shirt untucked. I also think if I would have went with pocket stays, that may have helped quite a bit too. From now on, I will always make pocket stays!
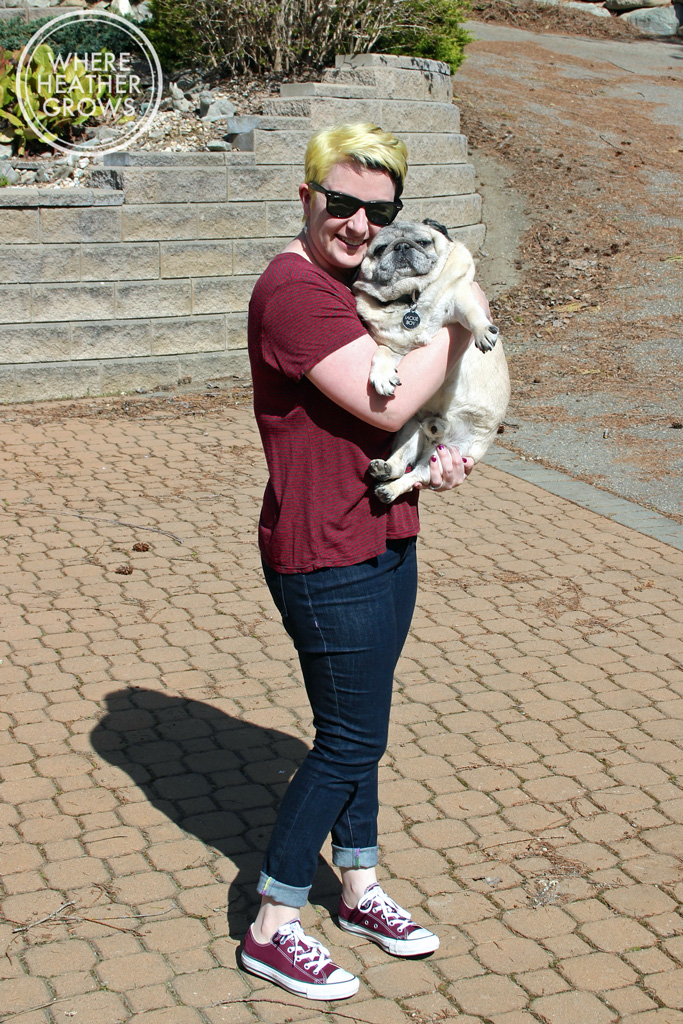
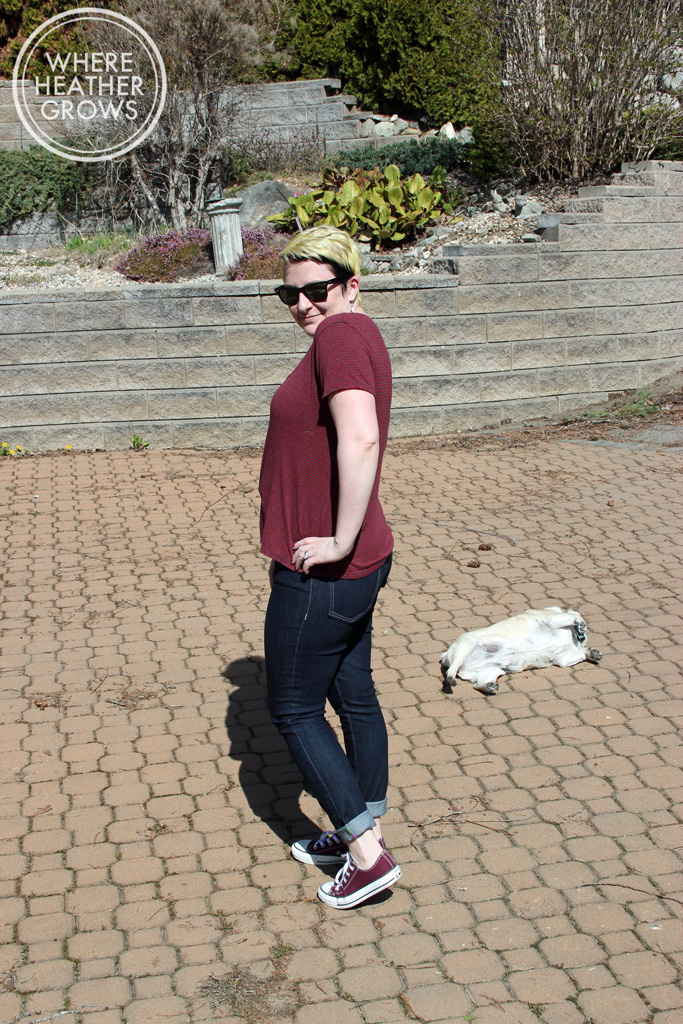 I do totally dig the vintage/retro feel of the high-waisted jeans, especially with cuffs and paired with my chucks. (Shanny is going for the money shot in this pictureˆ - she's such a ham.)
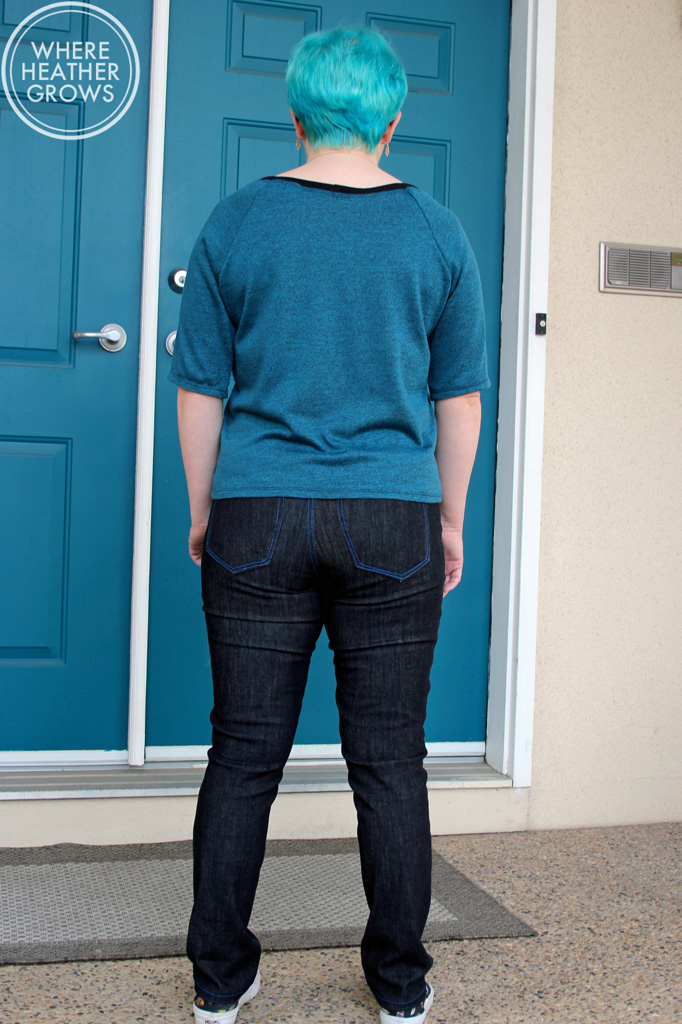
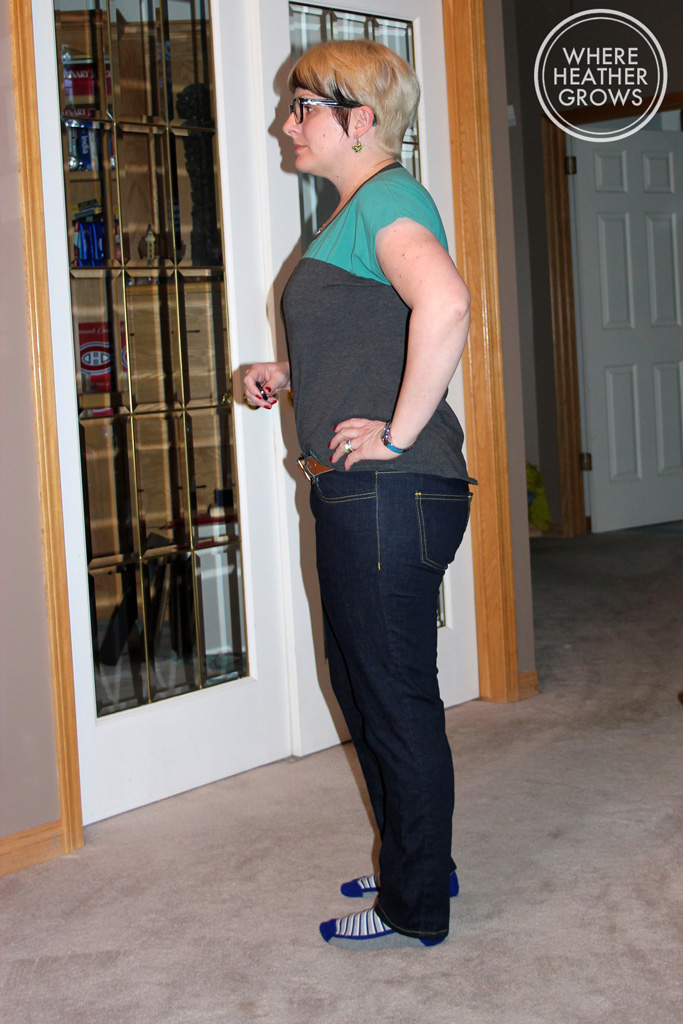
 Here's the back, again I think they look great with my t-shirt down, but not so much with my t-shirt tucked in. The yoke is much to long for me, and the pockets need to be moved up a tiny bit.
 I think with some minor tweaking, this version will look really great. I'm just a bit too petite/short-waisted for it as is. My plan for the next pair is to shorten the rise a little (about an inch), and for the back I will take that same length out of the back leg and the yoke (so 1/2" each).
The fabric I used for this pair is some of that designer denim that Girl Charlee has been selling. It's my second pair using their denim, and I am happy to report that it's really nice. The recovery is great, and it seems to stand up well to multiple washes. I don't think they have this exact fabric in stock anymore, but they do have some other ones that look promising.
 Something I did differently with this pair is that I used a different topstitching thread. Instead of going with my usual Gutterman topstitching thread, I used some heavy weight, lavender Sulky thread (specifically it's called Premium Sulky Heavy 12 Wt. Mercerized Cotton - it comes in tons of colours which is awesome). It worked great! I had way less issues with my machine being finicky and getting thread caught in the bobbin area, and it was so much easier to make bartacs with. I also used a topstitching needle, instead of a denim needle and I think that really helped too.
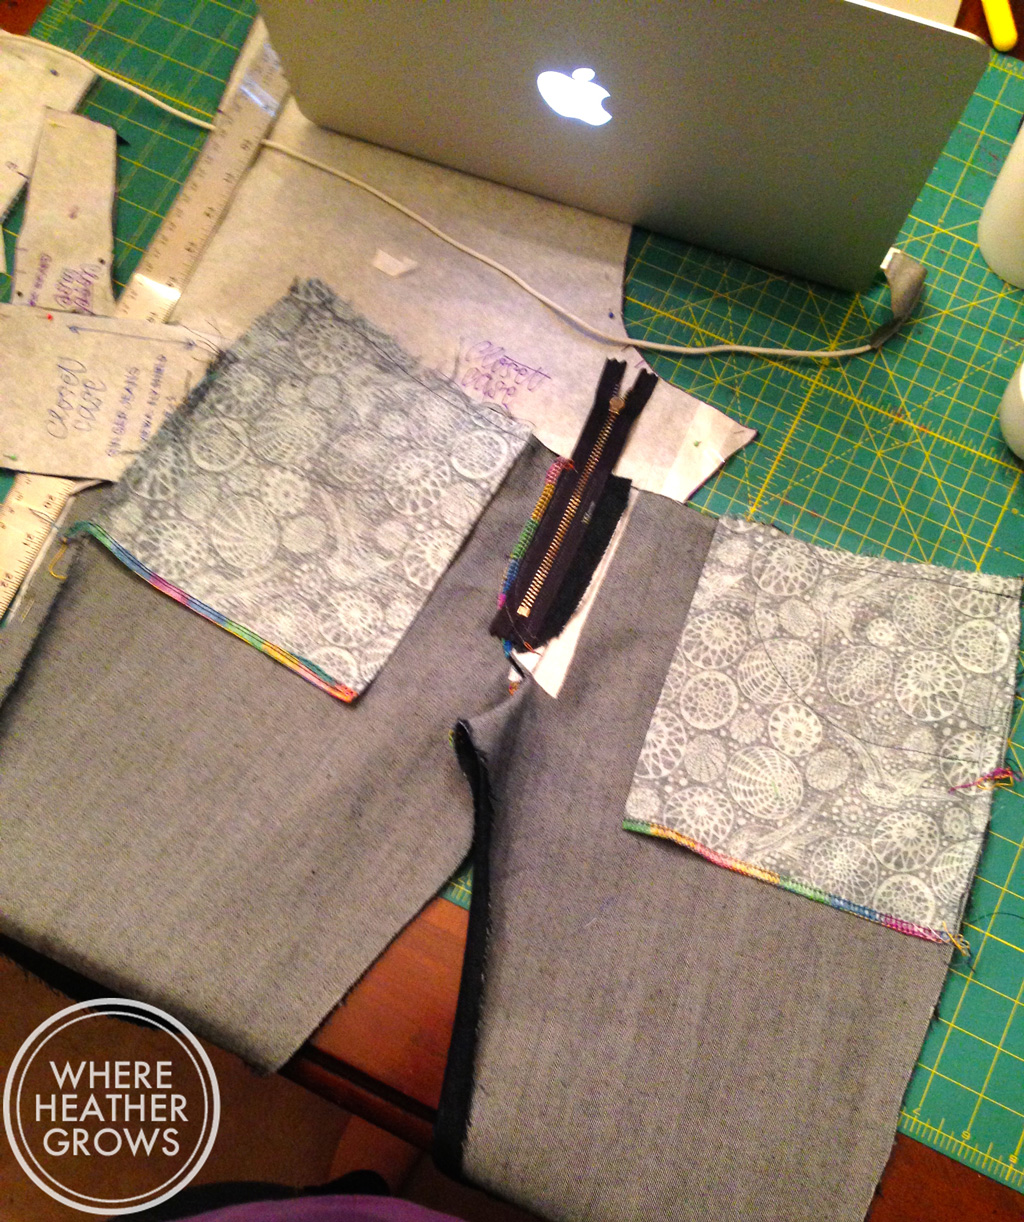
 So I could easily end this post here, and you could go off thinking that everything is hunky dory over here in the Where Heather Grows sewing land, but that would not be true. After I wore these jeans for a couple days, I decided that the waistband was just not comfortable. It felt great when I was standing, but when I sat for more than about 10 minutes they felt really uncomfortable. The waistband was digging into my belly, and I just didn't like it! I had used denim for both my waistband and the facing (which I didn't do on my previous pairs - I used quilting cotton for the facing), ao I decided that this was the problem. The denim was making the waistband too stiff. I debated just leaving it, but then I thought, "No way, then they'll just sit in my cupboard and I won't wear them". And otherwise these are a perfectly wearable pair of jeans, and the curiosity cat part of me really wanted to know if changing the waistband would help. So off I went, I cut myself a new waistband (I'm short so I had extra denim leftover) and a new facing out of some quilting cotton. Then I patiently and carefully unpicked the waistband. Everything was going great until I pulled up the zipper, and completely pulled the zipper pull right off!!
 I was so choked! Anyway, still not wanting a pair of jeans I worked so hard on to go to waste, I proceeded to repair the zipper. I did a google search, but I couldn't find a way that I would be confident with, to put the zipper pull back on. So I unpicked the whole fly, and inserted a new zipper. It was not easy, and I ended up having to redo the topstitching around the fly (four times!!), but I got it done. Then I installed the new waistband, and I am happy to report, they are much comfier!! Yay!!
Unfortunately, I have started work on another pair of Gingers (yes, those kit denim ones I mentioned above) and I am having all kinds of problems with them too. I'm not sure what went wrong, but I was thinking that everything was going great, my topstitching was looking awesome (probably the best I've ever done) and then I got to the place where I could try them on. The topstitching proceeded to come loose in a couple different places (what's up with that?) and for some reason, the fit in the front is all screwed up (I'll spare you a photo but lets just say there is a toe of the camel variety and it is very unwelcome!). I do not know what I have done. I didn't change anything with the crotch curve, and I don't know what is going on with the topstitching. The only thing I can think of is that the topstitching thread that came with my kit is either a) too heavyweight for my machine or b) faulty. And I must have screwed up a seam allowance or something for the fit. Anyway, last night was a dark night full of feeling sorry for myself, ice cream, and wanting to cry over my horrible sewing skills, but after some great pep talks from my Instagram buddies (thank you all so very much!), and a good night's sleep, I am feeling much better. I'm going to try and salvage this project, but in the end if I can't, then I'll just throw it in the bin and move on. I mean, it's only fabric (and yes it's really gorgeous Cone Mills denim fabric) but no one's going to die if they end up in the trash. I mean it's not open heart surgery or something like that. And we all know I have lots more jeans, so I don't have to go naked. Anyway, I think it's really good to share my fails, and my faults too, so there you have it!
Sending you all lots of good sewing vibes and hoping you aren't having any disasters like me (but if you are, trust me it will get better!).