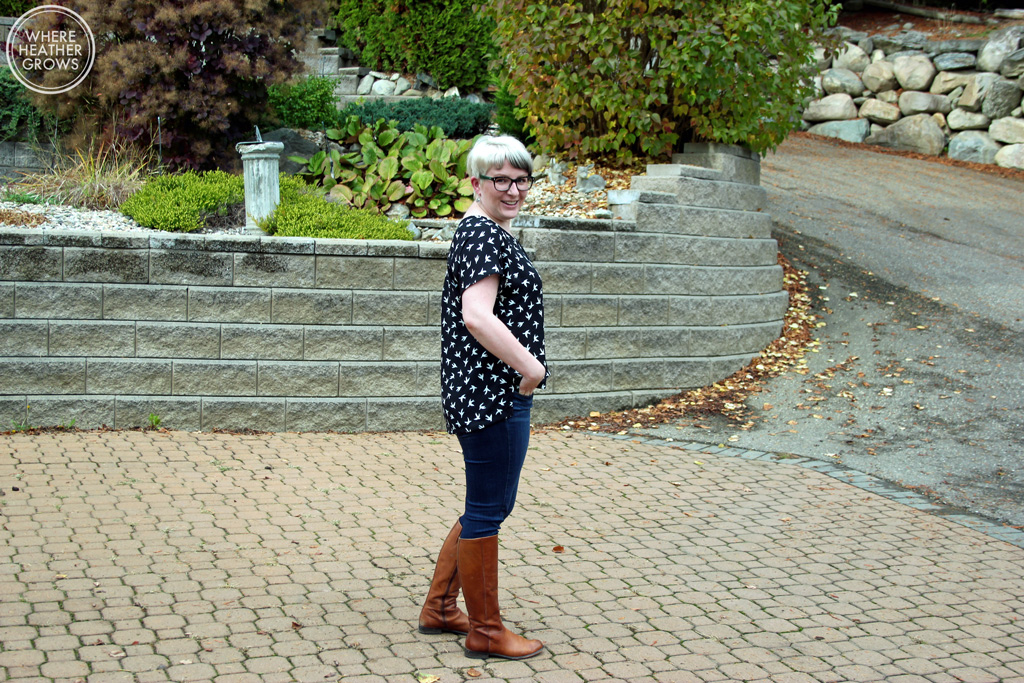
The Southport Dress Take 2

Hiya friends! How are you doing? Hopefully the summer is treating you well so far. We are back at the cabin escaping the craziness that is Calgary right now. It's Stampede time, and the city always becomes filled to the brim with tourists, traffic, and crazy cowboys. The Greatest Show on Earth is a lot of fun if you've never been before, but if you've been a bunch of times, and you're not a fan of crowds and weird deep-fried food, it gets old pretty fast. Plus I am really not sure how I feel about the rodeo anymore. It just seems so detrimental to the poor little animals. But anyway, I don't want to get too controversial over here on the old sewing blog, so let's get back to the good stuff. I have wanted to sew up another Southport Dress for quite sometime, but haven't managed to get to it. Until now that is. And of course because I am being a crazy fit fanatic as of late, I wanted to make some changes to see if I could get my second version to fit a little better than my first version.

IMG_7081
IMG_7081

For my first Southport, I made a straight size 10. It fit pretty well, but I found that it was slightly big in the shoulders and a bit loose all over the bodice. I know that this dress is meant to have a relaxed fit, but when I wore the size 10 it would slip off my shoulders with movement, and I found that it was a bit gape-y in the front (the neckline was a bit low for me), especially if I bend down. I also thought the skirt was a little snug around the hips. So for this version I wanted to try and fix those issues.

IMG_7082
IMG_7082

I started with a size 6 bodice based on my upper bust size, but in hindsight, I should have chose the 8. I got everything to fit pretty well, but it's just a teensy bit too tight around the back/bust area. Anyway, I started with a size 6 bodice and adjusted the back pattern pieces first. I did a 1/4" forward shoulder adjustment - this involves shaving 1/4" off the front pattern piece, and adding 1/4" to the back pattern piece. Then I did a 1/4" high round back adjustment, and I wonder if maybe I need a 1/2" for this pattern, so I might try that next time too. Then it was on to the front pattern piece.

IMG_7083
IMG_7083

For the front, I did a 1 1/4" FBA. It's interesting how now that I have done a couple of FBAs, it seems like such a natural adjustment for me. I don't know why I've been so scared of it. Of course I haven't attempted an FBA on princess seams yet, so my confidence might recede.

IMG_7085
IMG_7085

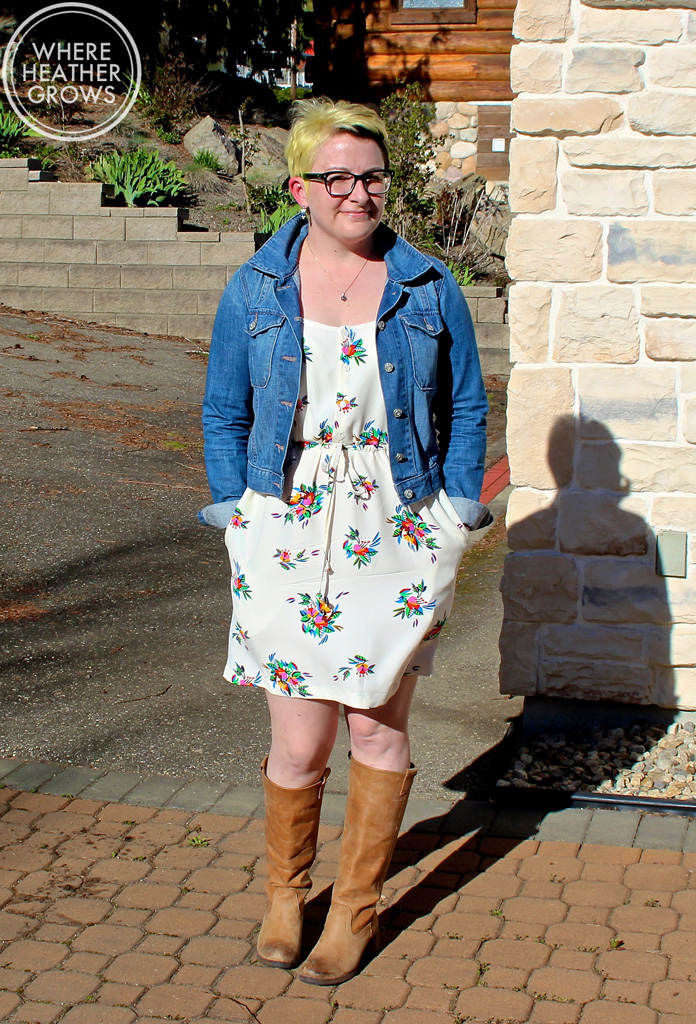
For the skirt, I used a size 12 and it feels better than the size 10. I have a bit more room to move around and play with the pugs. I measured the pattern pieces to make sure that the skirt would fit the bodice and with my alterations they seemed to match up just fine. I finished the armholes and neckline with pre-made single fold bias tape. I love bias tape as it makes for a clean finish and I think it looks really profesh too. I also ended up sewing the button placket closed. I was being a bit lazy, but I also knew that I would be able to slip this dress over my head and that I wouldn't need the buttons. They are a bit hard to see because of the busy floral print, but the buttons are white and came out of one of those bargain button bags. John spotted them at Fabricville in Montreal and bought me two - one with coloured buttons, and one with black and white buttons. It takes a bit of searching to find ones that match, but it's nice to have a button stash.

IMG_7087
IMG_7087

Oh I almost forgot to tell you about the fabric. I have no idea what it's made of, I suspect come kind of polyester/rayon/viscose, but I can't be sure (are there any tricks for that?). I picked it up at Walthamstow Market in London. It feels nice to wear; cool and drapey, and I love the purple flowers.

I suspect I will be making a few more of these dresses before the summer is through. They are just so easy to throw on, and I love the drawstring waist; so comfortable (and easy to adjust after a big meal LOL). Plus pockets! I never really put anything in dress pockets, but I like to have them so I have somewhere to put my hands.

Anyway, that's all for now. Have you tried the Southport Dress pattern? Do you have any go to comfy sundress patterns? I'm always looking for good ones so let me know.

The Southport Dress by True Bias

Hello everyone, and happy Friday! It's bright and sunny here today in #yyc but still quite cool when the wind hits you. The air is fresh, things are turning green and starting to bloom, so it feels like spring. Bring on the light floaty dress weather! As you have probably heard/seen/read, Kelli (of True Bias) has released a new dress pattern! I was lucky enough to be asked to be a pattern tester for this dress, and it was a welcome break for me in between all my jeans sewing. I have been fortunate enough to have pattern tested for Kelli once already, and I really loved the experience. It's pretty cool to get a sneak peek of a pattern before it's released, but it's also cool to see how a pattern is re-adjusted after the designer has gotten a bit of feedback. I really like being a part of the process. Plus I have loved all of Kelli's patterns so far, so I had no doubts that I would love this one too! Anyway, if you are anything like me, you are probably wanting to see what it looks like on as many bodies as possible, so I made sure to get some photos last week so I'd be ready to post shortly after the launch.

IMG_6525
IMG_6525

It was pretty chilly outside when John took these picture of me, plus the sun was in my face so I'm a bit squinty-eyed. Once again that didn't bother Shanny a bit, and she was happy to get into the photos too.

IMG_6524
IMG_6524

The fabrics suggested for this pattern are lightweight wovens; my first instinct was to reach for a light-weight cotton, but I decided to up the ante a little and go with a rayon challis. I don't have a lot of experience with sewing slippery fabrics, so I'm trying to challenge myself a bit in that area. Plus rayon makes for a lovely, flowy summer dress. Anyway, this particular fabric came from "the Man Outside Sainsburys" at Walthamstow Market in London. Not only was I a little out of my comfort zone with sewing this fabric, it's also not in my usual colour palette (do I even have a colour palette? Good question.). I don't wear off-white or cream very often because it washes me out, but this fabric with the bright coloured flowers is really growing on me.

IMG_6531
IMG_6531

I made a straight size ten, which I chose based on my measurements. I didn't make any alterations at all (I didn't even have to shorten it!), and I think the fit is pretty spot on. In looking at these photos, I think it might be just a touch big in the shoulders, but I'm not sure it's really worth messing with as I think it's pretty close. For reference my Sutton blouses are a size 8.

IMG_6528
IMG_6528

I really love the drawstring waist, and how it gives some shape and blousey-ness to the dress. I also love the little button placket and the pockets. Kelli is always really great at adding in little details that make a simple garment special. One of the coolest details, which you can't really see in the photos, is that there are bartacs above and below the pocket opening for extra security. It's a small thing, but I think it looks really neat and professional. If I make this dress in a solid colour, I would be tempted to match the button colour, buttonholes, and bartacs in a contrasting thread, and if you wanted to get really bold you could do the topstitching in the same colour. I think that would just add a little something extra.

IMG_6533
IMG_6533

The instructions for this dress are very clear and straight-forward, although I did space out a little when making my drawstring casing. Looking back at it though, I know that was my lack of reading, not the instructions. Kelli had done a really thorough job with the instructions and definitions of techniques, and it's great that she always includes diagrams. This pattern is rated as Intermediate, and I would agree with that suggestion. It's a bit tricky working with slippery fabrics and making buttonholes and what not. That being said, I definitely think an adventurous beginner could tackle this dress (especially with the upcoming sewalong). Besides, I look at ratings as just a guideline, if you break everything down into small steps it becomes much easier, and intermediate patterns become less daunting. Whenever I am a bit nervous about a new pattern, I give it a practice go. Sort of like a muslin because it allows you to see fit issues, but I like to do all the finishing too so that you can try out any new techniques. And with any luck it will turn out to be wearable (but that's not always the case). There are some cheapie/clearance fabrics in my stash solely for this purpose.

IMG_6516
IMG_6516

I should also mention, that since I made this version, Kelli did some fine tuning with the fit. She lowered the armholes and the bodice a touch and then she lowered the hemline for version A (this version) by about an inch. As you can see the length is perfect on me, but would probably be a touch short for those of you without lollipop guild status.

IMG_6518
IMG_6518

I see this dress as being an easy summer staple with sandals or clogs, but for now I'm pairing it with boots and my favourite cropped denim jacket (which in my opinion goes with everything - although the hubs does not feel the same). And to be honest, the weather here still calls for tights. I was also thinking that you could layer it over a Nettie for an added layer of warmth in the fall/winter. Just a thought...

So this post has gotten a little fan-girly, but what can I say? I love True Bias patterns! Also side note, and total coincidence: I used to be a dental assistant, and the office I worked at (and still go to for dental work) is called Southport Dental. Anyway, right now Kelli has this pattern on sale for 25% off. I think the sale goes until April 26th, so if you are interested in this pattern head on over to her website for more details and the discount code.

The Sutton Blouse: Numbers Two and Three

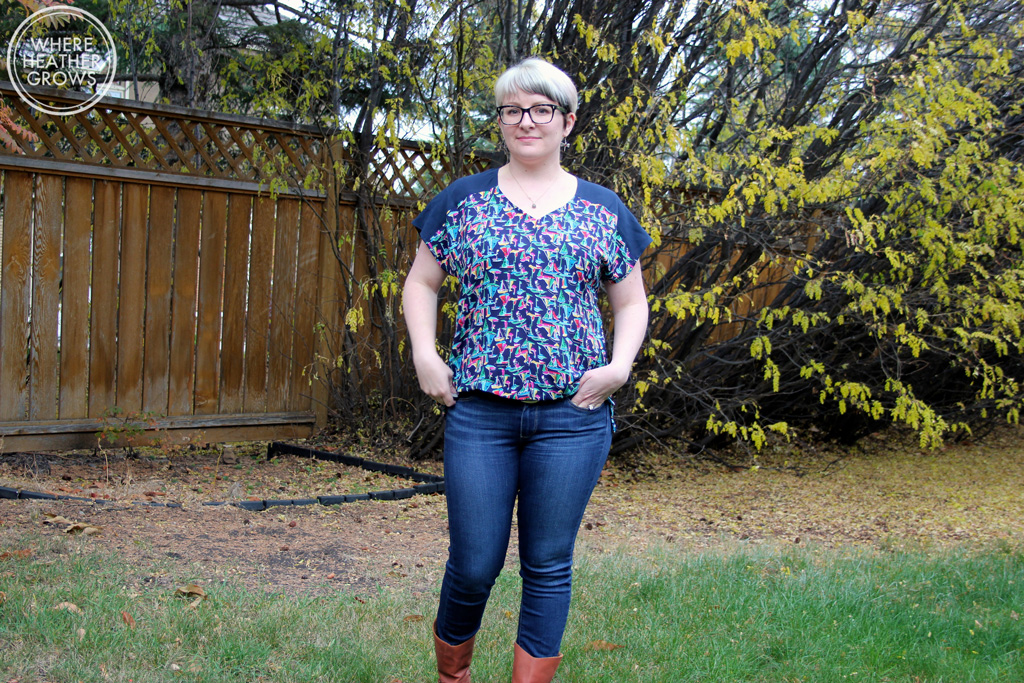
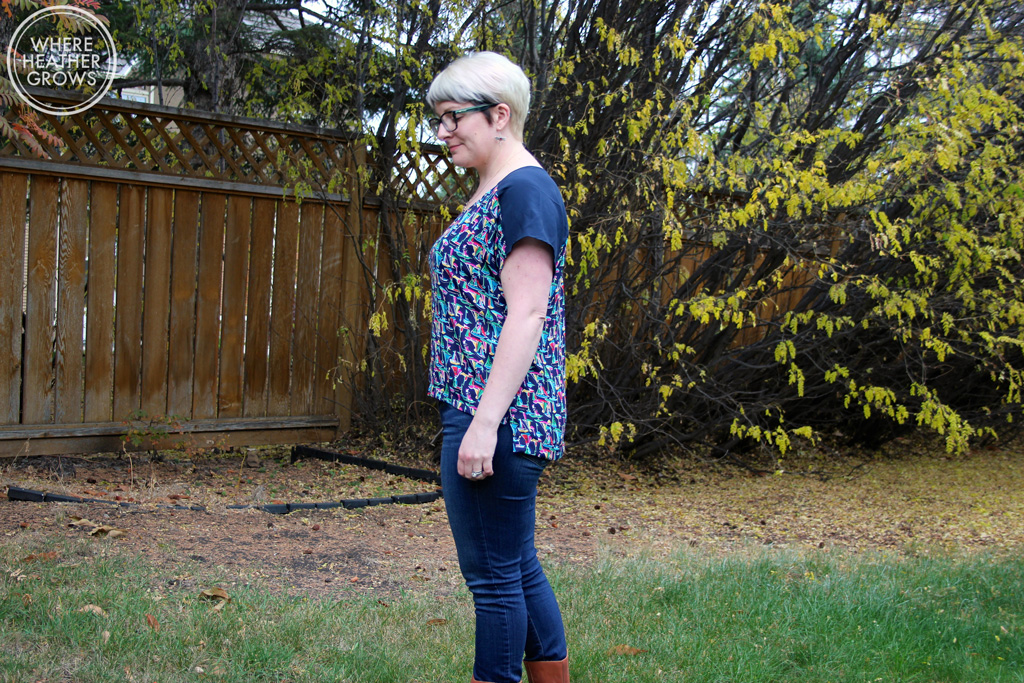
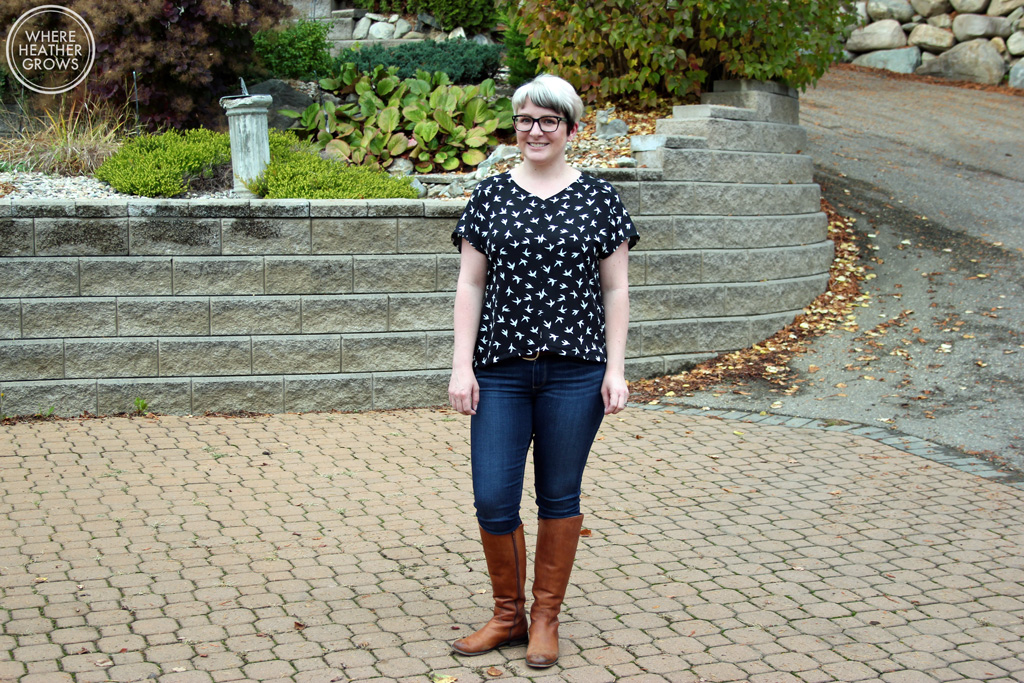
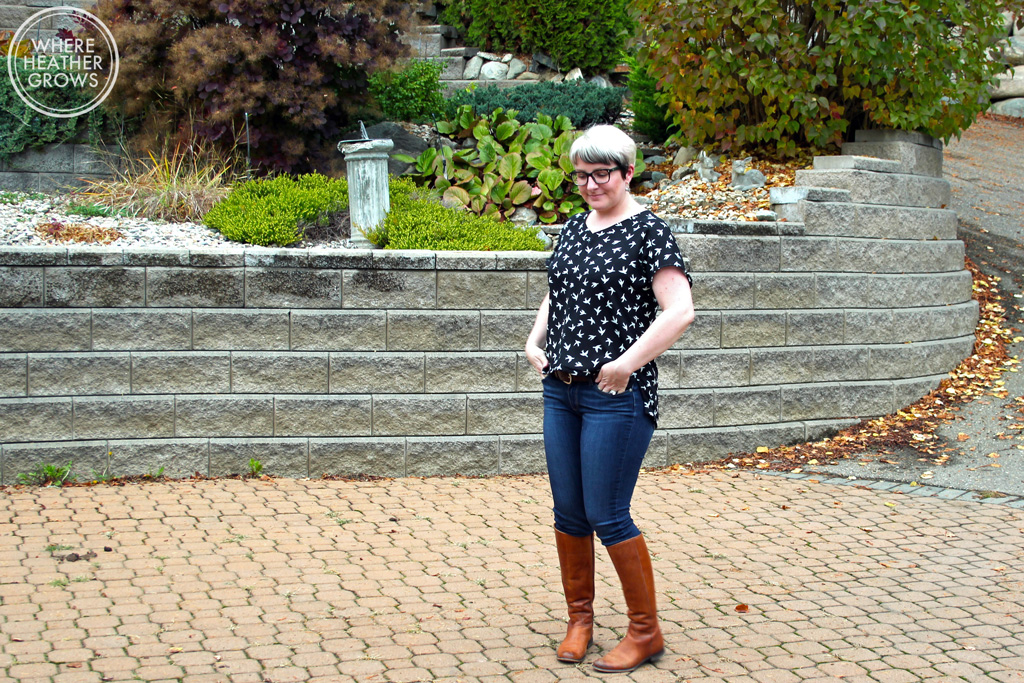
Hooray for multiples! Right? You guys like seeing multiples right? I really wanted to make the coloured blocked version of this blouse, and while I was cutting it out, I thought, why not make a second print one too. And so I did. (Both these blouses are made with the Tester version of the pattern - Kelli has since removed about an inch of width wise ease - so keep that in mind - again.) I made a straight size 8 again. Let's start with the printed version. I made this one with a gorgeous floral crepe from Blackbird Fabrics.

IMG_5671

Speaking of which, have you checked out Caroline's new shop? I was so excited when she announced the opening, that I jumped on my computer and ordered a bunch of fabric from her. We don't have a ton of great online fabric shops in Canada (and finding apparel fabric in Calgary is a huge challenge), and it costs a small fortune for shipping from the US, plus you sometimes have to pay duty and customs fees on top of that. Yikes! So needless to say I was thrilled to have somewhere to shop in country and I wanted to be sure to show my support. Caroline really knows her stuff, and she has a great selection of apparel fabrics.

IMG_5667

This crepe was really lovely to work with, and it feels really nice against the skin. I think I must have stretched the neckline out a little while sewing, because it lays a little wonky at times. I didn't really notice until I saw it in pictures, but it tends to lie a bit weird. Oh well!

IMG_5665

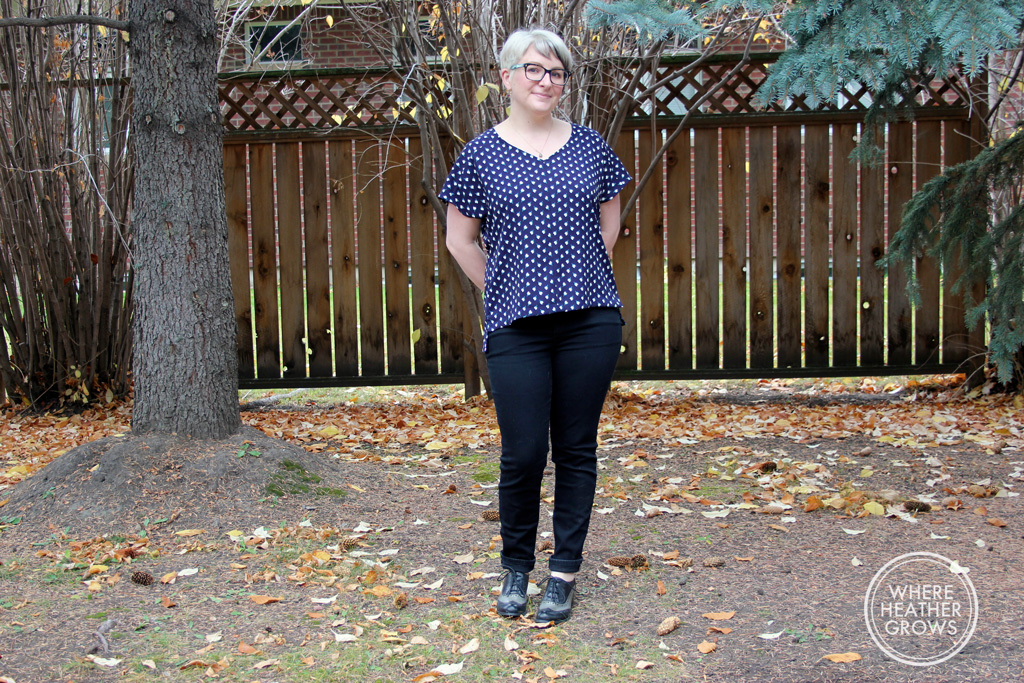
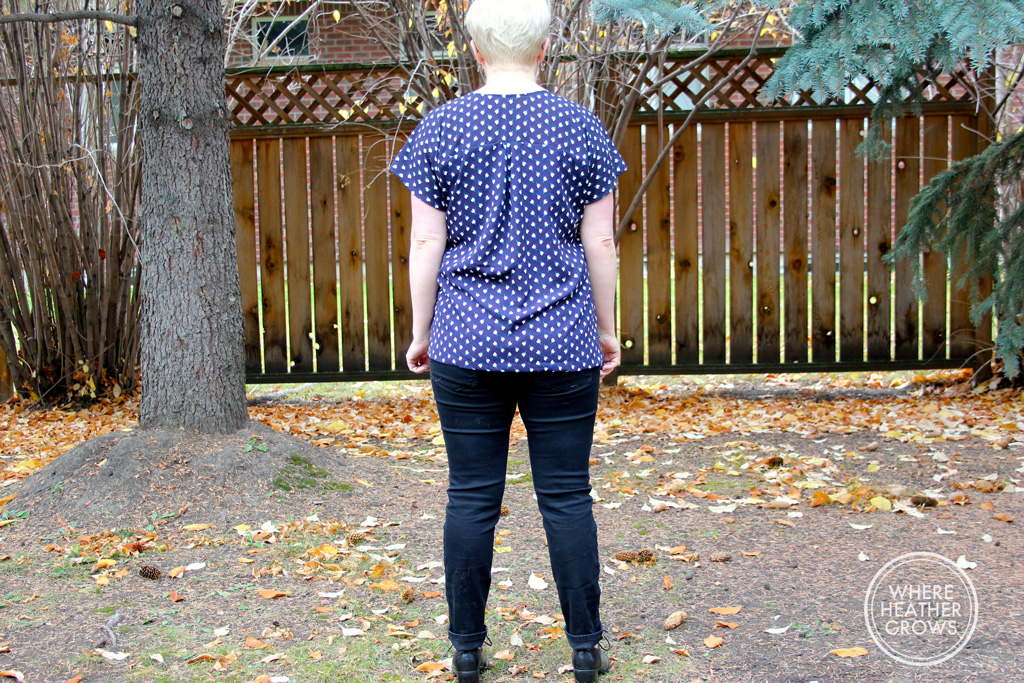
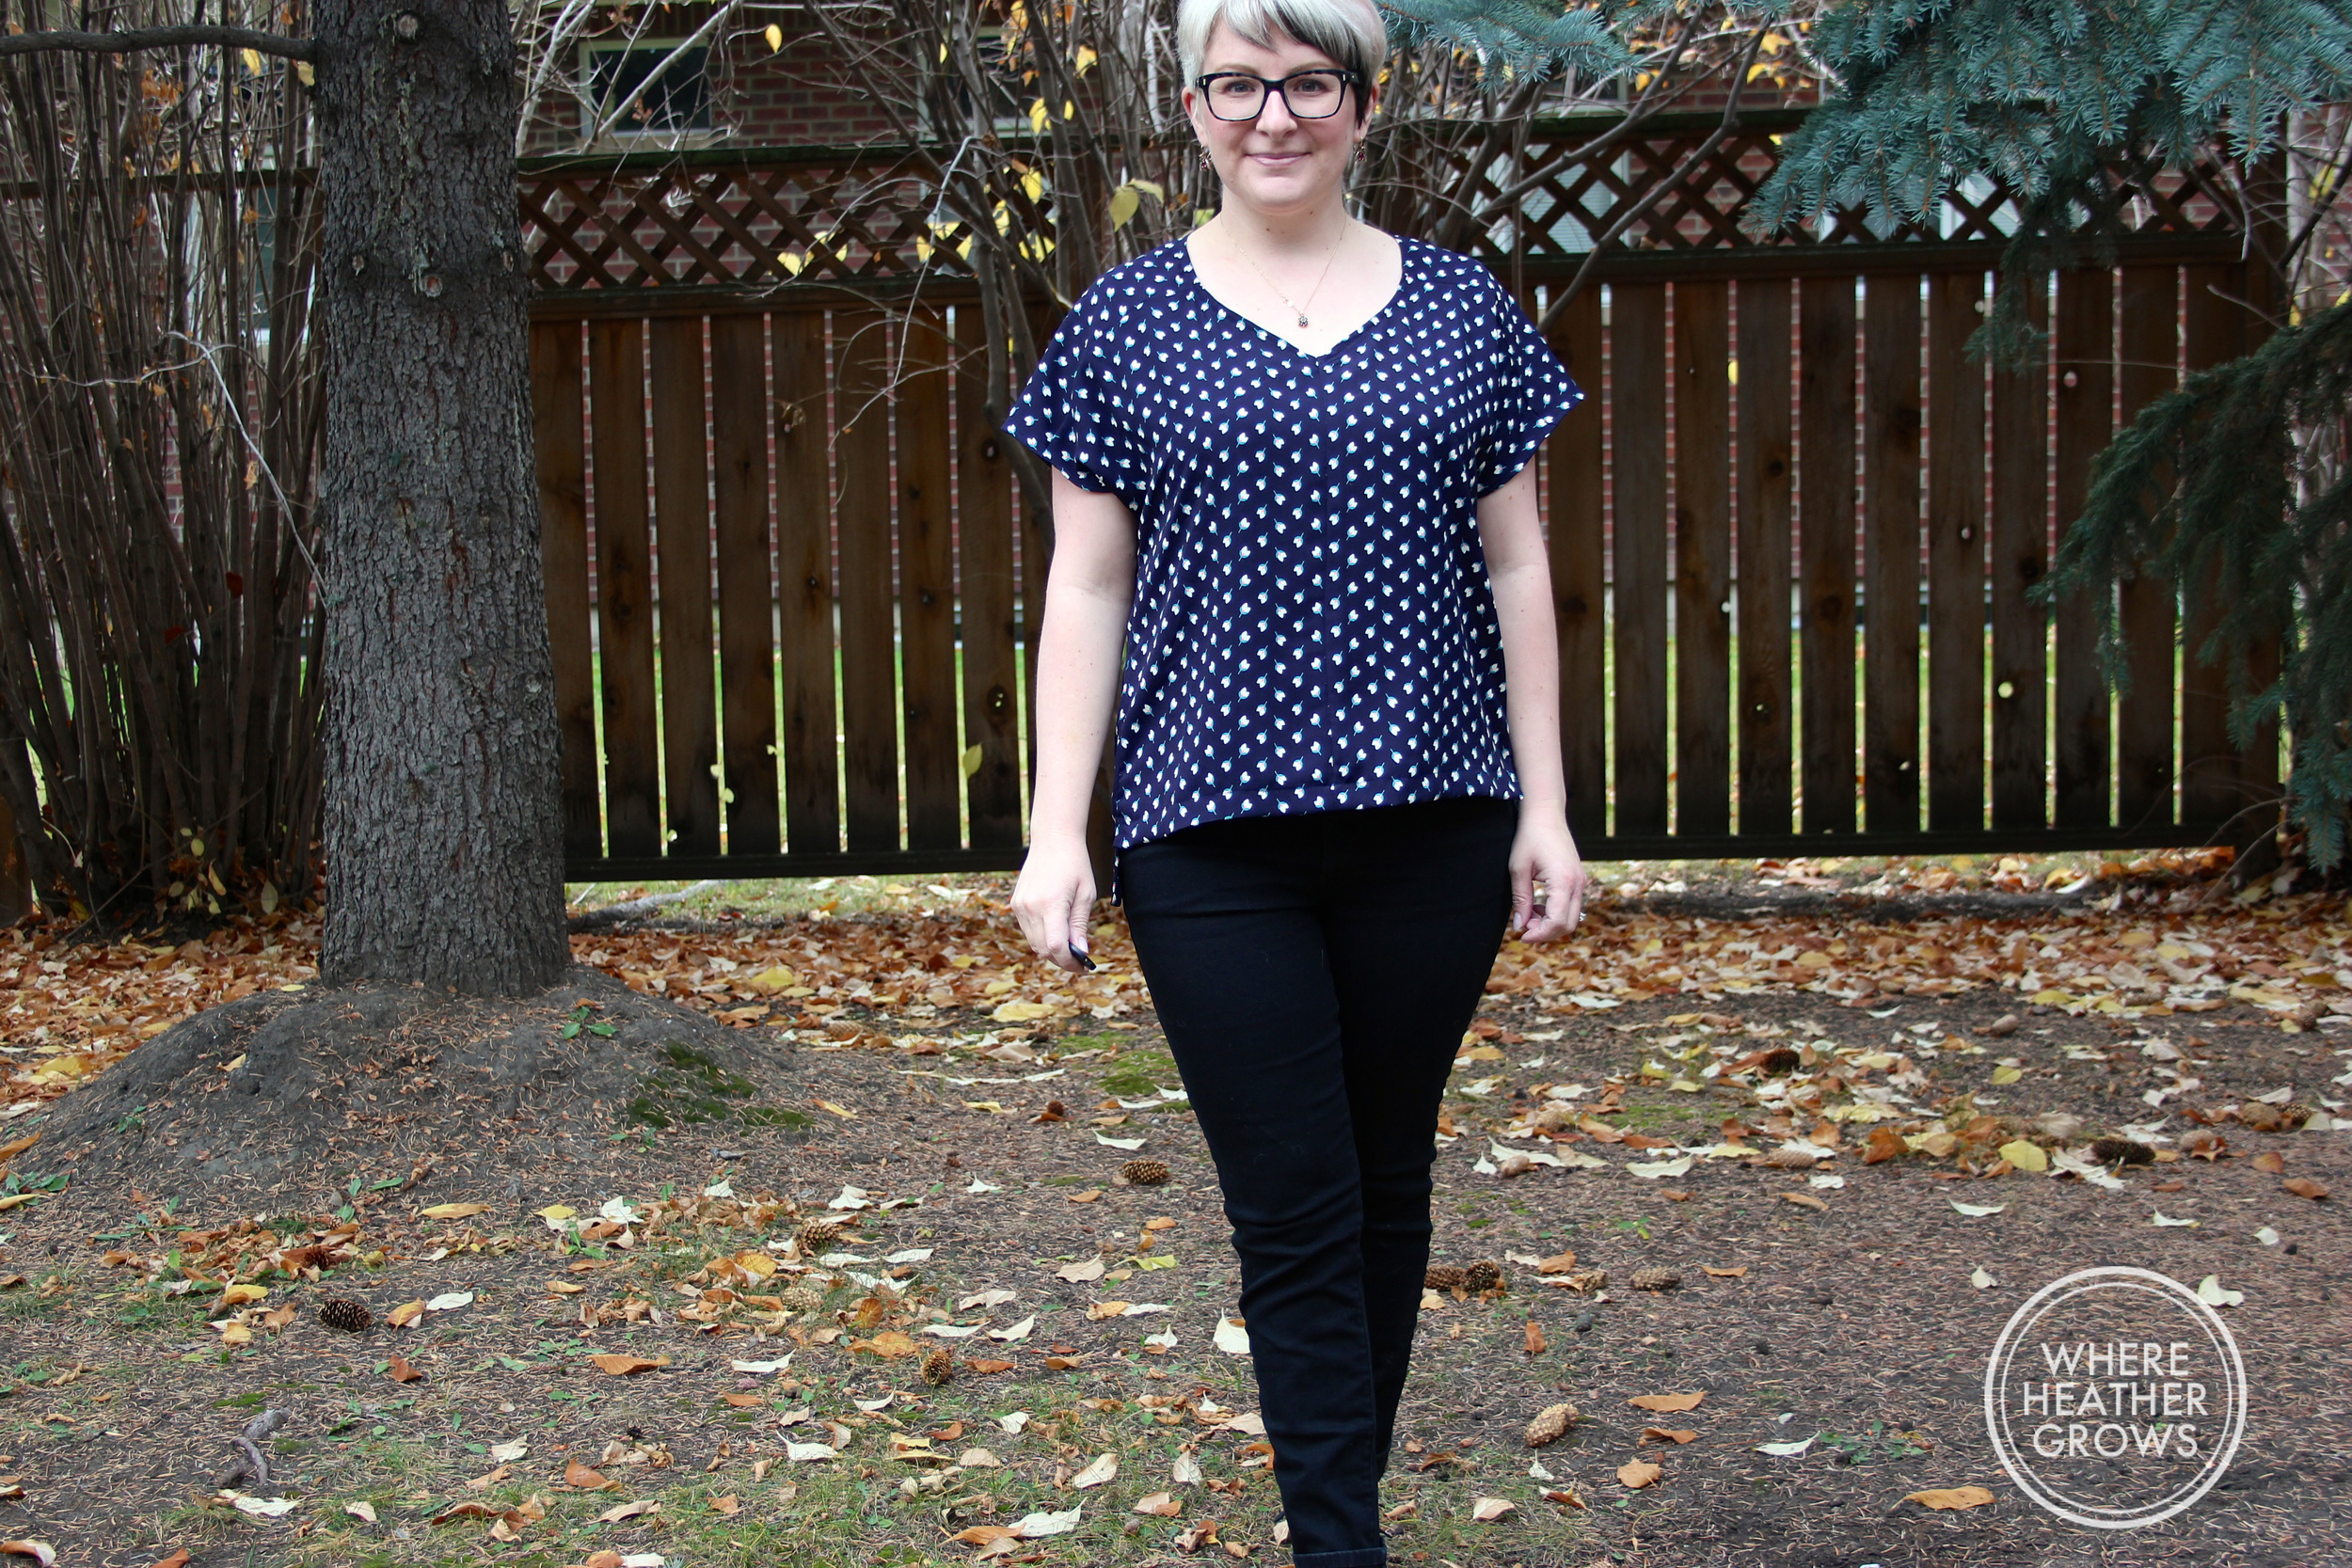
I am really loving this blouse. It's so easy to throw on with jeans, and it's nicer than a plain old t-shirt. It also goes really nice with a big chunky cardigan over top, and I'm wondering how it might look over top of something long-sleeved, but I haven't tried it yet. I love how it's loose but also how it curves in at the sides to flatter my shape. And I am totally digging the length of the kimono sleeves.

IMG_5662

Okay, onto the colour-blocked version.

IMG_5627

This is probably my favourite one to wear (can you tell? Why do I look so unimpressed?), but it was definitely the most difficult to sew (ohhhhhh...). It has nothing to do with the pattern, and everything to do with the fabric.

IMG_5625

The solid navy fabric is a gorgeous Rayon Challis from Fabric.com. It is actually amazing; super soft and flowy and almost a bit brushed looking. I want to order yards and yards of it in every colour. The colourful sailboat fabric, which was a huge pain to work with, is a crepe de chine from Girl Charlee. Why do you always lure me in with your gorgeous prints Girl Charlee, why?!?!  I love the colours and the print is adorable,  but it was super slippery and crazy difficult to cut, and to be honest it's really thin and feels quite - dare I say it - cheap. It looks really lovely though, and it has the perfect drape for this blouse.


IMG_5623

I am not sure if you can see it very clearly, but there is a seam in the middle of the yoke that should not be there. I made a huge mistake with this one. Somehow I twisted the yoke (after I had completed the gorgeous neckline) while I was seaming the front. I was so happy with how my french seams turned out until I noticed my mistake. This fabric is way too delicate (and it had already been fraying like crazy) so I didn't think it would survive unpicking. That left me with two choices: a) toss it and start over, or  b) cut the yoke in half. I went with option b.  Unfortunately, the seam isn't dead centre, but I can live with it, and it's totally not going to stop me from wearing it.

IMG_5628

I love how this blouse looks with a contrasting yoke. I think there are a lot of colour-blocking opportunities with this pattern. I have visions of a printed yoke with a solid body, or even making each front side a different colour (would that be too 80s?). I am also starting to wonder how it might work in a lightweight knit. It would have to be drape-y but I think it would look really great. I think that's one of the things I love most about sewing, you can take a pattern and really make it your own based on your colour and fabric choices. I love that I can make something, and no one else will ever have the same thing.

Anyway, I am off to do some christmas sewing. I'm actually sewing for someone else, can you believe it? I'm really excited about giving some handmade gifts this year - so keep your fingers crossed for me that they all turn out.

Are you sewing/making any gifts this year? Have you started yet?

The Sutton Blouse

Have you guys seen the gorgeous new pattern by True Bias? I actually got to be a pattern tester for it. I have never been a pattern tester before and I was absolutely thrilled when Kelli asked me. I was so flattered that she had confidence in my sewing ability, but also because she was interested in my opinion. Because I love her first pattern the Hudson Pant, so much, I already knew that I would pounce on any subsequent designs she released, so getting it for free in exchange for feedback was such a bonus! I mean I was gonna sew it up and blog about it anyways. IMG_5571

First, let's talk about the pattern itself. This is a 19 page pdf pattern and it went together very easily and really quickly. I had no problems lining up the marks and I used a glue stick to put it together. The pattern is beautifully drafted, and all the markings match up perfectly. The instructions are very detailed and easy to follow, and they contain definitions of techniques and diagrams (I am a visual learner, so I love a good diagram). This pattern is rated intermediate because it calls for more slippery fabrics, but I really think that if you are an experienced beginner and you took your time, you would have no problem. I think sewing with a rayon challis or a voile would make it a touch easier, than starting off with something like chiffon or silk.

I made a straight size 8. Based on my measurements, I should have made a size 10, but as this top was described as loose fitting, I chose to make a size 8. Since the testing process, Kelli has actually removed some of the ease out of the width (an inch to be exact), so keep that in mind when you are looking at my photos and choosing your own size. When I first saw photos of this pattern, I loved how it looked on Kelli, but I wasn't sure if it was going to work on my shape. It's a little bit loose and boxy, and I haven't had a lot of luck with those types of tops. But I am always up for trying new things out and I was pleasantly surprised with how much it actually flatters my shape. I think it skims over all the right places while still maintaining a nice shape.

IMG_5550

Full disclosure, this was my first time working with a slippery fabric, and also my first time with french seams. With that in mind, I think it turned out really well.  I think the trickiest part was actually cutting the blouse out. The fabric shifts and moves which can cause problems, but I think it worked out okay for me. The french seams turned out really nicely too and is the perfect way to finish a delicate fabric. I love how the inside looks, so professional.

IMG_5560

This fabric is a flowy crepe by Moda. When I saw this print on Fabric.com, I had to have it, and I bought it with this top in mind.

IMG_5558

I think my favourite part about this blouse is the neckline. It is exactly the right length, and in my opinion hits at exactly the right spot, plus Kelli has an awesome technique to finish it. I love how it turned out.

IMG_5577I am also totally digging the high low hem and the side slits. This top is a perfect wardrobe staple in my books, as it works really well with skinny jeans, but can also be dressed up with skirts. I think it would also work with leggings as it has enough butt coverage. But I guess that depends on where you stand on the whole leggings as pants debate. I think it would be totally office appropriate with a skirt or trousers, and it makes you feel a bit more put together than just a regular old t-shrit when paired with jeans. I made this top before we went to London and it packed really well. I didn't have to iron it, and it was super easy to through on.

Kelli has such a great style and it really shows in her pattern designs. I really love that she has taken the time to put together really detailed instructions with diagrams, and I happen to know that if you were ever stuck, you could email her and she would happily help you figure out anything that might trip you up.

So all and all, I really have nothing but love for this pattern. In fact, I love it so much that I have already made up two more which I will share with you later this week. What can I say, I love multiples.