Howdy peeps! How was your weekend? Mine was pretty good; lots of lounging around at the lake and enjoying life, so I can't complain. We had a big rain storm out here on Saturday, super windy and sideways rain - it was a bit nuts but didn't last long.
Thank you all for the responses and help with my Shingle dress in my last post. I felt a little self-conscious about such a body-hugging style, so it was nice to get some feedback. I am very much looking forward to making another version that fits better based on all your advice.
Anyway, onto the matter at hand. Way back in the very beginning of 2014, I started sewing clothes and I was delighted to find sewing blogs and Indie Pattern Designers (I had no idea either existed until Google and Pinterest introduced me to many). I noticed that there were a lot of By Hand London Anna dresses out there, and they all looked lovely. That pattern seemed to suit everybody who tried it. So I hopped onto By Hand London's website and I ordered it. It was the second dress I had ever made (a Colette Laurel was the first) and I was thrilled to discover it fit me really well right out of the envelope, and it quickly became my favourite pattern. It was fun and easy to make, there were no sleeves to set in, and it fit me and was quite flattering. So when those lovely ladies came out with the Kim Dress pattern and it started to pop up on blogs everywhere, I knew I had to have that one too.
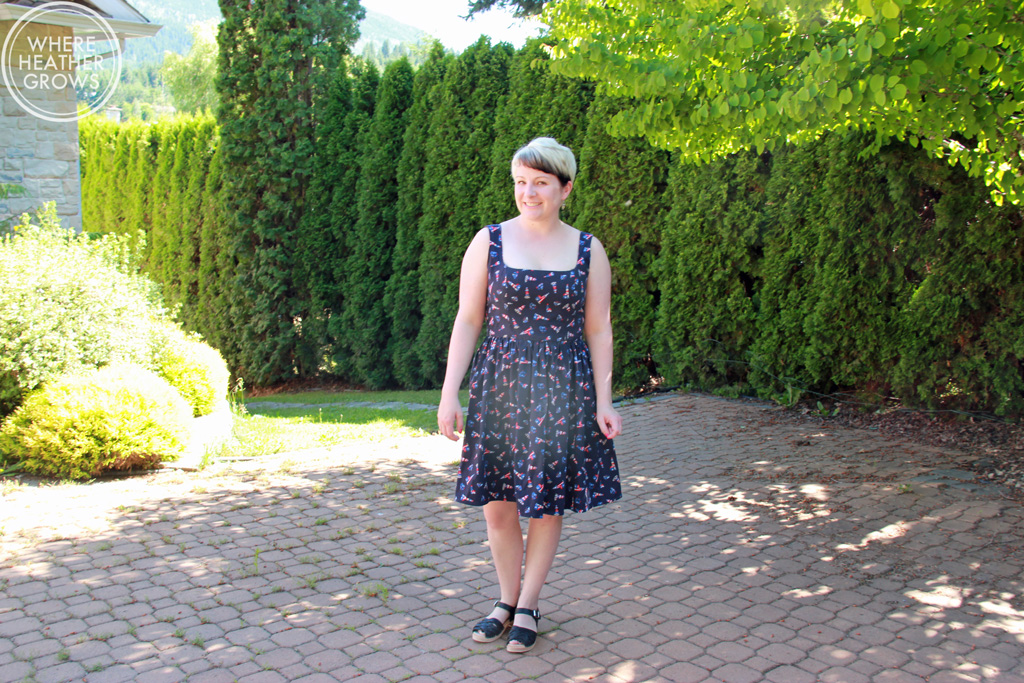 This pattern has two different bodice variations: a plain scoop neck and a sweetheart neckline, along with two skirt variations: a gathered, flared skirt and a more fitted tulip skirt. For my first attempt at this pattern, I decided to go with the plain, round neckline and the gathered, flared skirt.
 I hummed and hawed as usual, about what size to make. My measurements are really close to the size 12/16 size, but I know that these patterns are drafted for a B cup and I am typically a D cup. So really I should have chosen a size 8/12 and then did an FBA, but I chickened out because of the princess seams. There are a lot of great tutorials out there, so I don't really have an excuse, except that I was too nervous and too lazy.
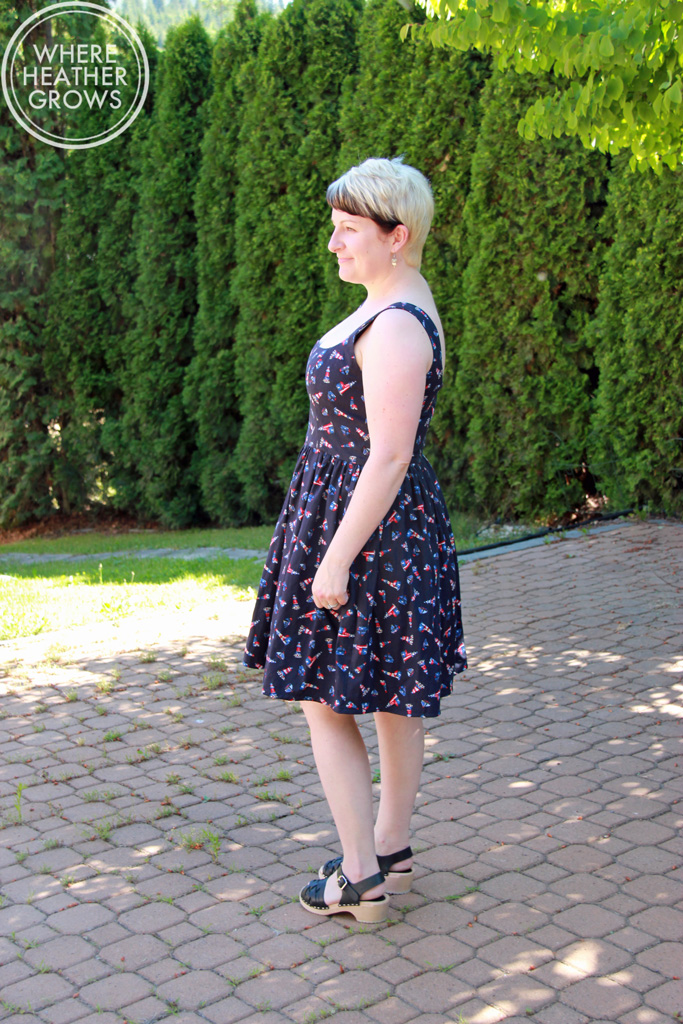 But all that being said, the fit is pretty good. My only real complaint is that I keep feeling like the straps are going to slide off my shoulders, and they do when I move around a lot. I should have added little ribbons to the straps to attach to my bra ala Kelli. If you make this dress, I totally recommend doing that - it's a genius idea.
 And speaking of bras, finding the right one to wear with this dress was a little tricky. Most of my bras are full coverage and I found that either the top of the cups would peek out at the front or the straps were too wide. I thought I was getting away with this little number, but here it is peeping out at the back. I guess I'll have to make one! ;)
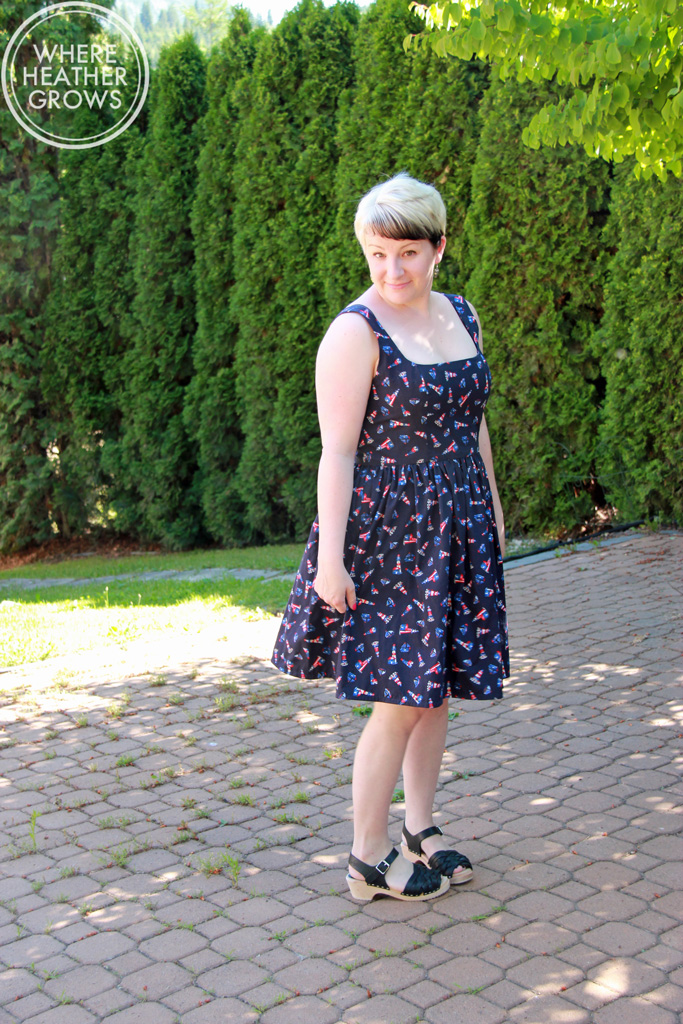 I skipped the pin tucks on the skirt, and shortened it by a whopping five inches! What can I say? I'm short! I hemmed the skirt using bias tape. I love how it looks and that adds a little bit of colour to the inside of the skirt.
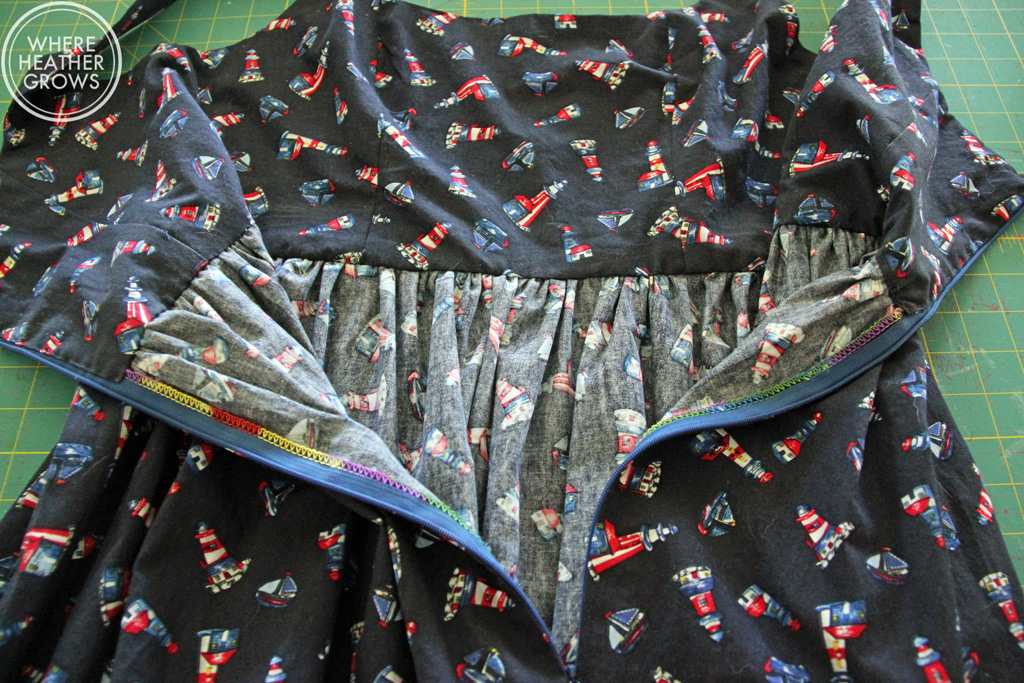
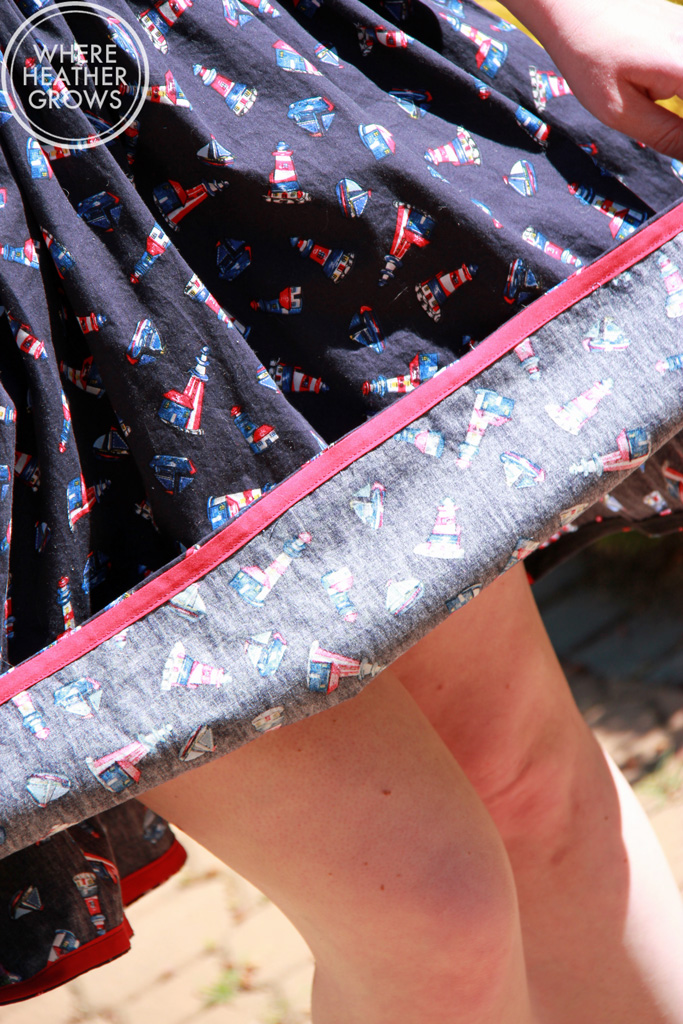 This fabric is a lightweight cotton from my local Fabricland, which I got on sale. Yay! I thought it was pretty cute with the lighthouses and I totally had this pattern in mind when I bought it. The bodice of this dress is lined which is how you finish the neckline and armholes and it gives a super neat finish on the inside. It does require a bit of hand sewing, but I quickly discovered that it is totally worth it. I am really proud of how lovely the insides of this dress look, so proud that I even took a photo.
 For my second version, I went with the same skirt, but the sweetheart neckline.
 This time I decided to shorten the straps to see if that would make a difference and keep them on my shoulders.
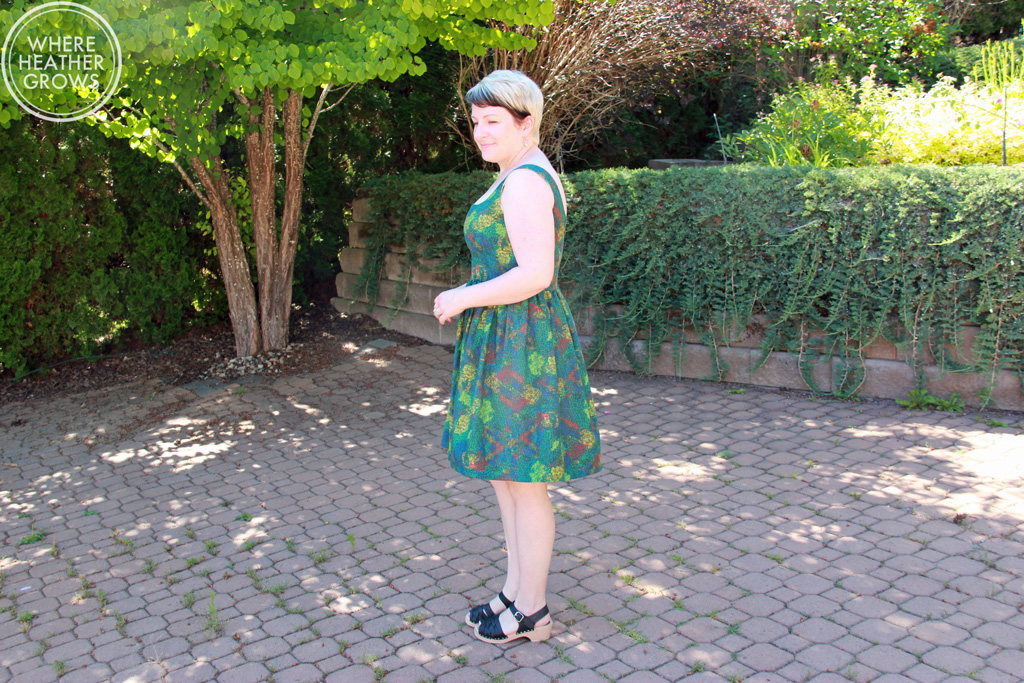 I just cut a 1/2" off the pattern pieces, so that removes an inch total. I think it helped, but I still think if I had done a proper FBA, the straps would be a little closer to my neck and that would resolve the problem.
 Oops there's my bra strap again!
I totally screwed up the lining/finishing on this bodice, so the zip doesn't look nearly as nice as it should. After you finish the armholes and neckline, you are supposed to only attach the outer fabric to the skirt leaving the lining free, then you insert your zip, and hand sew the lining down. This gives a really nice finish, but I made the mistake of attached the lining and the outer fabric all in one go and I didn't realize what I had done, until I had serged everything. D'OH! Needless to say, no picture of the insides of this one. It's fine, just not nearly as pretty as my first one.
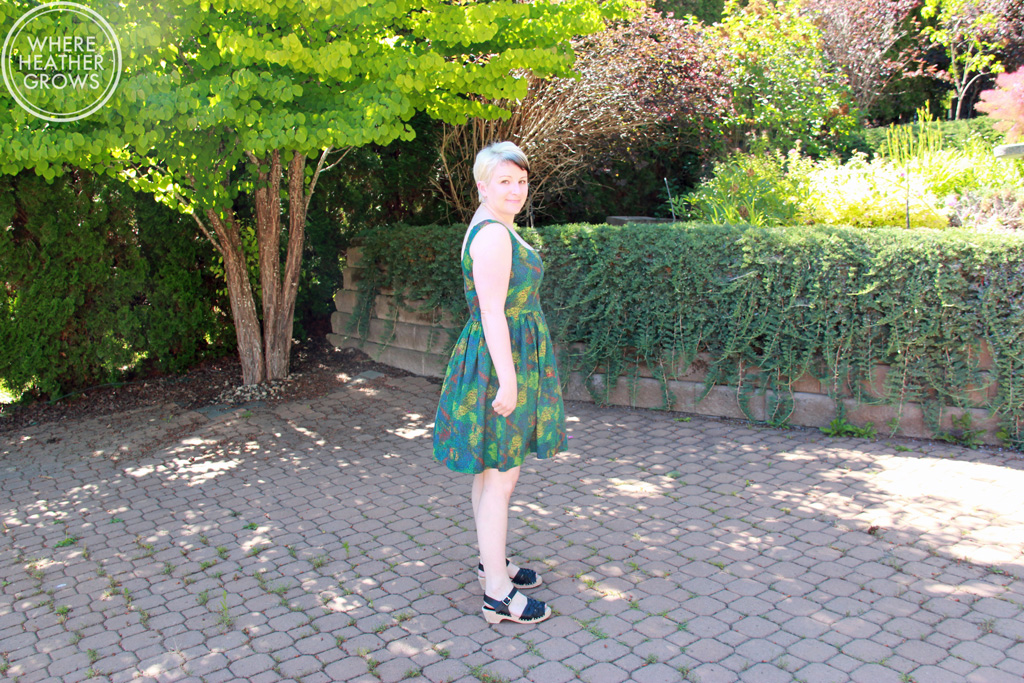 The fabric for this dress came out of the clearance section at this super cool store in Salmon Arm. It's got all kinds of quilting fabric, yarn, sewing notions, and scrapbooking stuff. It's really big and super fun to browse around. If you ever find yourself in Salmon Arm, I would recommend that you stop in. The lining is a pale yellow Art Gallery cotton I had in my stash.
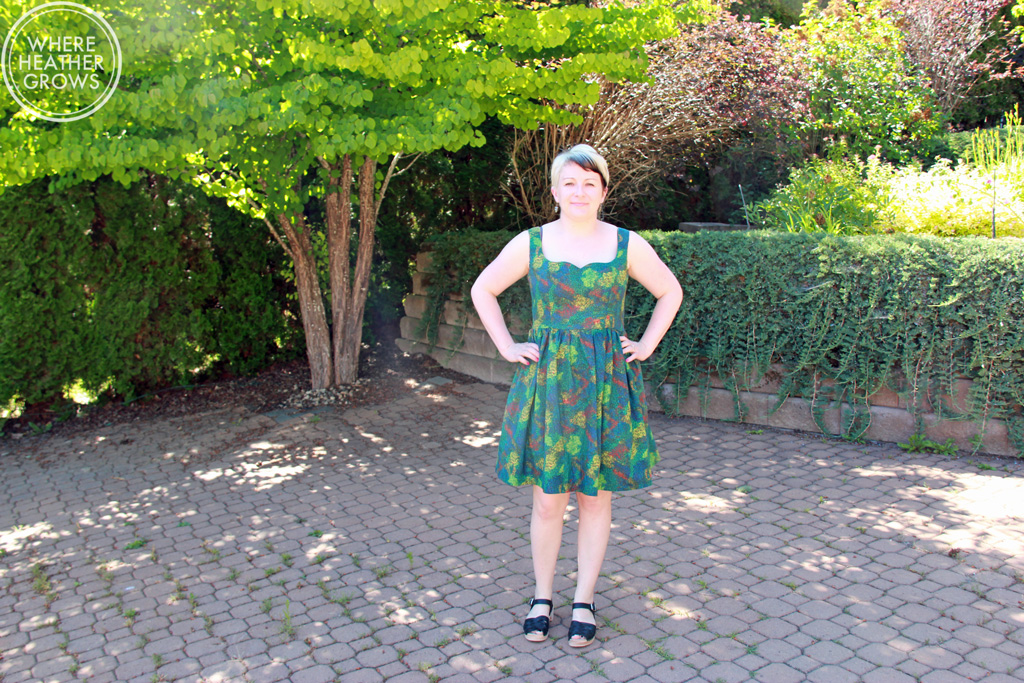 I think this dress is the perfect combo of sweet and sexy. For my shape, I love the fit and flare style, but I am interested in trying the tulip skirt version too. I just have to find the right fabric.
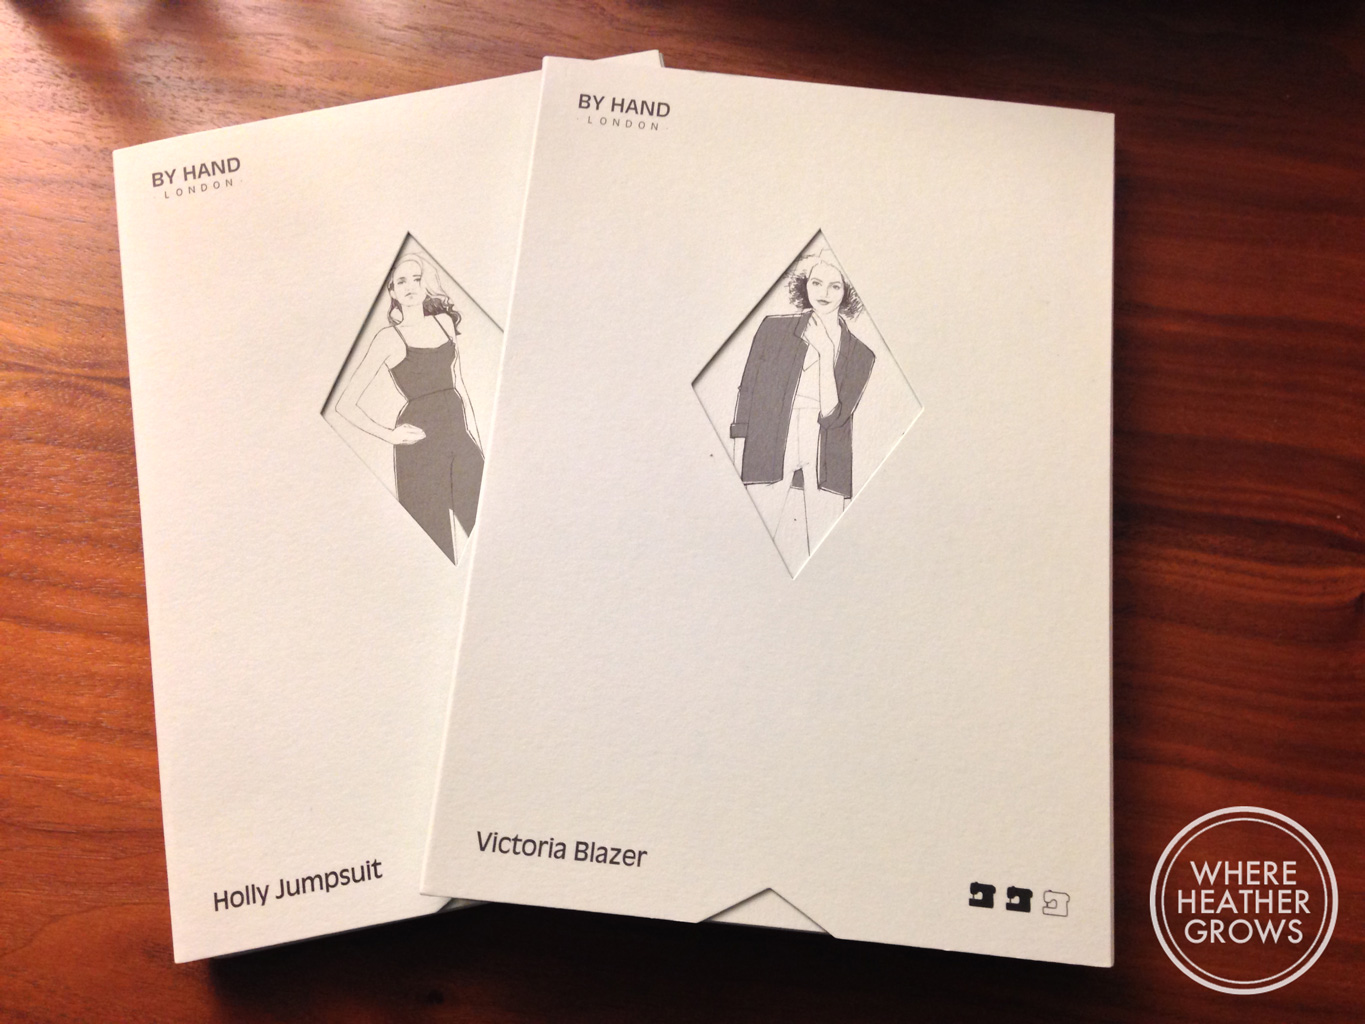
So my love affair with By Hand London dresses continues! I'm actually really kicking myself that I didn't buy Flora before they discontinued the paper patterns. I can still buy it as a pdf, but I really loved their packaging. Oh well, live and learn - this lesson only feeds my compulsive pattern addiction.
Have you tried any By Hand London patterns? Which is your favourite?
Oh, I almost forgot, one more thing: did you hear about the International Anna Dress party happening on Instagram? It's being hosted by my pal Elle (along with two of her friends) and it's a great excuse to sew an Anna if you haven't already and to join in the fun. Plus there's a chance to win prizes. Anyway, if you are interested head over to Elle's blog for all the details.
Hope you all are have a lovely week!


 This pattern has two different bodice variations: a plain scoop neck and a sweetheart neckline, along with two skirt variations: a gathered, flared skirt and a more fitted tulip skirt. For my first attempt at this pattern, I decided to go with the plain, round neckline and the gathered, flared skirt.


