The Christmas Sewing Post (Better Late than Never)

Hi Guys! Me again! Can you believe it? I'm on a roll! I know Christmas seems like it was ages ago now, but I thought I would share a few of my Christmas makes with you.

My Dad loves to wear sweatshirts, and he used to buy these great ones at Mark's Work Wearhouse (I'm dating myself because I guess they just go by "Mark's" now) all the time, but recently, he's been complaining that they aren't the same and that it's getting harder and harder to find the style he likes. So when I spotted this Kwik Sew pattern, I knew he would really dig it. I wish I had gotten a photo of him wearing it, but I forgot when he tried it on for me. Anyway, he has worn it a ton (which my sister has attested to), and phoned me a number of times to rave about it and ask how he can get more. LOL The fabric is a "Roots" sweatshirt fleece I picked up at my local Fabricland and the ribbing is the closest I could find on the shelf near by. Why is sweatshirt fleece and matching ribbing so hard to find?

I decided to cut out at little triangle detail because I've seen it on lots of RTW. I interfaced the little triangle piece and then just zigzagged it on. I'm pretty happy with how it turned out. Sorry that I don't have a better photo of it, but it looks really good in real life. 

The rest of the Christmas sewing is centred around the boys (my stepsons - I guess they are more men now than boys. Ha!). Last year I made them matching map shirts and they loved them. So early last year, I started hunting for more fun novelty fabric.  When I spotted this cool galaxy print at Fabric.com, I thought it would be perfect.

IMG_1594.jpg

I used McCall's 6044 again, only this time I went down to a size medium. Last year the boys complained that the shirts were a bit too roomy. So for two of them I went with a Medium but sewed everything a 1/2" seam allowance (except the collar and button bands) instead of a 5/8", and then the other one is just a straight medium. I think it worked out pretty well, and they all seemed happier with the fit. 

Because I had so much fun making these shirts for the boys last year, I decide to make them each an individual one as well. John actually picked all these fabrics out with me when we were at Thread & Paper in Salmon Arm during the summer. They are all really nice quilting cottons which seem to work really well for a button down shirt, especially a novelty one.

 I also have to include this silly shot. Such hams for the camera.

With short sleeves, this shirt sews up really quickly. I think it took me longer to cut everything out and get it all interfaced than it did to sew them up. If you are looking for a good place to start with some sewing for the special dudes in your life, either of these patterns are great! And when it comes to shirts, men just seem so much easier to fit.

Do you sew for the man in your life? What are your favourite patterns?

Handmade Christmas Part 2: Dude Sewing

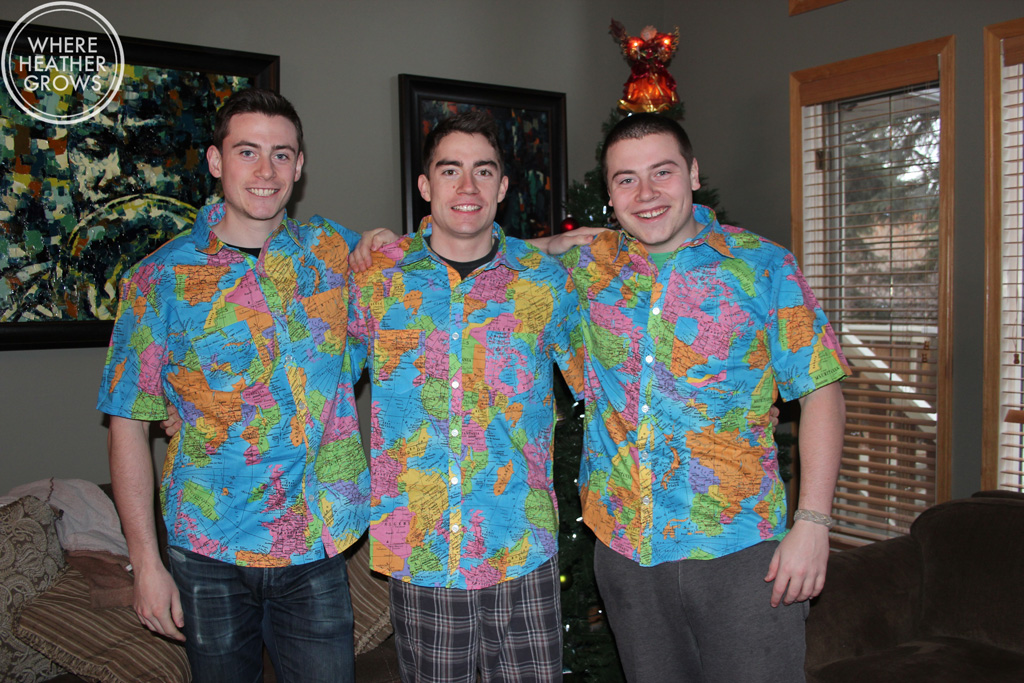
So I have fallen super behind in blogland. I contracted the plague and spent close to 5 days cuddled up in bed with the pugs and Netflix. I wouldn't say it's the worst cold I've ever had, but it is definitely the most persistent (and I'm a huge baby). I thought I would spend 2 days in bed and feel better, but I actually felt worse after the first two days and decided to spend a couple more days in bed. Yuck! Anyway, I have just finished catching up on reading everything in my feed, so now it's time to update. I really want to do a year-end post, but first I wanted to share the rest of my handmade Christmas gifts with you. First off, the shirts I made for the boys:

IMG_5854

Don't they look handsome? I had so much fun making these shirts. John and I picked out the fabric last spring on Goldhawk Road. The boys love to have matching shirts for some reason, and when we saw this map fabric we both thought it would be perfect. I used McCall's 6044 and I made them all the same size. Matt's could stand to be size smaller, but otherwise I am super happy with the fit right out of the envelope. The boys were thrilled to, and impressed that I actually made them. I'm thinking it may end up being a bit of a tradition!

Next up, I made a shirt for my Dad:

IMG_5892

For this shirt, I used Jalie's Men's Polo Shirt pattern, and I opted for a collared long sleeve version with no pockets. I have never made a collar or button placket in jersey, and I have to say, it was difficult. I unpicked the button placket twice, and to be honest, I'm still not thrilled with it. The fabric is a super soft, and super stretchy cotton lycra from Girl Charlee. It's really nice and the colour is gorgeous, but it was tough to work with for this type of project. Next time, I will interface all the placket and collar pieces which I really think would help. Anyway, my Dad is thrilled with it, and has worn it a ton already.

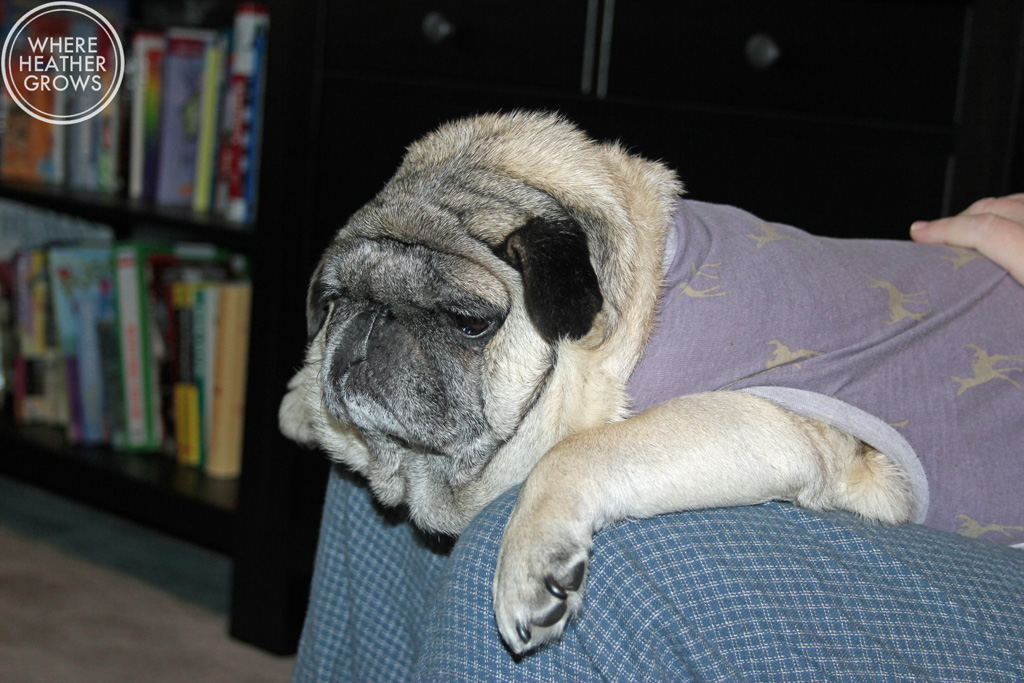
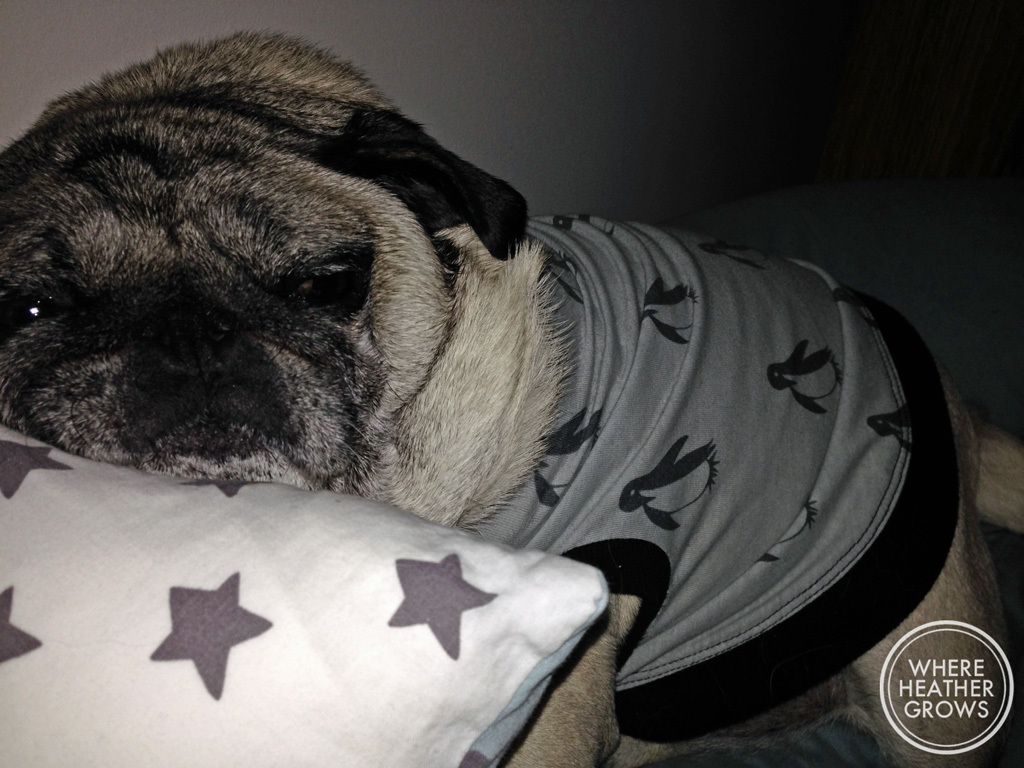
Next up I thought I would show you the shirts I made for our little Shanny. They weren't really for Christmas, but I think they go along with the unselfish sewing theme I have going here. Shanny had to have a couple of lumps removed from her chest/neck, and the best way to keep her from scratching at the stitches was to have her wear a little shirt. The first one I made her fit pretty well, but it didn't come up far enough, so I had to make her a second one.

IMG_5884

IMG_8307

Both shirts are made from super soft jersey remnants that I bought from Girl Charlee. I have no idea why I bought them, but I thought they worked really well for this project. Both shirts sewed up super quick and they did their job, plus Shanny really doesn't mind wearing them. I am also happy to report, that while one of the lumps was cancerous, they got it and she is now cancer free. Hooray!

That's pretty much it for the Christmas sewing. I made my Mom a Linden Sweatshirt too, but I somehow didn't get any pictures of it.

How is your holiday season going?

Handmade Christmas Part 1

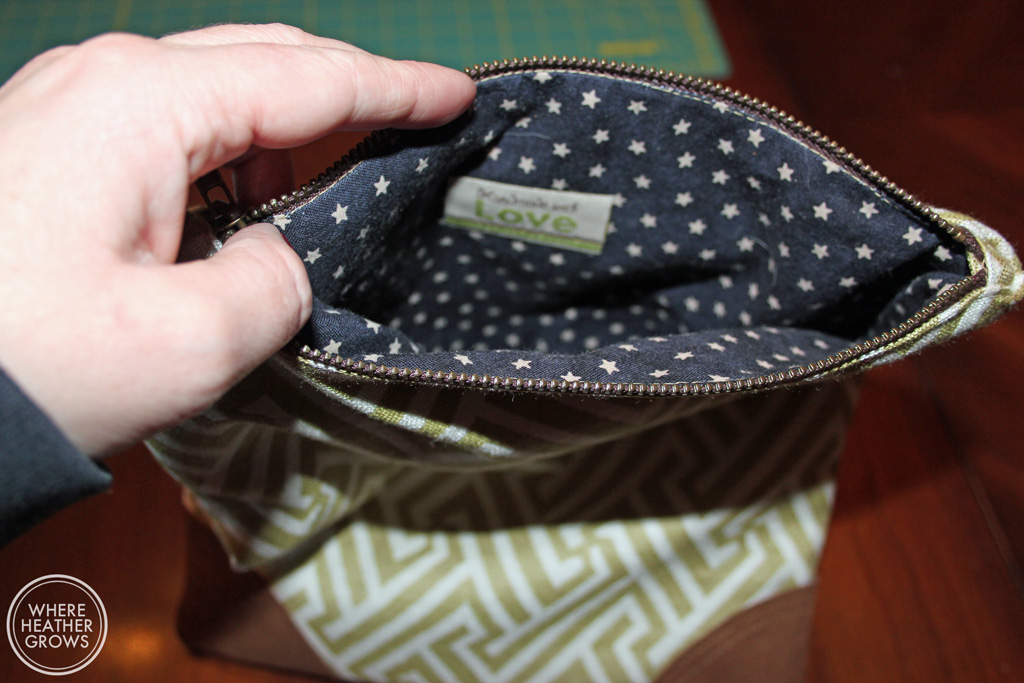
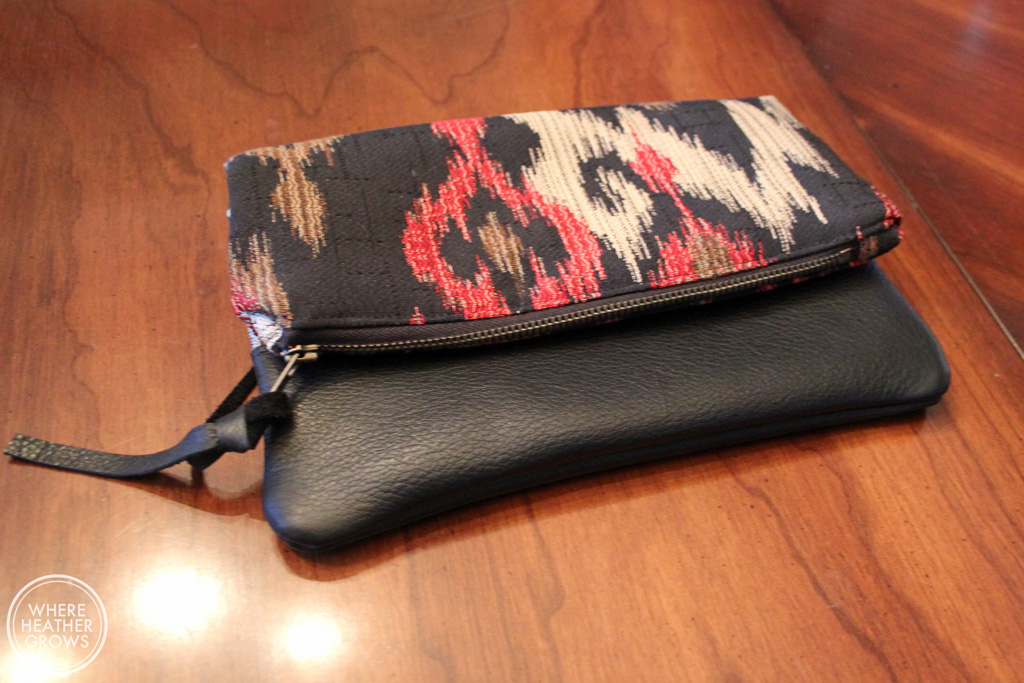
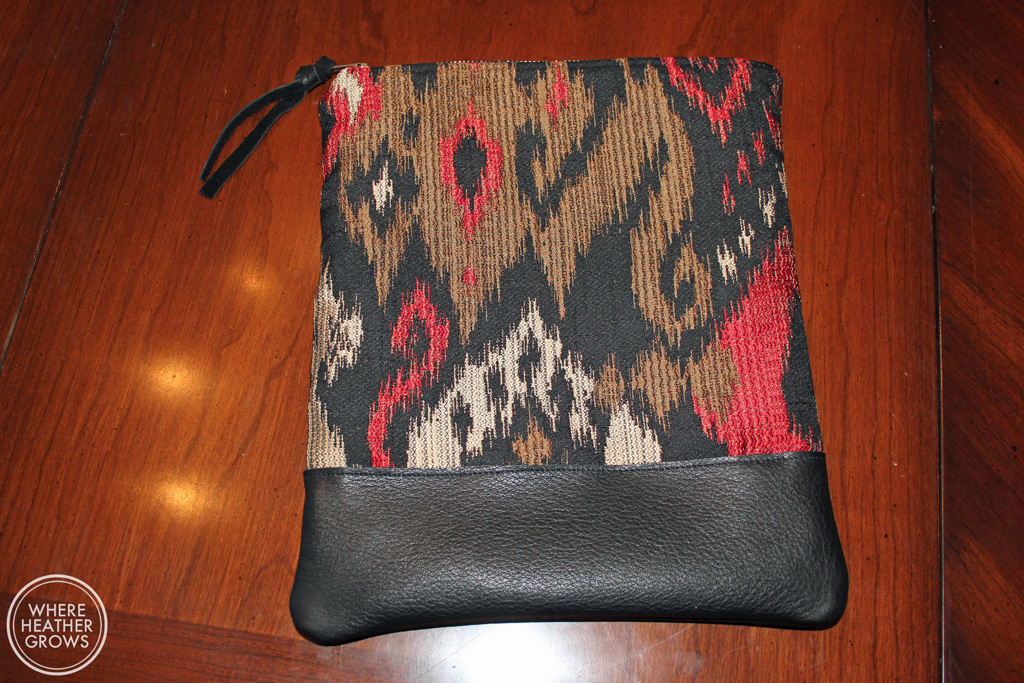
So this year, I really wanted to at least try to make some handmade gifts. I know there are a few people on my list that would really appreciate a handmade gift, so I wanted to make sure I took advantage of that fact, because a) I love sewing and b) I hate going to the mall during the Christmas shopping season. Also, I  personally love receiving handmade gifts. It means so much to me when people take the time and put in effort to actually make me a gift. So hopefully, the people who are receiving handmade gifts from me, will feel the same way. Fingers crossed anyway. I made a few things that I can't share with you quite yet, but I have a couple of things that I can. When I saw the LBG Studio Leather Accent Pouch pattern on Indiesew, I knew it would be the perfect thing for two of my girlfriends. I really loved the leather accent details and I thought it would be a good foray into sewing with leather too.

IMG_5835

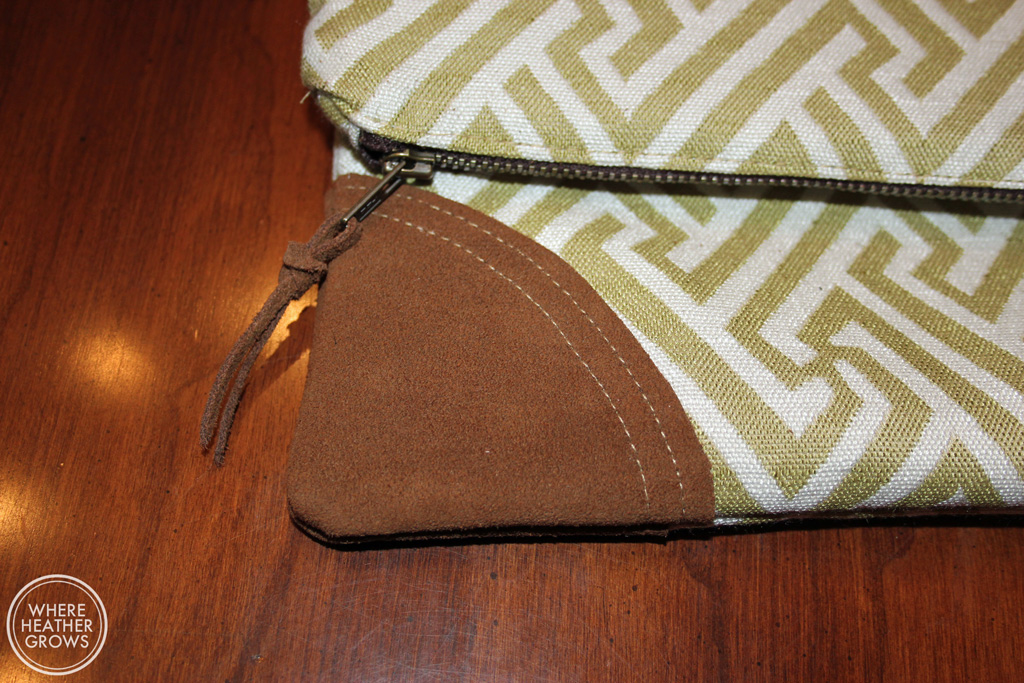
For the first one, I used some upholstery fabric and for the accents I bought a tiny piece of brown suede, both found at my local Fabricland.

IMG_5831

The construction was quite straight forward, and you could probably make this without a pattern, but I felt like I needed some hand holding, and I am always much to nervous and lazy to figure out dimensions on my own.

IMG_5830

This was my first go at sewing with leather, and I think it went pretty well. I made sure to use a leather needle in my machine, but I don't have a teflon foot. My Pfaff has IDT built in which is basically a walking foot and it worked really well.

IMG_5832

For both bags I used a printed quilting cotton from my stash for the lining and a jeans zipper.

IMG_5834

The second bag was a little trickier to sew.

IMG_5821

The leather came from a used leather jacket that I picked up at an estate sale. It is super buttery soft, and I found that it stretched around at bit and it stuck to my machine a bit more than the other leather did. A teflon foot may have helped and I might pick one up next time they're on sale.

IMG_5822

I think this leather looks a bit nicer than the Fabricland stuff though. The main fabric is more upholstery fabric. The upholstery fabric worked out really well. It added a bit more structure to the bags and I am hoping that it will be a bit more durable over time.

IMG_5816

These were pretty quick projects and I am super happy with how they turned out. I felt really good giving them as gifts, and hopefully the receivers get lots of use out of them.

How about you? Are you ready for Christmas yet? How do you feel about handmade gifts?

My Mom's Happy Birthday Archer

My Mom's birthday is coming up at the end of October, and I really wanted to make her something awesome. I took her basic measurements back in June in anticipation of wanting to make her something someday, and I was pretty confident that I would be able to make her a well fitting knit top of some sort. But then I fell in love with Archer, and I knew she would love to have one too (she made a huge fuss over my first one). I was a little nervous, because Archer requires a bit of fitting and I wanted it to be a surprise so I didn't want to have her try it on before hand. So a bit risky, but I figured worst case scenario, it would fit horribly and then I could just make her another one. It's just fabric, they will always be more. [I used to work as a dental assistant and I remember the dentist that I worked for (who was a really good guy btw) used to say, the great thing about being a dentist is that it's just teeth, at the end of the day, nobody dies - so much better than being a doctor. So at the end of the day it's just fabric, the world won't end if it doesn't work out. Okay, I'm getting off the soapbox now.) But lucky for me (and her), it fit! IMG_5525

Now, wait a minute...if my Mom's birthday isn't until the end of October, why is she wearing her Birthday Shirt now? Well John and I are going to be in London on her actual birthday and I was so excited to give her this gift; I gave it to her over Thanksgiving when we were together. She was thrilled with it, and was kind enough to pose for some blog photos. Isn't she cute?

IMG_5526

For this baby, I made a straight size 18. I picked the size based on the my Mom's bust and hip size. I shortened the sleeves by about 2", but she probably need them a bit shorter still. I inherited my petite-ness from her as you can see.

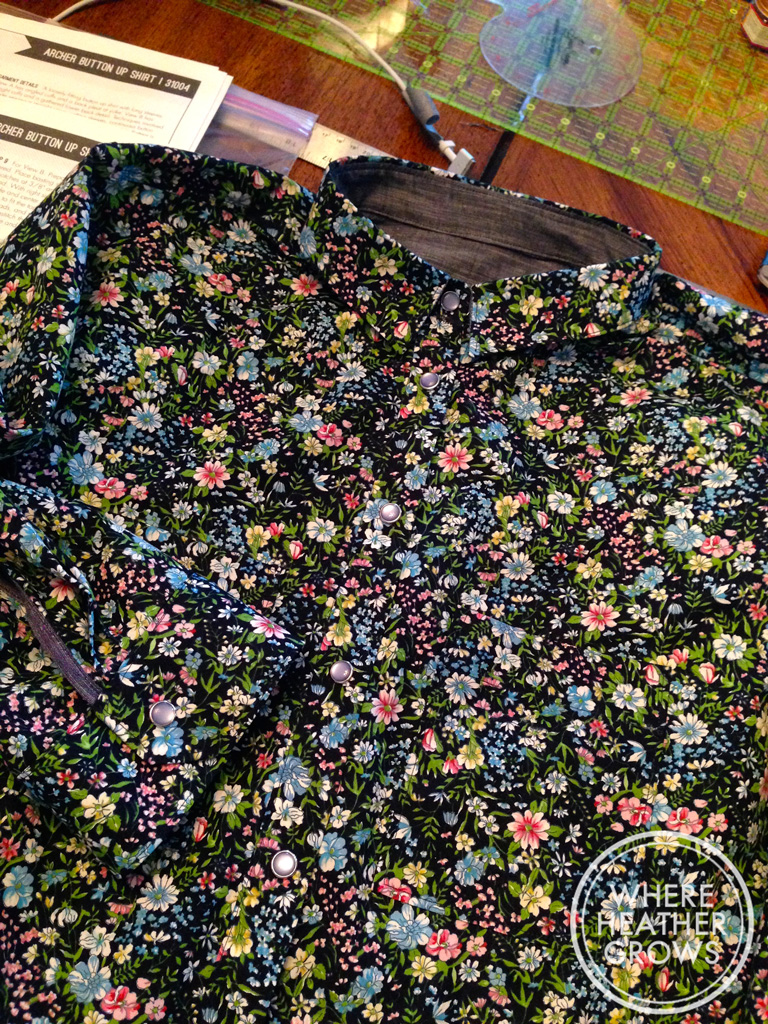
This gorgeous blue floral cotton screams my Mom. I had planned to make a sleeveless shirt for myself with it, but when I was looking through the stash for something to use for my Mom, John and I both knew she would love it (he's my design consultant). Plus it washes and wears really well. This gem was part of my Goldhawk Road haul last Spring. I also used scraps leftover from my second Archer for the inside yoke, inner collar stand and the sleeve plackets. Have I mentioned that I love all the little details that sewing your own garments allows you to add?

IMG_5527

As you can see the fit is not perfect, and if (when) I make her another one, I will make some adjustments to make it fit better. She could use smaller shoulders and an FBA (I'm getting better at those), and the sleeves are a bit too long too. I love that I am starting to recognize fit issues more easily and also that I have some idea of how to fix them. If you can't tell from her grin, my Mom is super happy with this shirt. It was funny while I was taking photos of my Mom, I was like come on Mom work it, and she did all the same silly poses that I do, when John takes photos of me. It was pretty funny (I'll save my Mom and not post all the crazy shots). Like mother like daughter I suppose.

IMG_5530

It's hard to see because of the busy fabric, but I actually used pearl snaps for the closures on this shirt. I was shakey and sweaty setting them, because of my Nettie experience, but by the time I set the last 3, I felt like I knew what I was doing. And I am so glad that I took a chance and tried again, because the snaps look so good! Here's a photo I posted on Instagram that I think shows them a little bit better.

IMG_7375

I love the pearl snaps, they look so nice. I ordered them from Snap Source (which I heard/read about from A Fashionable Stitch - Sunni has a wealth of information on her blog, seriously (yay sewing community!), which I never would have discovered without the Sewing Affair podcast - so Hooray for Corinne too!). I actually ended up getting their tool for setting to, and it works really well. Once you set two or three, it's pretty easy, plus if you have a small flat screwdriver (coincidentally like the one that comes with your sewing machine) you can carefully remove any snap mistakes without too much fabric damage, and re-set. So yay for snaps!

So there you go, that's my unselfish sewing for the year LOL. Seriously, it's so nice to make something for someone, and have them love it. My Mom wore this shirt for 2 days straight (she and Anne were visiting us in BC for the Thanksgiving weekend, so I know what she was up to).

Do you make things for other people? How do you go about keeping it a surprise, or do you?

Happy Birthday Mom! I love you bunches!

Birthday Dresses for Dani!

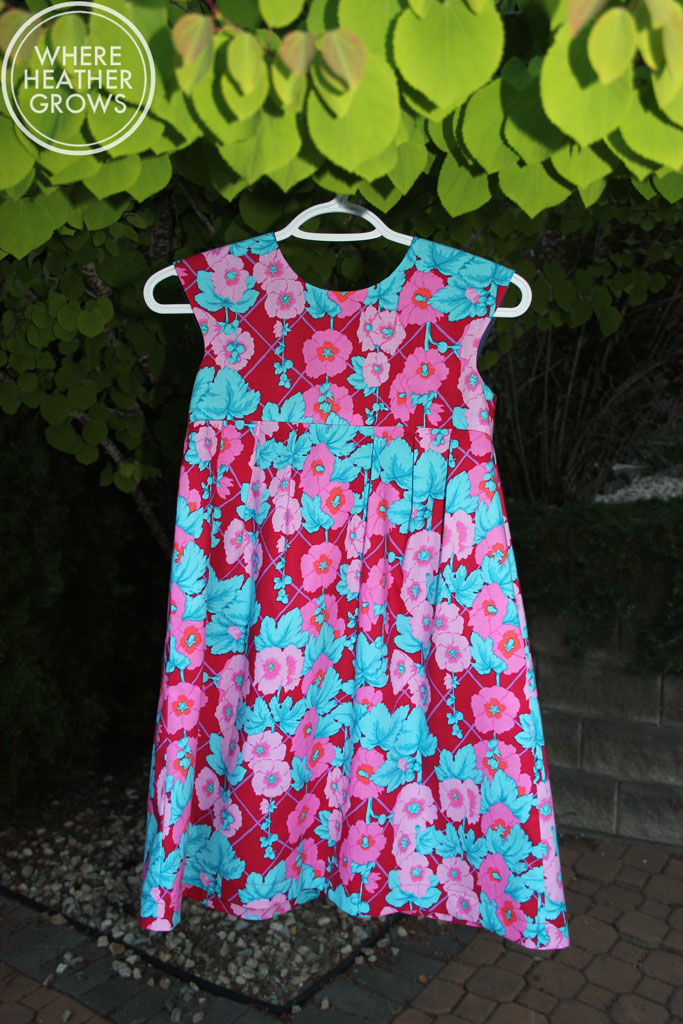
So I think it's quite obvious that I am in love with Made by Rae. I think I am borderline obsessesed with the Washi, not only because I love the dress, but also because the pattern and instructions are so amazing. So when I was looking for a cute dress pattern to make for my niece, I was thrilled to discover the Geranium. It's basically a girl's version of the Washi. Anyway, my niece is a hardcore girlie-girl. She loves shoes and dresses, and fashion. She's seven and I think she puts better outfits together than I do. Since she could walk, she's raided my shoe stash every time she comes to our house, and she walks better in heels that she does in barefeet. Since she was about 2, she's been wearing my shoes. So, I thought she would love a couple of new dresses (and she'll probably end up with some new shoes to go with them too).

For the first one, I used a floral print cotton that I bought months ago from Fabric.com. It turned out to be a bit more hawaiian in real life that I thought it would be, but I thought it would be perfect for a little summery dress.

IMG_4550

IMG_4544

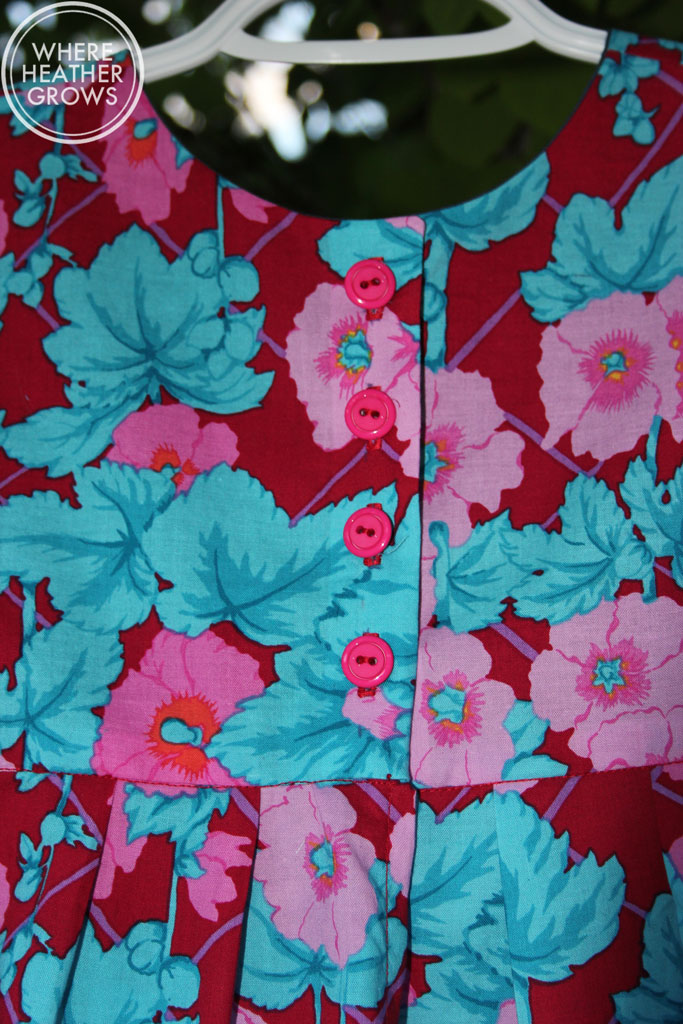
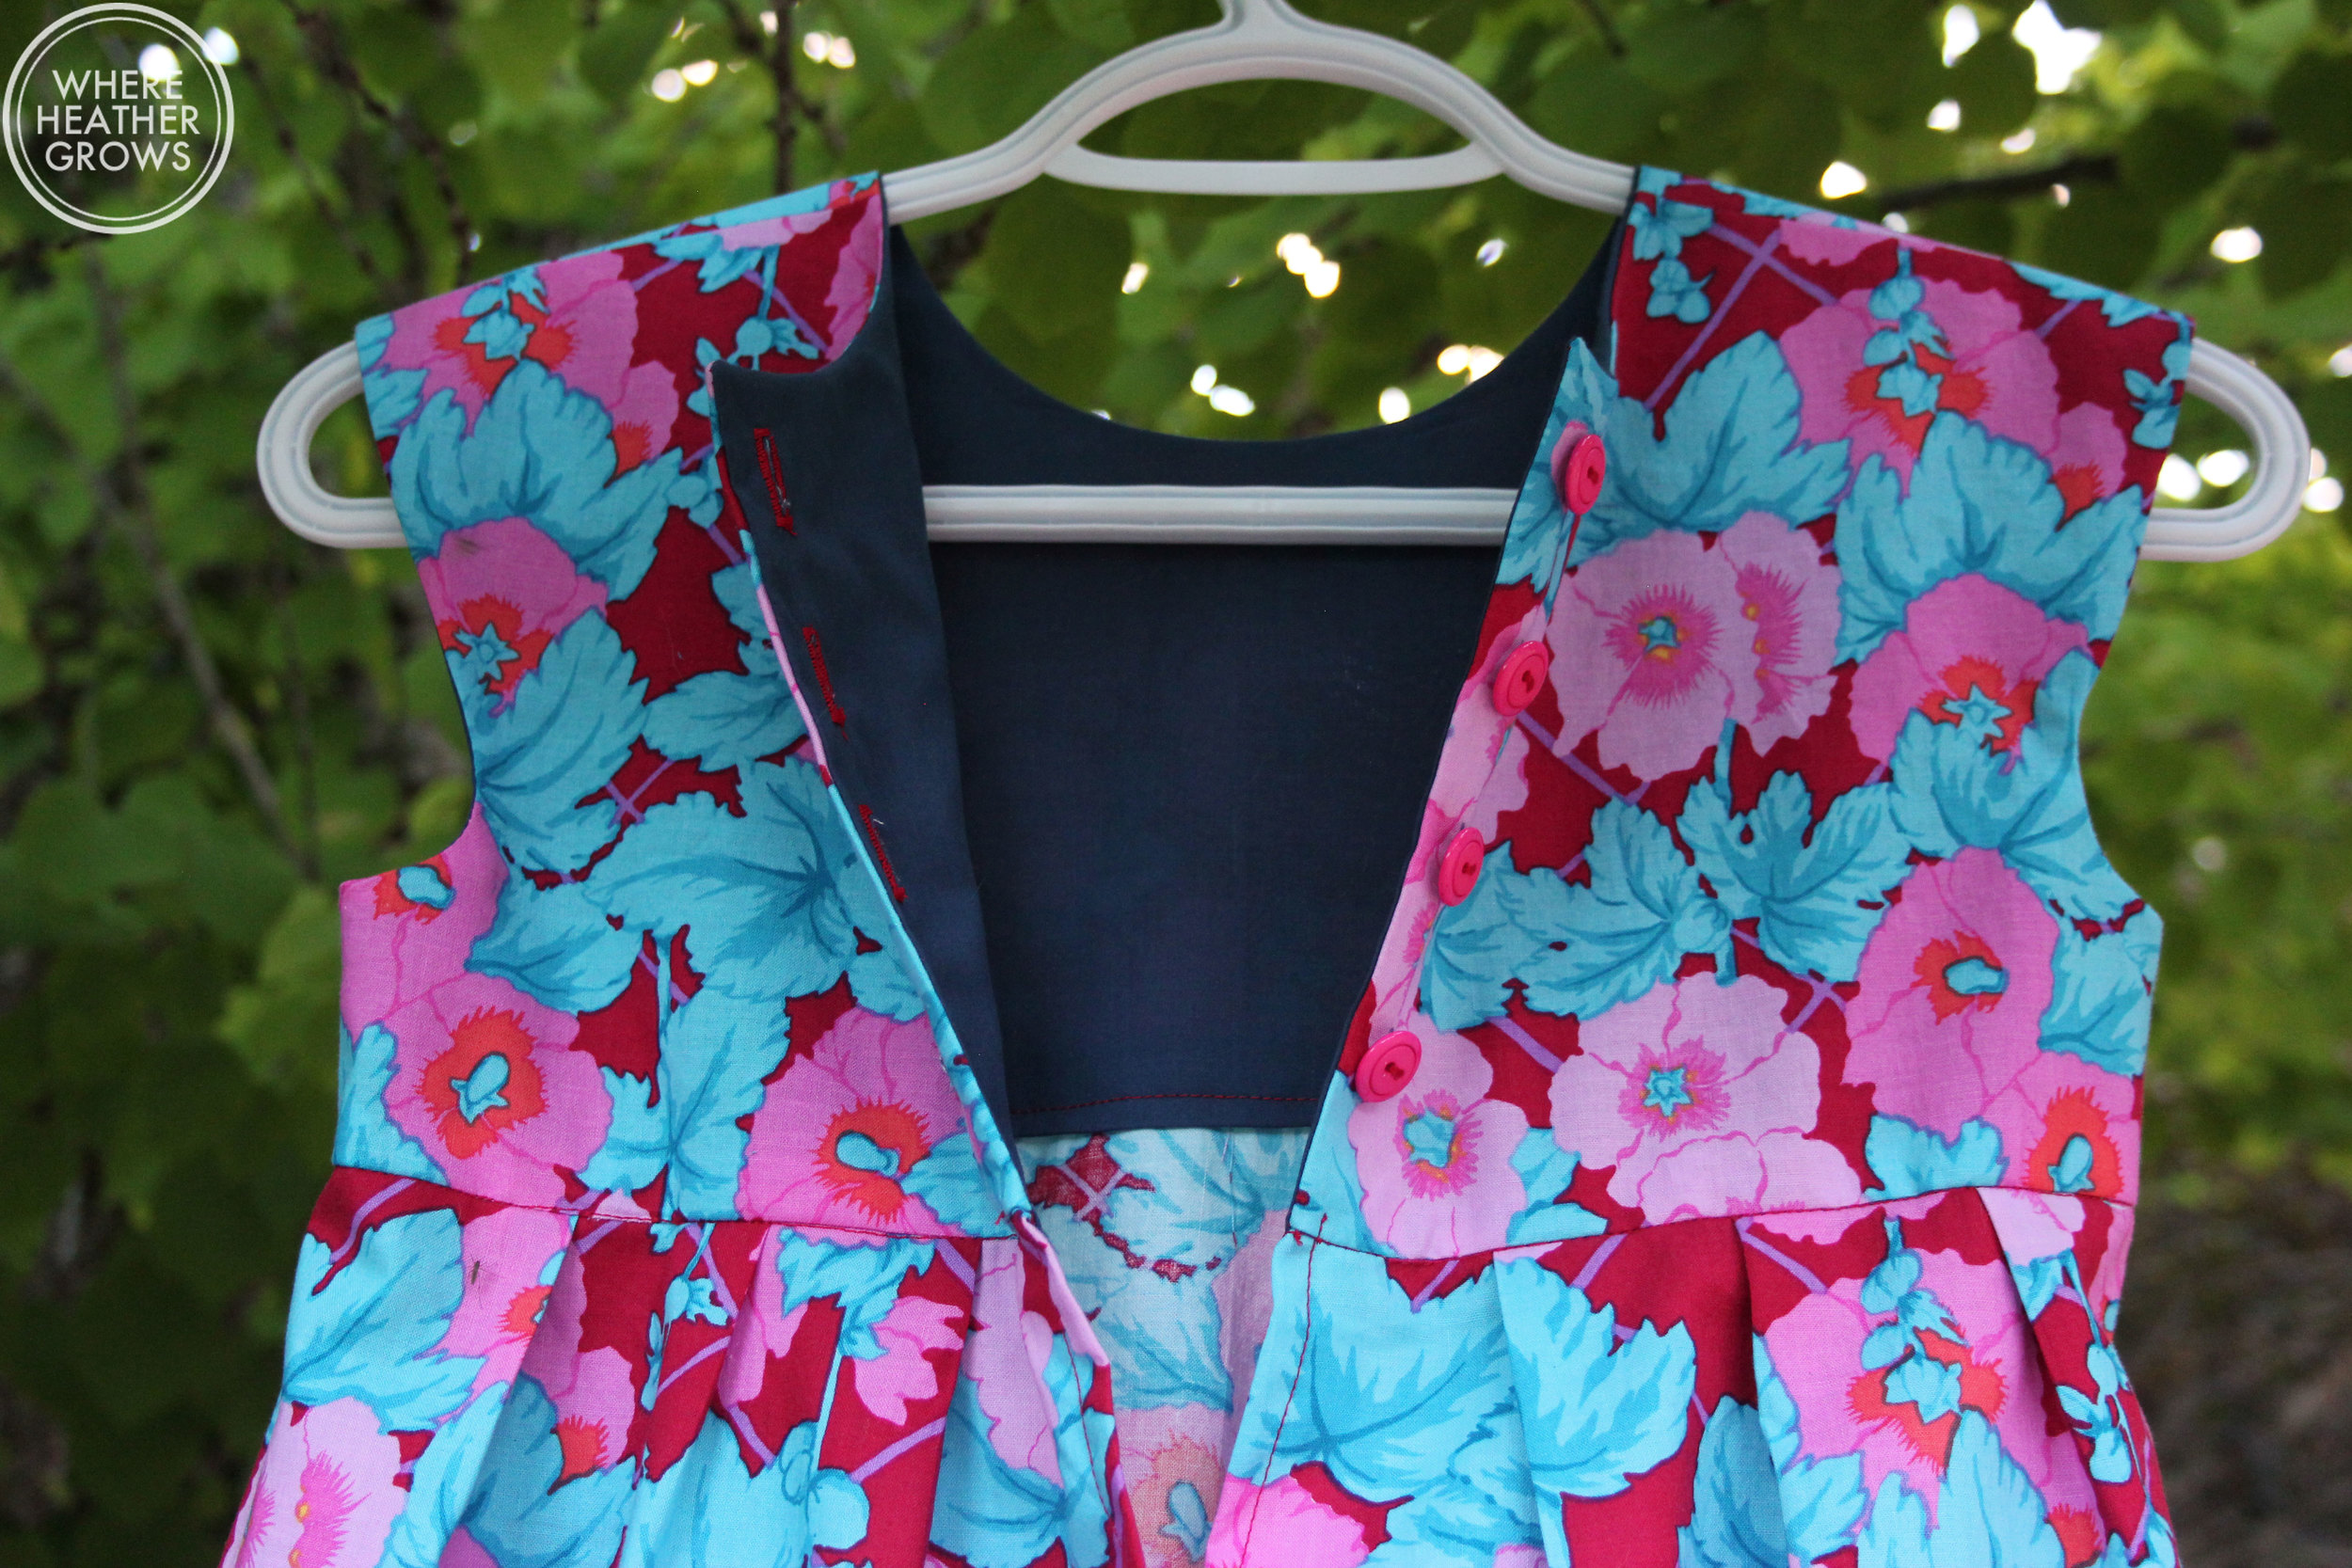
IMG_4541 IMG_4539 How cute is that? I am so happy with how this dress turned out. The instructions where amazing again, and so was my new Pfaff. One of the things I was looking for in a new machine was an automatic buttonhole feature. I have only ever made buttonholes once before this, and they didn't turn out really well, so I was a little nervous doing these ones. Especially because they are one of the last things you do when making this dress, and I didn't want to screw the whole thing up. I am happy to report that the Pfaff's (I really should give her a name) buttonhole feature is super easy to use, and the end result is gorgeous.

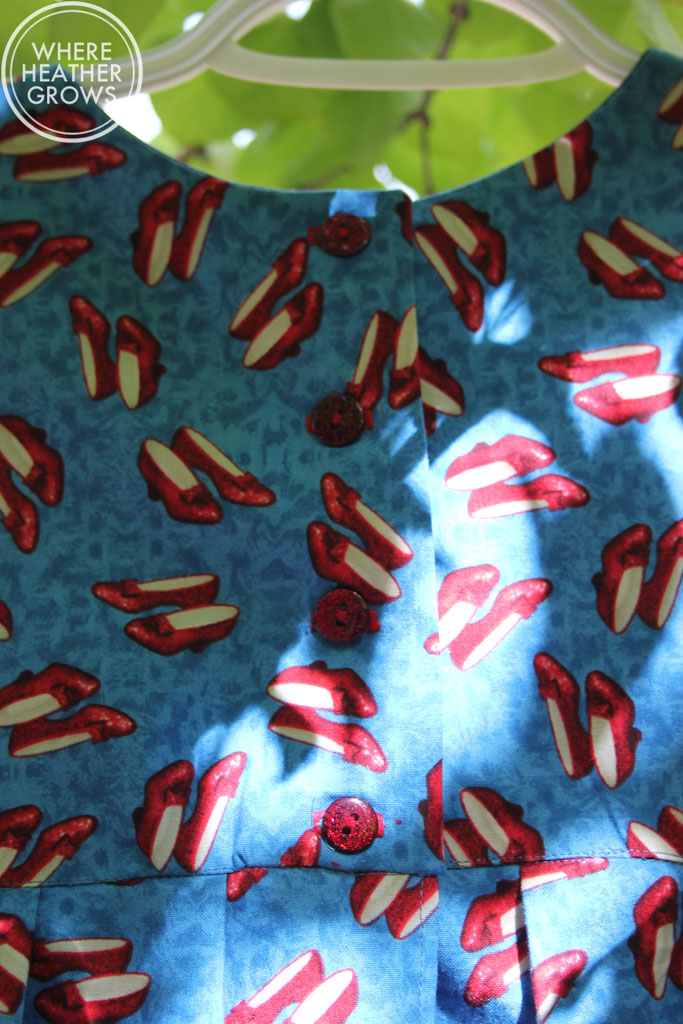
For the second dress, I made the same version but I used a quilting weight cotton from Fabricland. It has little ruby slippers on it which is very appropriate because not only does my niece love shoes, but she also loves the Wizard of Oz and her favourite colour is blue. Perfect!

IMG_4642

IMG_4636

IMG_4639

Aren't the buttons gorgeous? I found them at Fabricland in Salmon Arm and I couldn't resist. Ruby slipper buttons!! Both bodices are lined with a light batiste cotton in navy that also came from Fabric.com.

I couldn't be happier with how these two little dresses turned out. They were super quick and easy to sew up, and it was nice to sew something for someone else for a change. I really hope Dani likes them, and also that they fit. I think they will, but that's always my worry when making something for someone else.  We just got home tonight from the lake, so I am hoping to get a visit in with my little lady  in the next day or two, so I'll let you know how it works out.

The Tale of Two...Aprons?

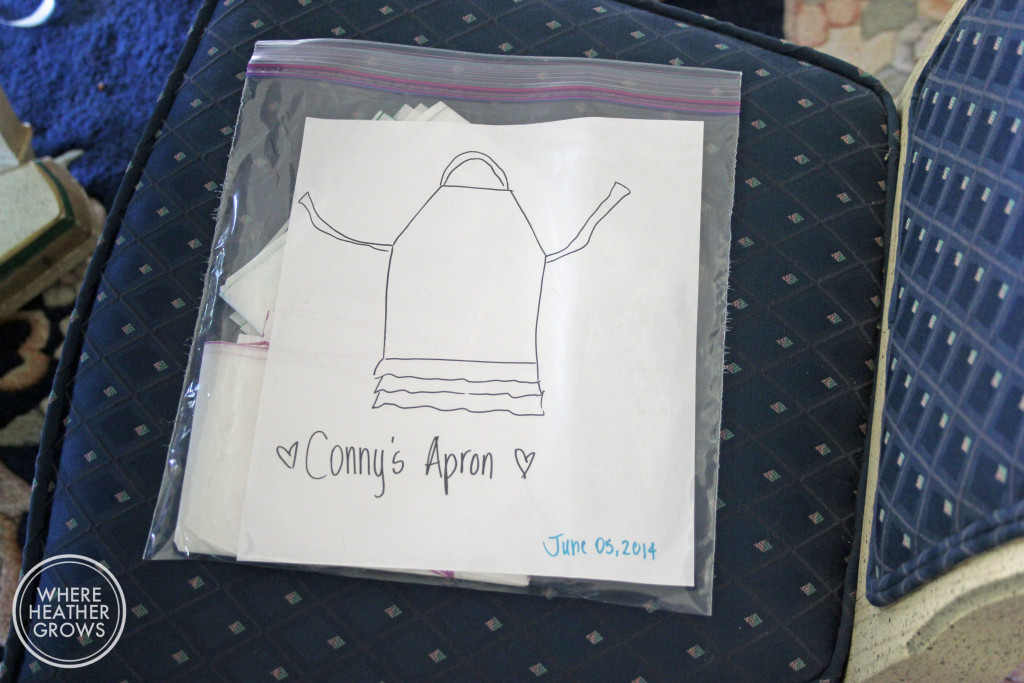
Well, long time no post. I have been busy sewing away, but I just haven't gotten around to photographing and writing very much lately. My poor little Solomon is getting nearer to the end of his days I think. He is having more and more troubles with his balance and with his paws. I am doing my best to keep him comfortable and happy, but that seems to involve more work and a lot of tears on my end. I find myself stopping what I am doing and taking time to give him an extra cuddle. Whatever I am making, writing, doing can wait. I don't ever want to feel like I didn't spend enough time with him. Anyway, enough talk about that (if I keep going I will turn into a blubbering mess!). Sewing has actually been a welcome distraction. It keeps my mind off worrying about the future, and keeps me present. Plus it also keeps Solomon in one spot - right at my toes. Onto the aprons. I was lucky enough to reconnect with an old junior high school buddy of mine and even better she is now a phenomenal nail technician. I am serious you guys, no one does nails like this lovely lady. I love going to see her because we are very like-minded and we always have a good visit. Anyway, when we started to chat about sewing, and my insane obsession with it, she started dropping hints about needing a new apron. You see, Conny (that's my friend) wears a really cute apron while she works to protect her clothes, but because she is such a petite little lady (and adorable by the way), it's hard for her to find an apron that fits. I was a little hesitant at first, because I have never really sewn for anyone but myself, but I decided to give it a go. She really liked her current apron, so I took some measurements and drafted my own pattern (If you really want to call it that, I mean it's just one piece with straps - hardly difficult).

IMG_6309

Anyway, this was my first time with a lot of techniques. I have never done a bias binding on a garment (only on quilts), I've never made and attached ruffles, and I have never made fabric covered buttons. So needless to say, I learned a lot making this little number.

IMG_4551

IMG_4525Look at that button! I'm pretty proud of how the buttons turned out, but it was dead easy. You buy this little kit (for about $5) and you just cut a circle of fabric, pop it on the little tool and snap the button together. I love how it adds a cute little detail.

IMG_4526

I bought the fabric, thread, button kit and pre-made bias binding at Fabricland. I was hoping to find a stiff polka-dotted cotton, but for some reason there wasn't any, so I went with a softer cotton. To make it a bit more durable, I lined it with some cotton batiste from my stash. I think it turned out pretty nicely. When I was all finished, I tried it on, just to see what it would look like on a body, and that's when I noticed it. It was really small. I don't know why it didn't really occur to me the whole time I was working on it, but I must have measured something wrong, because this apron was tiny (it still fit me - perfect in length actually, but it didn't really offer the coverage I was going for). DOH! So back to the drawing board. I made a new pattern to make the apron wider and started over.

IMG_4527

It was actually a good thing, cause I perfected a few techniques and made a couple of changes a long the way to make it that much better. Anyway, I have been debating about what to do with the smaller one, but I think I will give it to Conny too. She has an adorable little step-daughter who I think it will fit nicely. Then they can be twins when working on messy projects!

With being in BC, I haven't had a chance to give Conny her new apron(s), but I'll see her next week and give them to her then. Fingers crossed she likes it and it fits!

Where Heather Quilts?

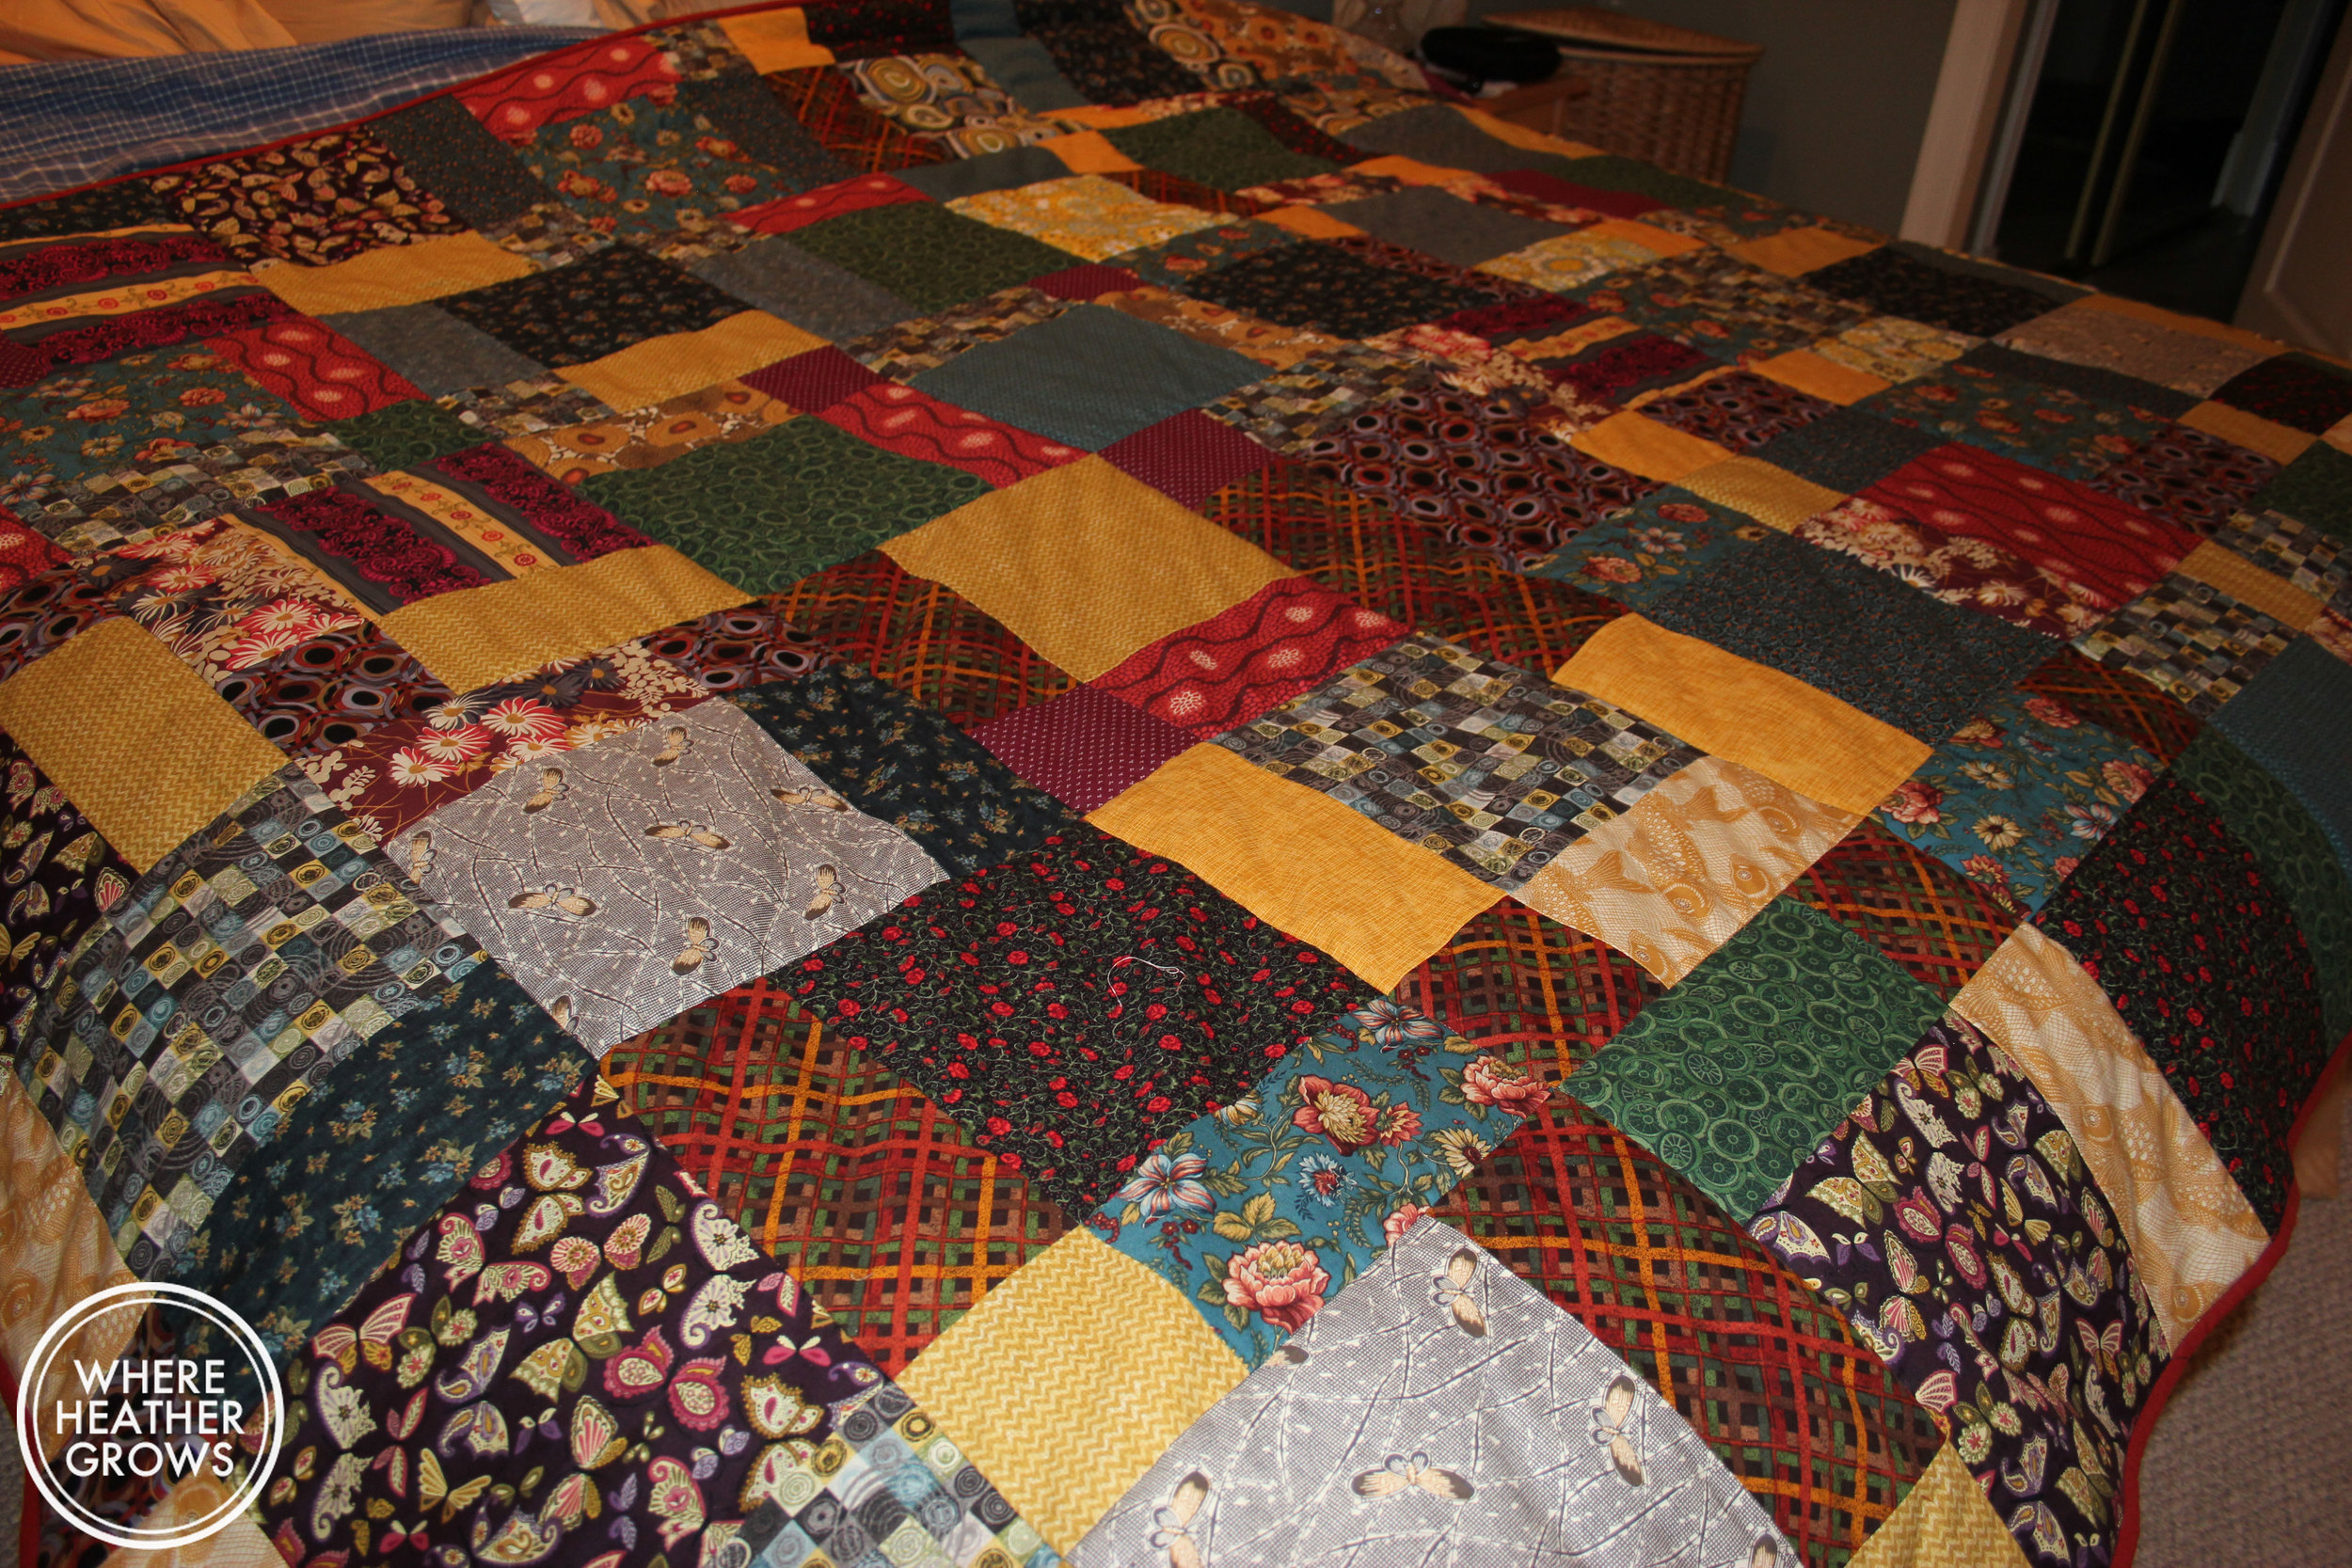
So at long last, I finished John's quilt! And just in time too (LOL). I finished it late Tuesday night, as I wanted to have it for his birthday on Wednesday. IMG_4509

IMG_4510

IMG_4513

About 3 years ago, John asked me to make him a quilt, so off to Fabricland we went, and he even picked out all the fabrics! I was so happy to finally be able to make him something. He doesn't often make requests. I had originally planned this super complex Canasta pattern (by Elizabeth Hartman of Oh Fransson), but it involved so much cutting and piecing! I started it with gusto, but then it got thrown in the corner one day so I could work on something else, and  it became super intimidating every time I thought about it. I'm not sure why, it's just a bunch of straight lines, but anyway, I found I just could not go back to it. Everytime I thought about picking it up again, there were pantries to be straightened, carpets to vacuum, and sock drawers to organize.

IMG_4514

IMG_4513

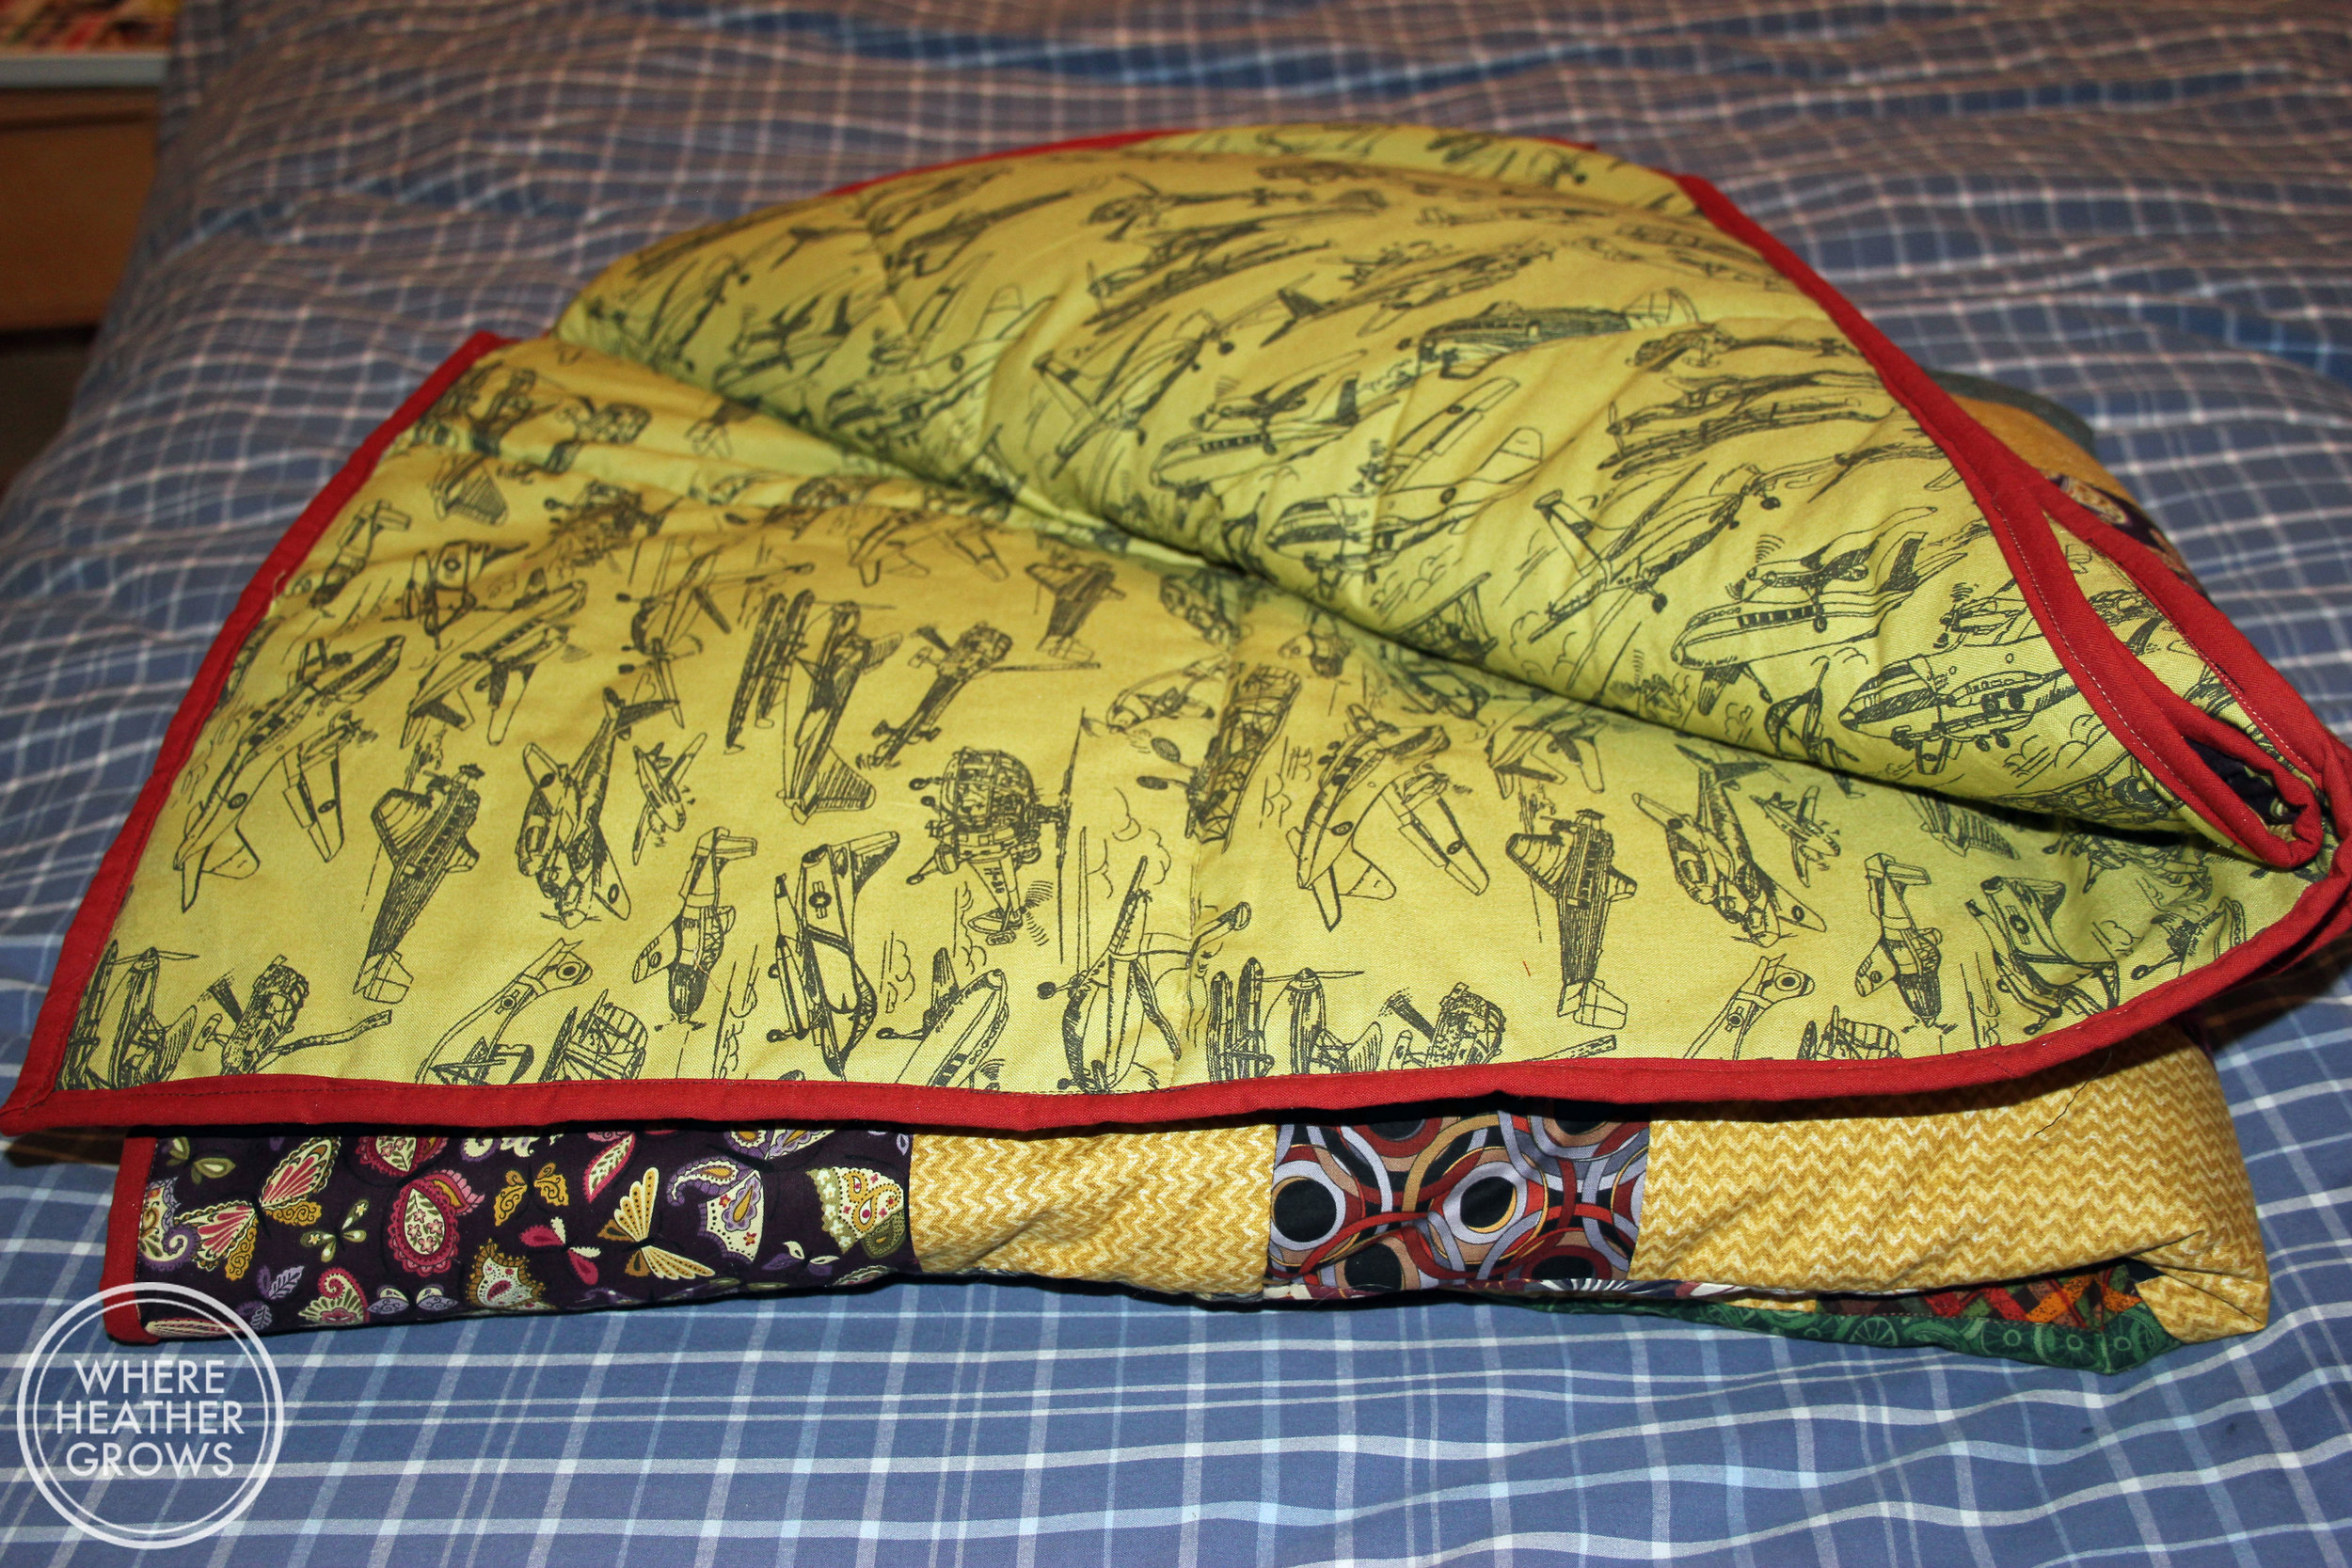
So at the beginning of this year, I thought, this is stupid. I have tons of fabric, let's change the pattern, and I came up with this. It's the biggest quilt I have ever made; somewhere in between a Queen and a King. I was going to piece the back together, but then I found this awesome fabric made especially for quilt backs at Fabric.com. Who knew they made fabric just for this purpose?

IMG_4519Aren't the planes cute?

IMG_4520

I saw a tutorial for a similar quilt block somewhere, but I can't remember where (Oops!). Anyway, here's how I did it.

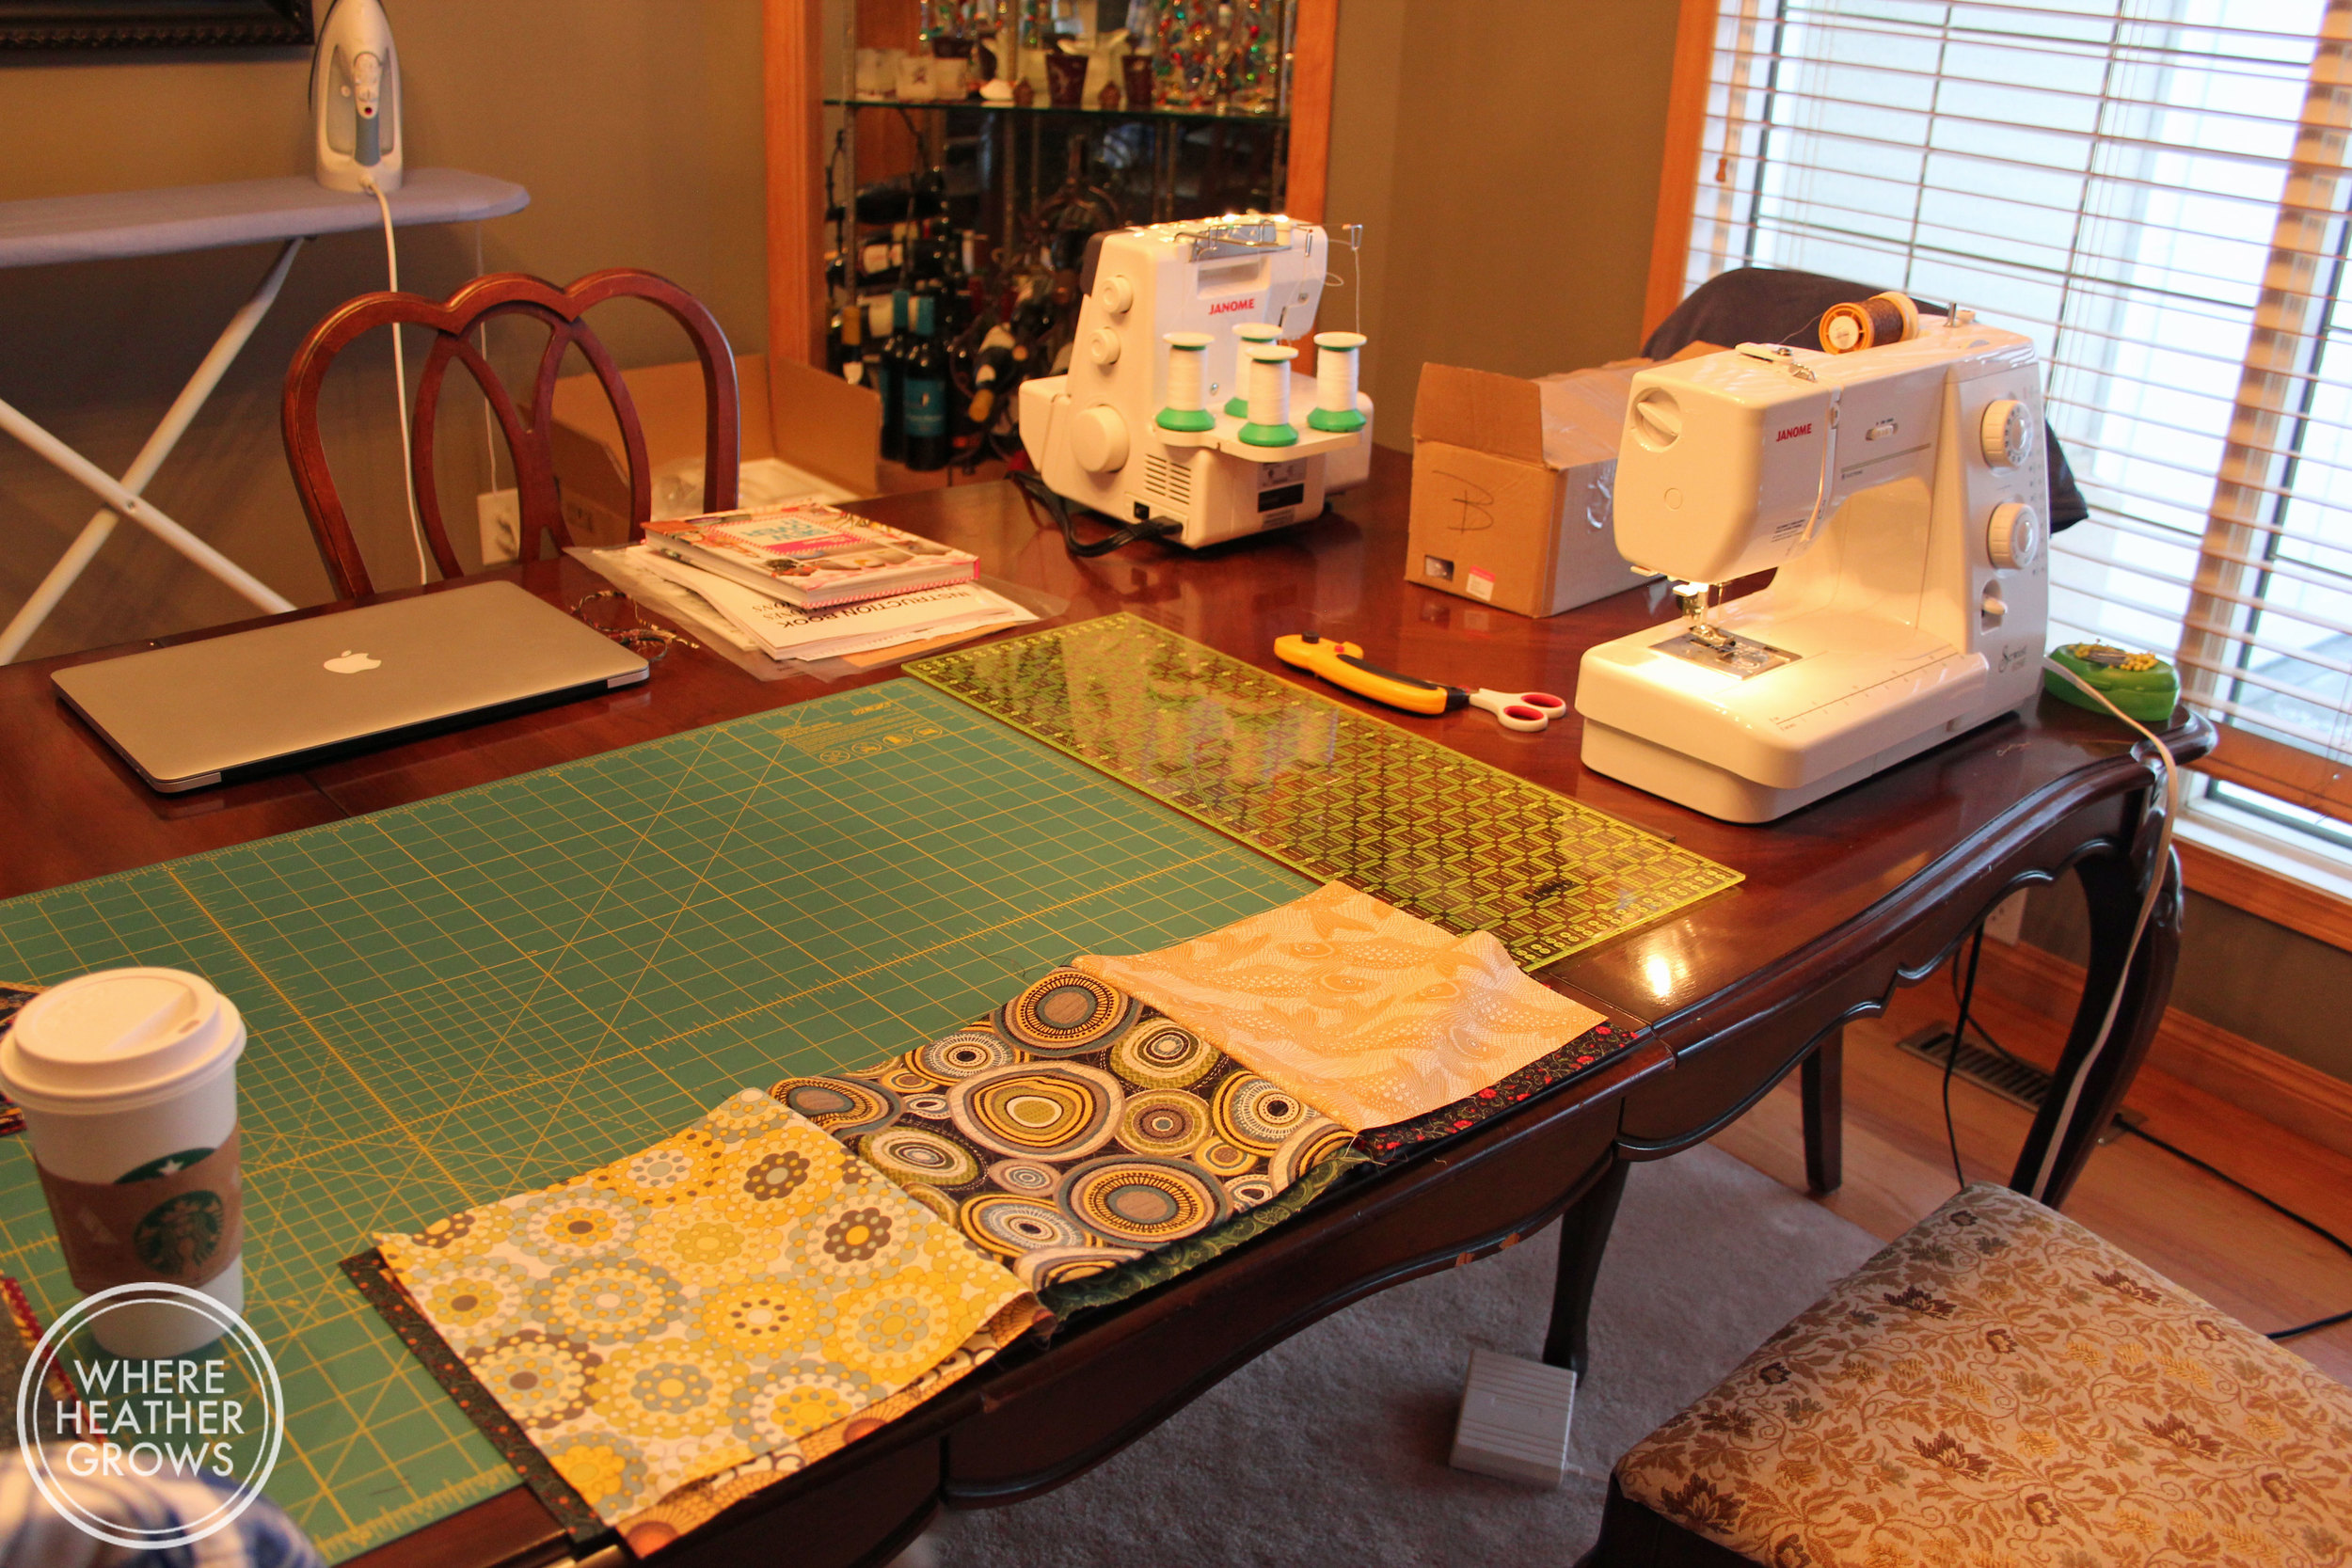
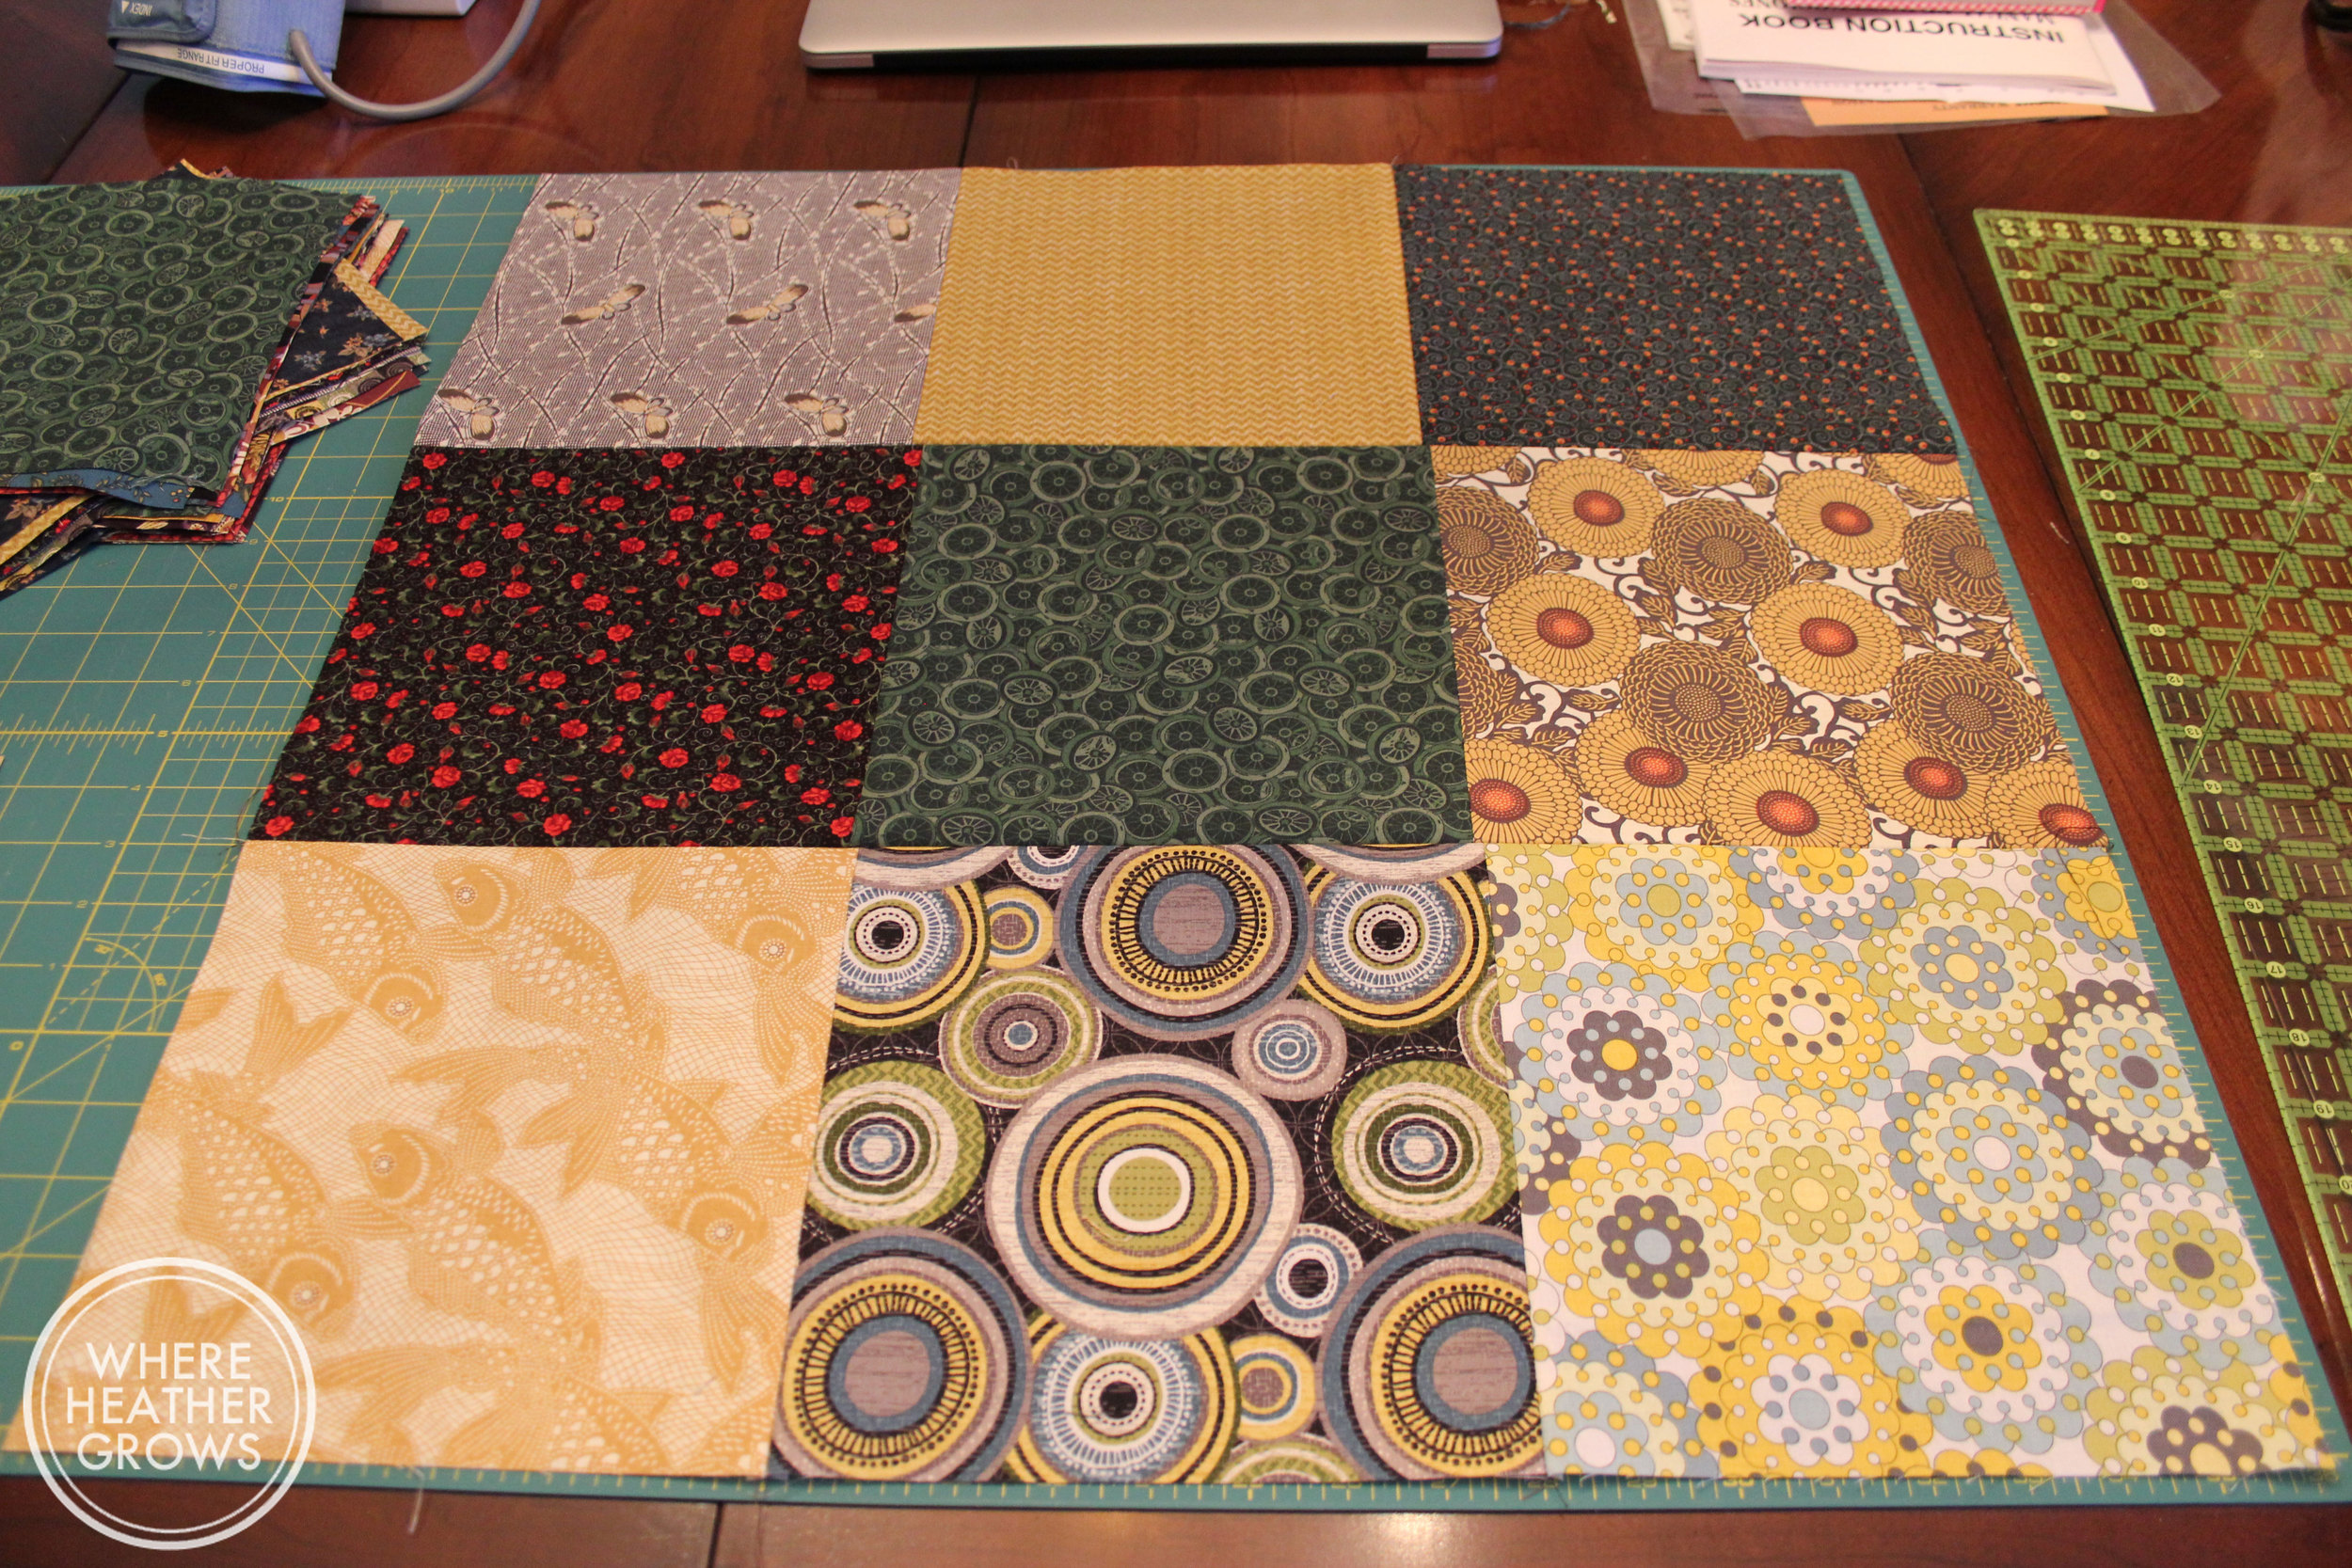
First... cut out a bunch of squares (you need nine per block and the size depends on how big you want your finished block to be - mine squares were 8"x 8").

IMG_4131

Then you sew them together:

IMG_4125

IMG_4130

IMG_4140

Then you cut them:

IMG_4141

IMG_4142

Then you rearrange them in a pleasing manor (just by turning the cut blocks) and sew them back together:

IMG_4143

And Voila! A fancy quilt block.

IMG_4147

IMG_4148

One you've made a bunch of these, you sew them together and you have a quilt top. Easy peasy!

While I struggled a lot with this quilt. I am super happy with how it turned out. I didn't do any fancy free hand quilting or anything, mostly because I don't know how, and the prospect of screwing up everything I had done up until the quilting point freaked me out. So I used my old stand-by stitch in the ditch method and while it's not perfect, I think it looks pretty good. It's the sixth quilt I've ever made. I'm pretty proud of it, can you tell? (It passes Solomon's inspection too!)

IMG_4518

IMG_4515

John is pretty happy with it too. He made some lovely fabric choices, which I supplemented with a few of my own choices from the Maui Quilt Shop. I had to replace the fabrics I cut up for the original Canasta blocks (which I may still sew up into a little lap quilt).

It feels so good to have this baby done! It's weight off my shoulders and I am so happy to be able to give my husband something that I've made (and that he likes).

Have you ever made a quilt? How about a handmade gift?