Handmade Christmas Part 1

So this year, I really wanted to at least try to make some handmade gifts. I know there are a few people on my list that would really appreciate a handmade gift, so I wanted to make sure I took advantage of that fact, because a) I love sewing and b) I hate going to the mall during the Christmas shopping season. Also, I  personally love receiving handmade gifts. It means so much to me when people take the time and put in effort to actually make me a gift. So hopefully, the people who are receiving handmade gifts from me, will feel the same way. Fingers crossed anyway. I made a few things that I can't share with you quite yet, but I have a couple of things that I can. When I saw the LBG Studio Leather Accent Pouch pattern on Indiesew, I knew it would be the perfect thing for two of my girlfriends. I really loved the leather accent details and I thought it would be a good foray into sewing with leather too.

IMG_5835

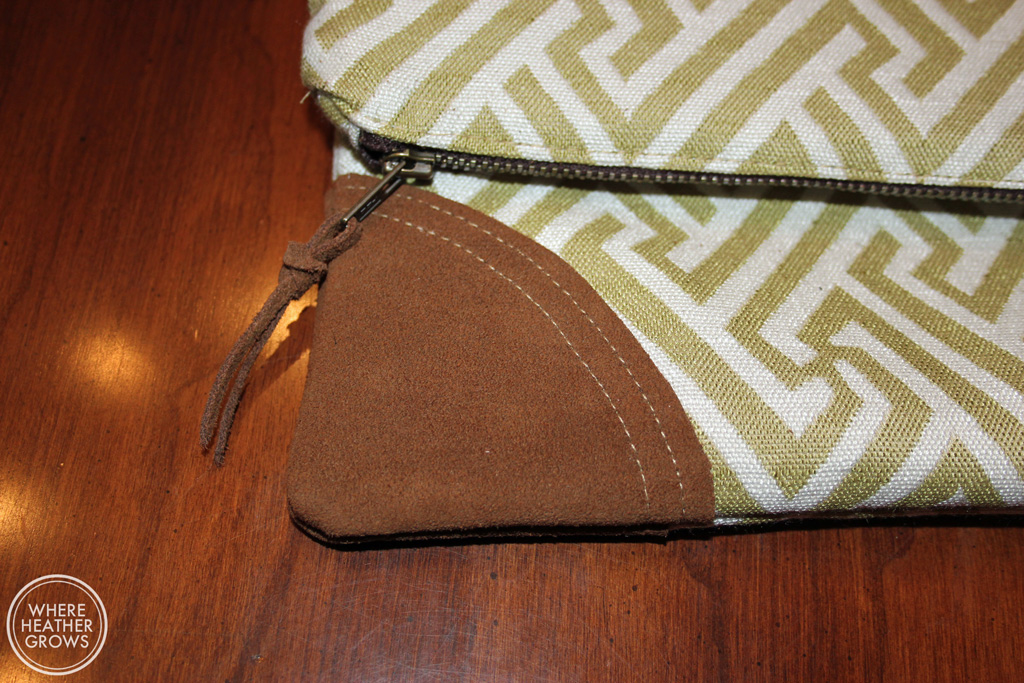
For the first one, I used some upholstery fabric and for the accents I bought a tiny piece of brown suede, both found at my local Fabricland.

IMG_5831

The construction was quite straight forward, and you could probably make this without a pattern, but I felt like I needed some hand holding, and I am always much to nervous and lazy to figure out dimensions on my own.

IMG_5830

This was my first go at sewing with leather, and I think it went pretty well. I made sure to use a leather needle in my machine, but I don't have a teflon foot. My Pfaff has IDT built in which is basically a walking foot and it worked really well.

IMG_5832

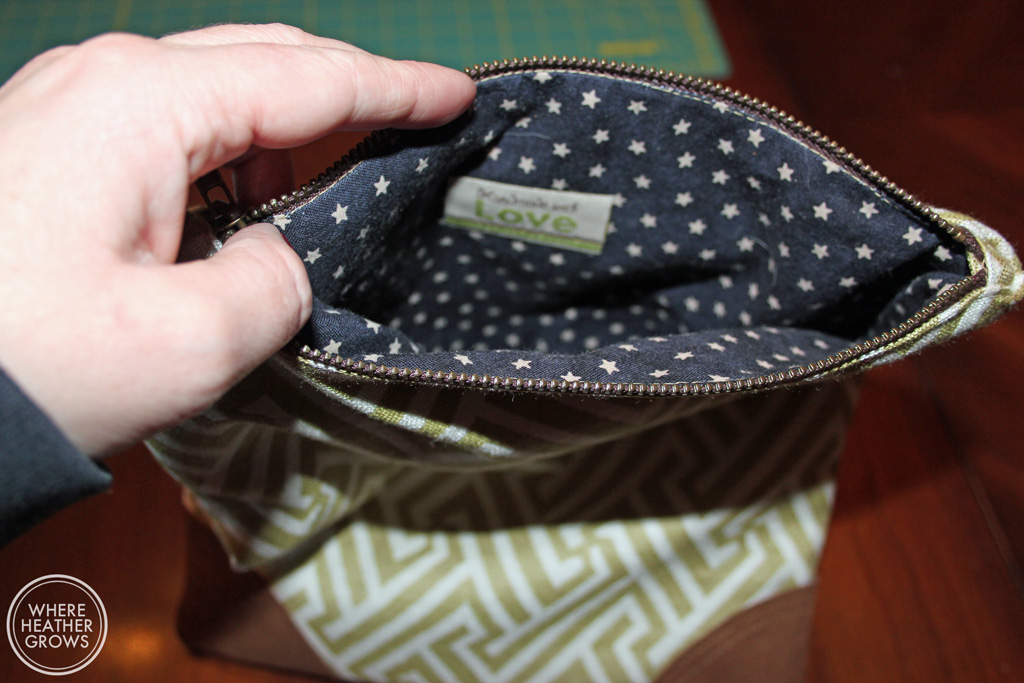
For both bags I used a printed quilting cotton from my stash for the lining and a jeans zipper.

IMG_5834

The second bag was a little trickier to sew.

IMG_5821

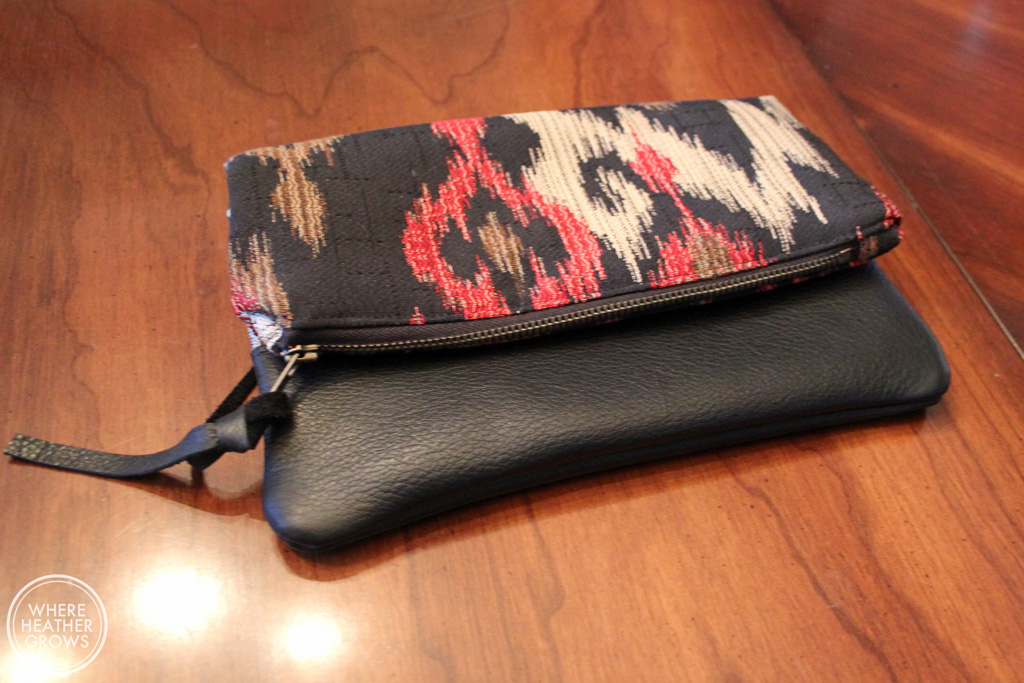
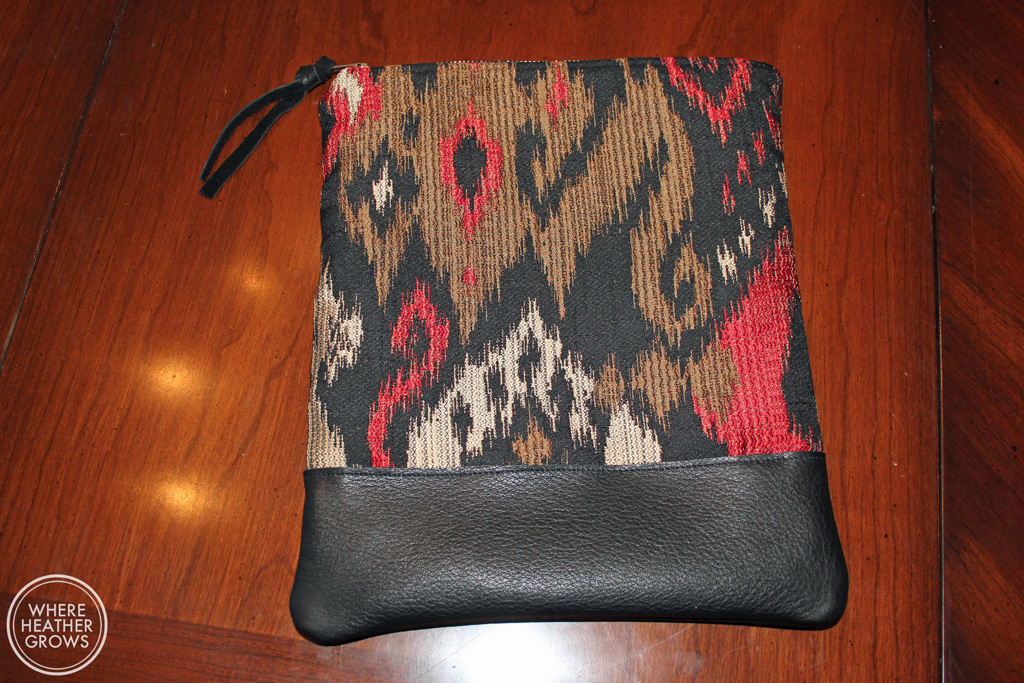
The leather came from a used leather jacket that I picked up at an estate sale. It is super buttery soft, and I found that it stretched around at bit and it stuck to my machine a bit more than the other leather did. A teflon foot may have helped and I might pick one up next time they're on sale.

IMG_5822

I think this leather looks a bit nicer than the Fabricland stuff though. The main fabric is more upholstery fabric. The upholstery fabric worked out really well. It added a bit more structure to the bags and I am hoping that it will be a bit more durable over time.

IMG_5816

These were pretty quick projects and I am super happy with how they turned out. I felt really good giving them as gifts, and hopefully the receivers get lots of use out of them.

How about you? Are you ready for Christmas yet? How do you feel about handmade gifts?

The Tale of Two...Aprons?

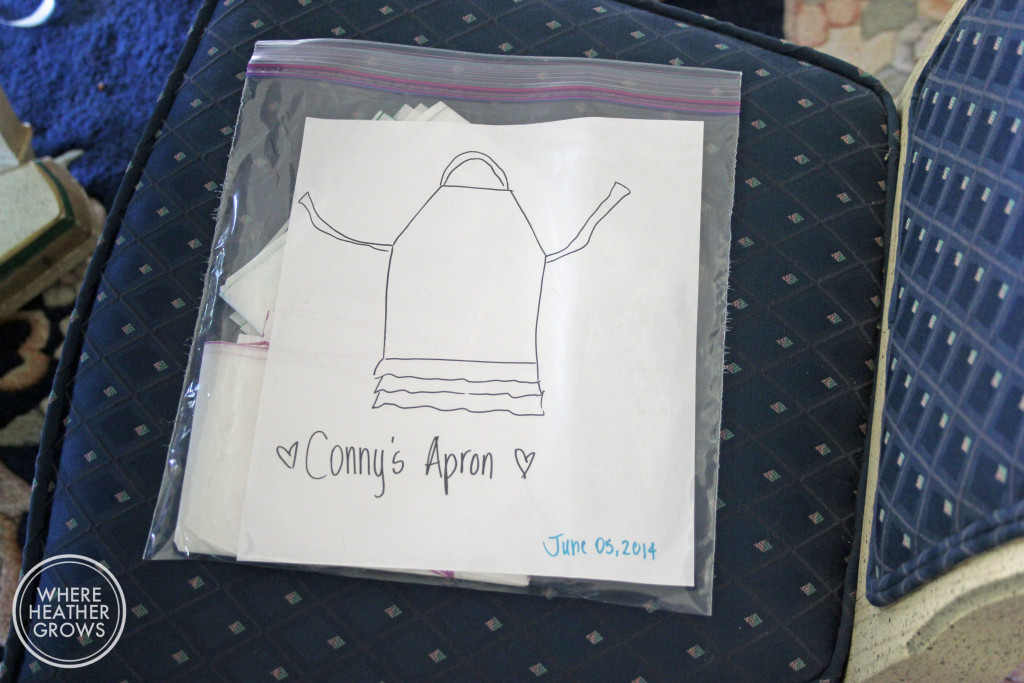
Well, long time no post. I have been busy sewing away, but I just haven't gotten around to photographing and writing very much lately. My poor little Solomon is getting nearer to the end of his days I think. He is having more and more troubles with his balance and with his paws. I am doing my best to keep him comfortable and happy, but that seems to involve more work and a lot of tears on my end. I find myself stopping what I am doing and taking time to give him an extra cuddle. Whatever I am making, writing, doing can wait. I don't ever want to feel like I didn't spend enough time with him. Anyway, enough talk about that (if I keep going I will turn into a blubbering mess!). Sewing has actually been a welcome distraction. It keeps my mind off worrying about the future, and keeps me present. Plus it also keeps Solomon in one spot - right at my toes. Onto the aprons. I was lucky enough to reconnect with an old junior high school buddy of mine and even better she is now a phenomenal nail technician. I am serious you guys, no one does nails like this lovely lady. I love going to see her because we are very like-minded and we always have a good visit. Anyway, when we started to chat about sewing, and my insane obsession with it, she started dropping hints about needing a new apron. You see, Conny (that's my friend) wears a really cute apron while she works to protect her clothes, but because she is such a petite little lady (and adorable by the way), it's hard for her to find an apron that fits. I was a little hesitant at first, because I have never really sewn for anyone but myself, but I decided to give it a go. She really liked her current apron, so I took some measurements and drafted my own pattern (If you really want to call it that, I mean it's just one piece with straps - hardly difficult).

IMG_6309

Anyway, this was my first time with a lot of techniques. I have never done a bias binding on a garment (only on quilts), I've never made and attached ruffles, and I have never made fabric covered buttons. So needless to say, I learned a lot making this little number.

IMG_4551

IMG_4525Look at that button! I'm pretty proud of how the buttons turned out, but it was dead easy. You buy this little kit (for about $5) and you just cut a circle of fabric, pop it on the little tool and snap the button together. I love how it adds a cute little detail.

IMG_4526

I bought the fabric, thread, button kit and pre-made bias binding at Fabricland. I was hoping to find a stiff polka-dotted cotton, but for some reason there wasn't any, so I went with a softer cotton. To make it a bit more durable, I lined it with some cotton batiste from my stash. I think it turned out pretty nicely. When I was all finished, I tried it on, just to see what it would look like on a body, and that's when I noticed it. It was really small. I don't know why it didn't really occur to me the whole time I was working on it, but I must have measured something wrong, because this apron was tiny (it still fit me - perfect in length actually, but it didn't really offer the coverage I was going for). DOH! So back to the drawing board. I made a new pattern to make the apron wider and started over.

IMG_4527

It was actually a good thing, cause I perfected a few techniques and made a couple of changes a long the way to make it that much better. Anyway, I have been debating about what to do with the smaller one, but I think I will give it to Conny too. She has an adorable little step-daughter who I think it will fit nicely. Then they can be twins when working on messy projects!

With being in BC, I haven't had a chance to give Conny her new apron(s), but I'll see her next week and give them to her then. Fingers crossed she likes it and it fits!

Where Heather Quilts?

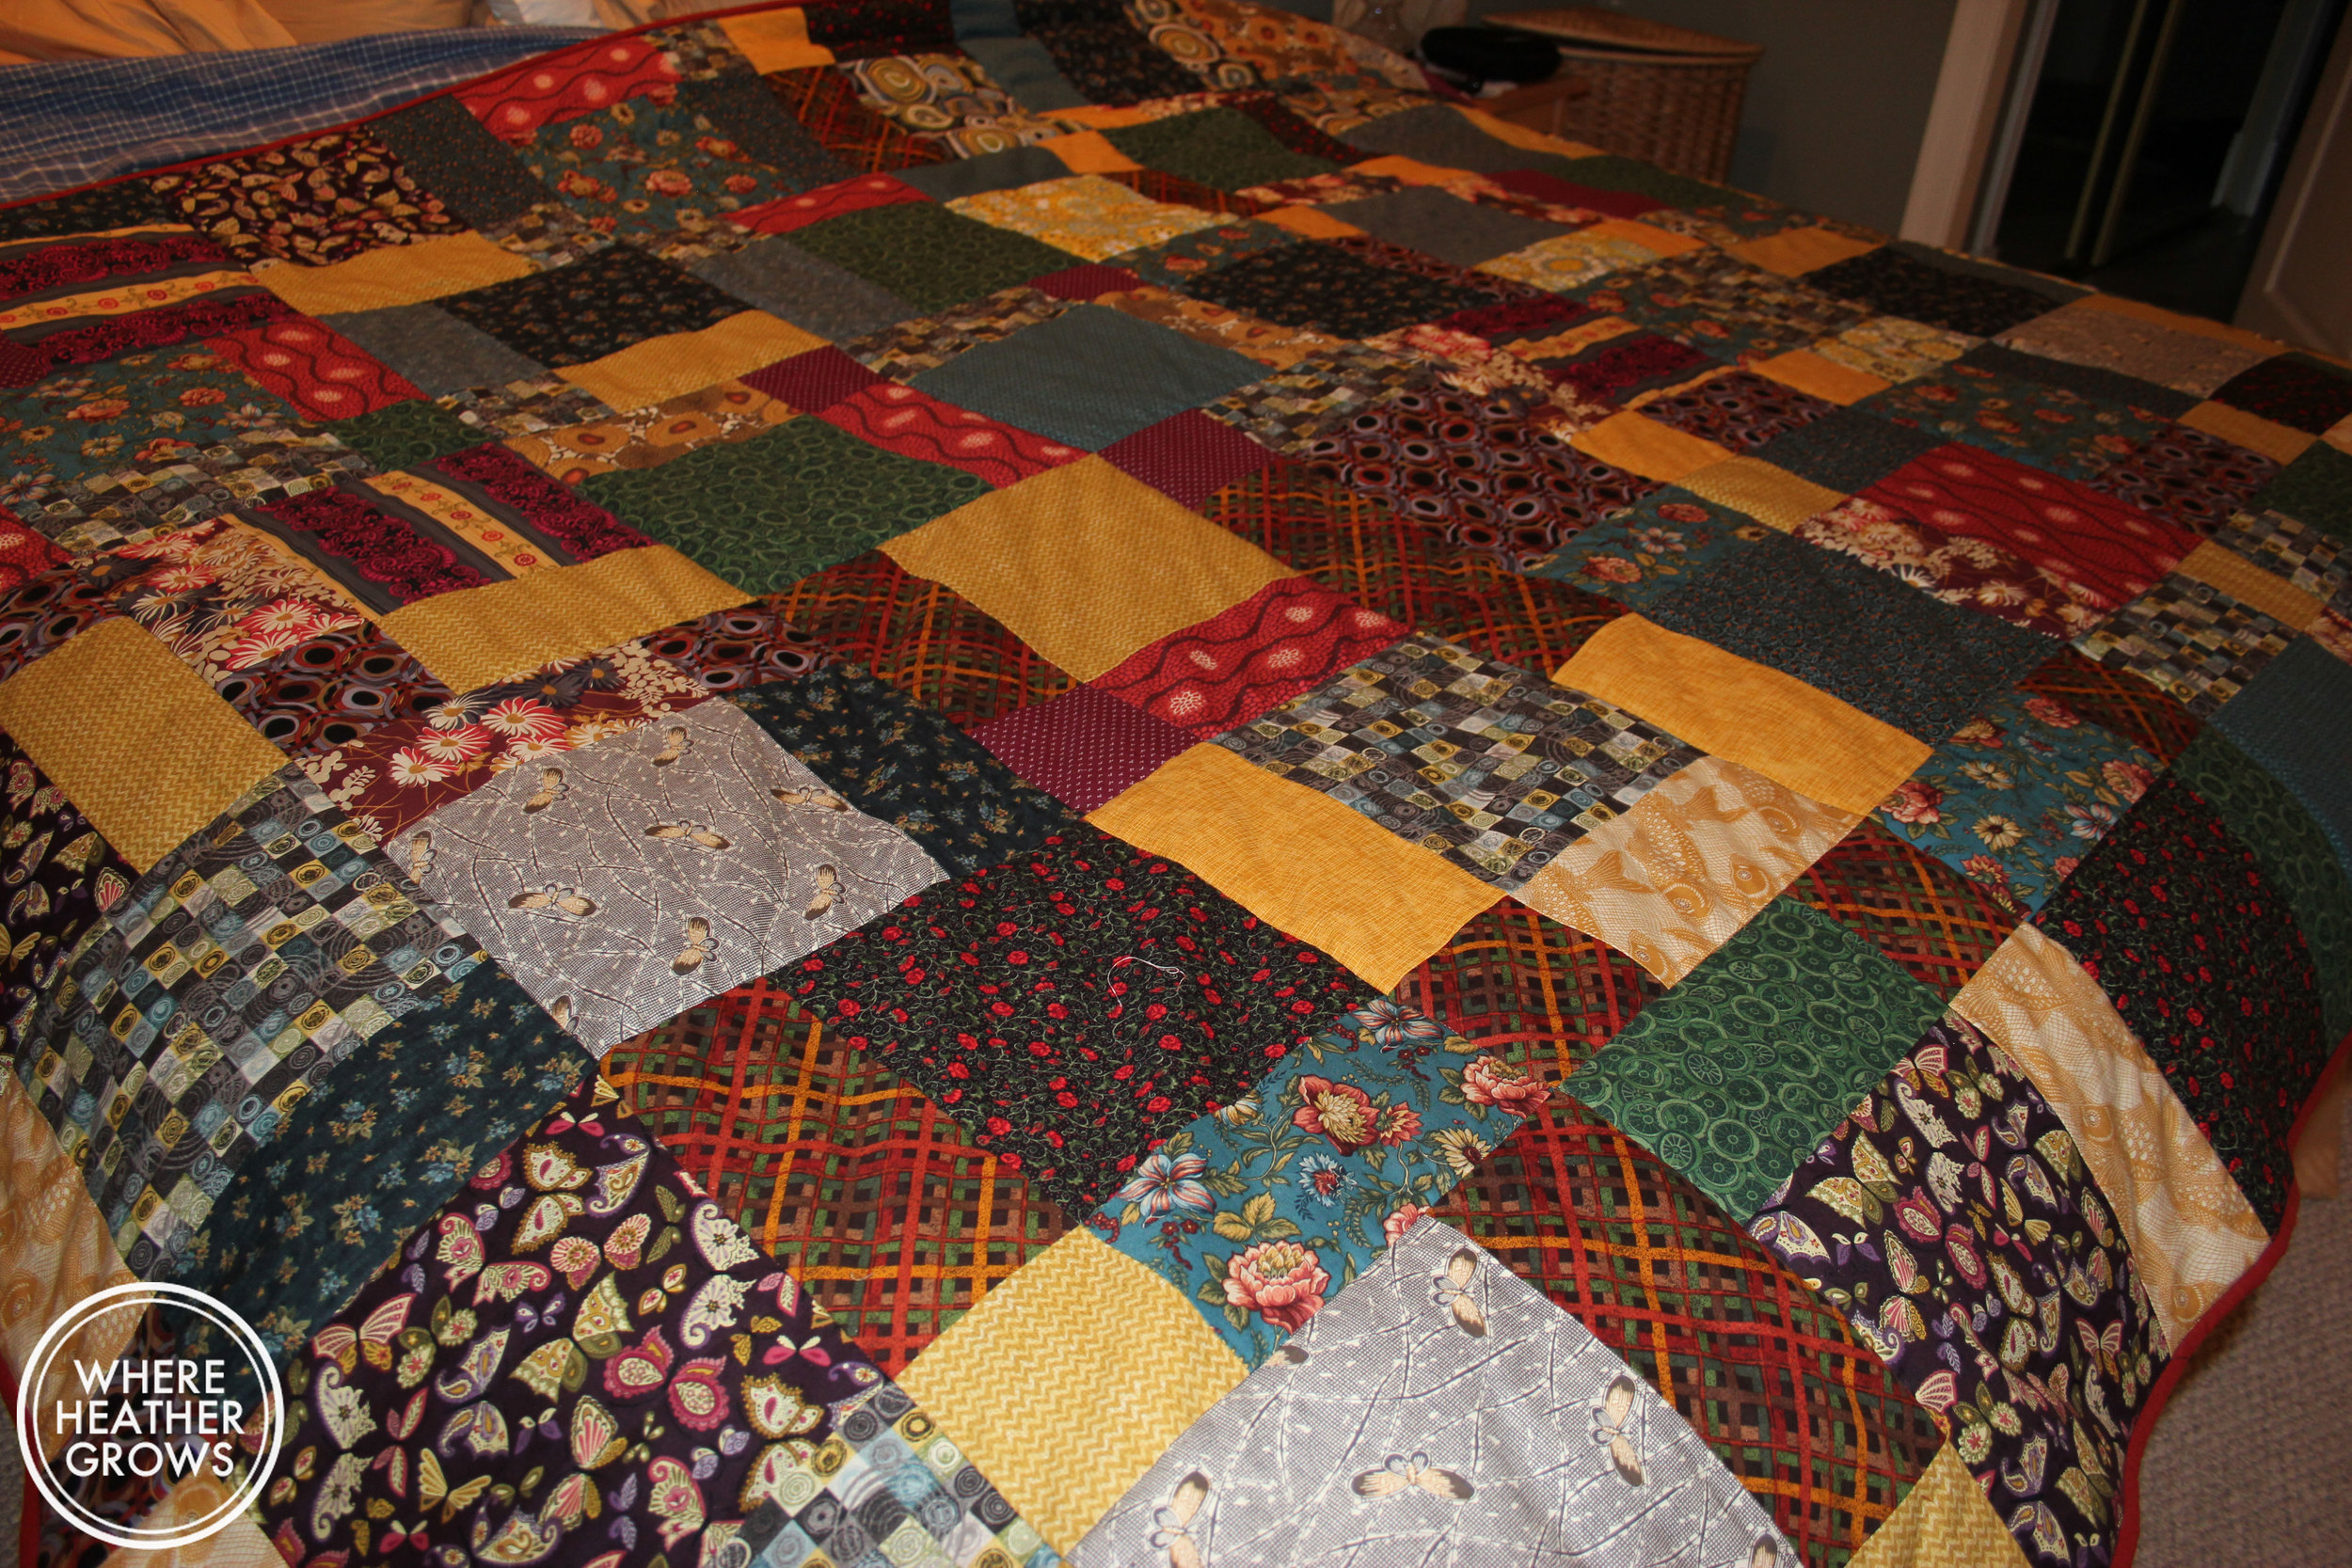
So at long last, I finished John's quilt! And just in time too (LOL). I finished it late Tuesday night, as I wanted to have it for his birthday on Wednesday. IMG_4509

IMG_4510

IMG_4513

About 3 years ago, John asked me to make him a quilt, so off to Fabricland we went, and he even picked out all the fabrics! I was so happy to finally be able to make him something. He doesn't often make requests. I had originally planned this super complex Canasta pattern (by Elizabeth Hartman of Oh Fransson), but it involved so much cutting and piecing! I started it with gusto, but then it got thrown in the corner one day so I could work on something else, and  it became super intimidating every time I thought about it. I'm not sure why, it's just a bunch of straight lines, but anyway, I found I just could not go back to it. Everytime I thought about picking it up again, there were pantries to be straightened, carpets to vacuum, and sock drawers to organize.

IMG_4514

IMG_4513

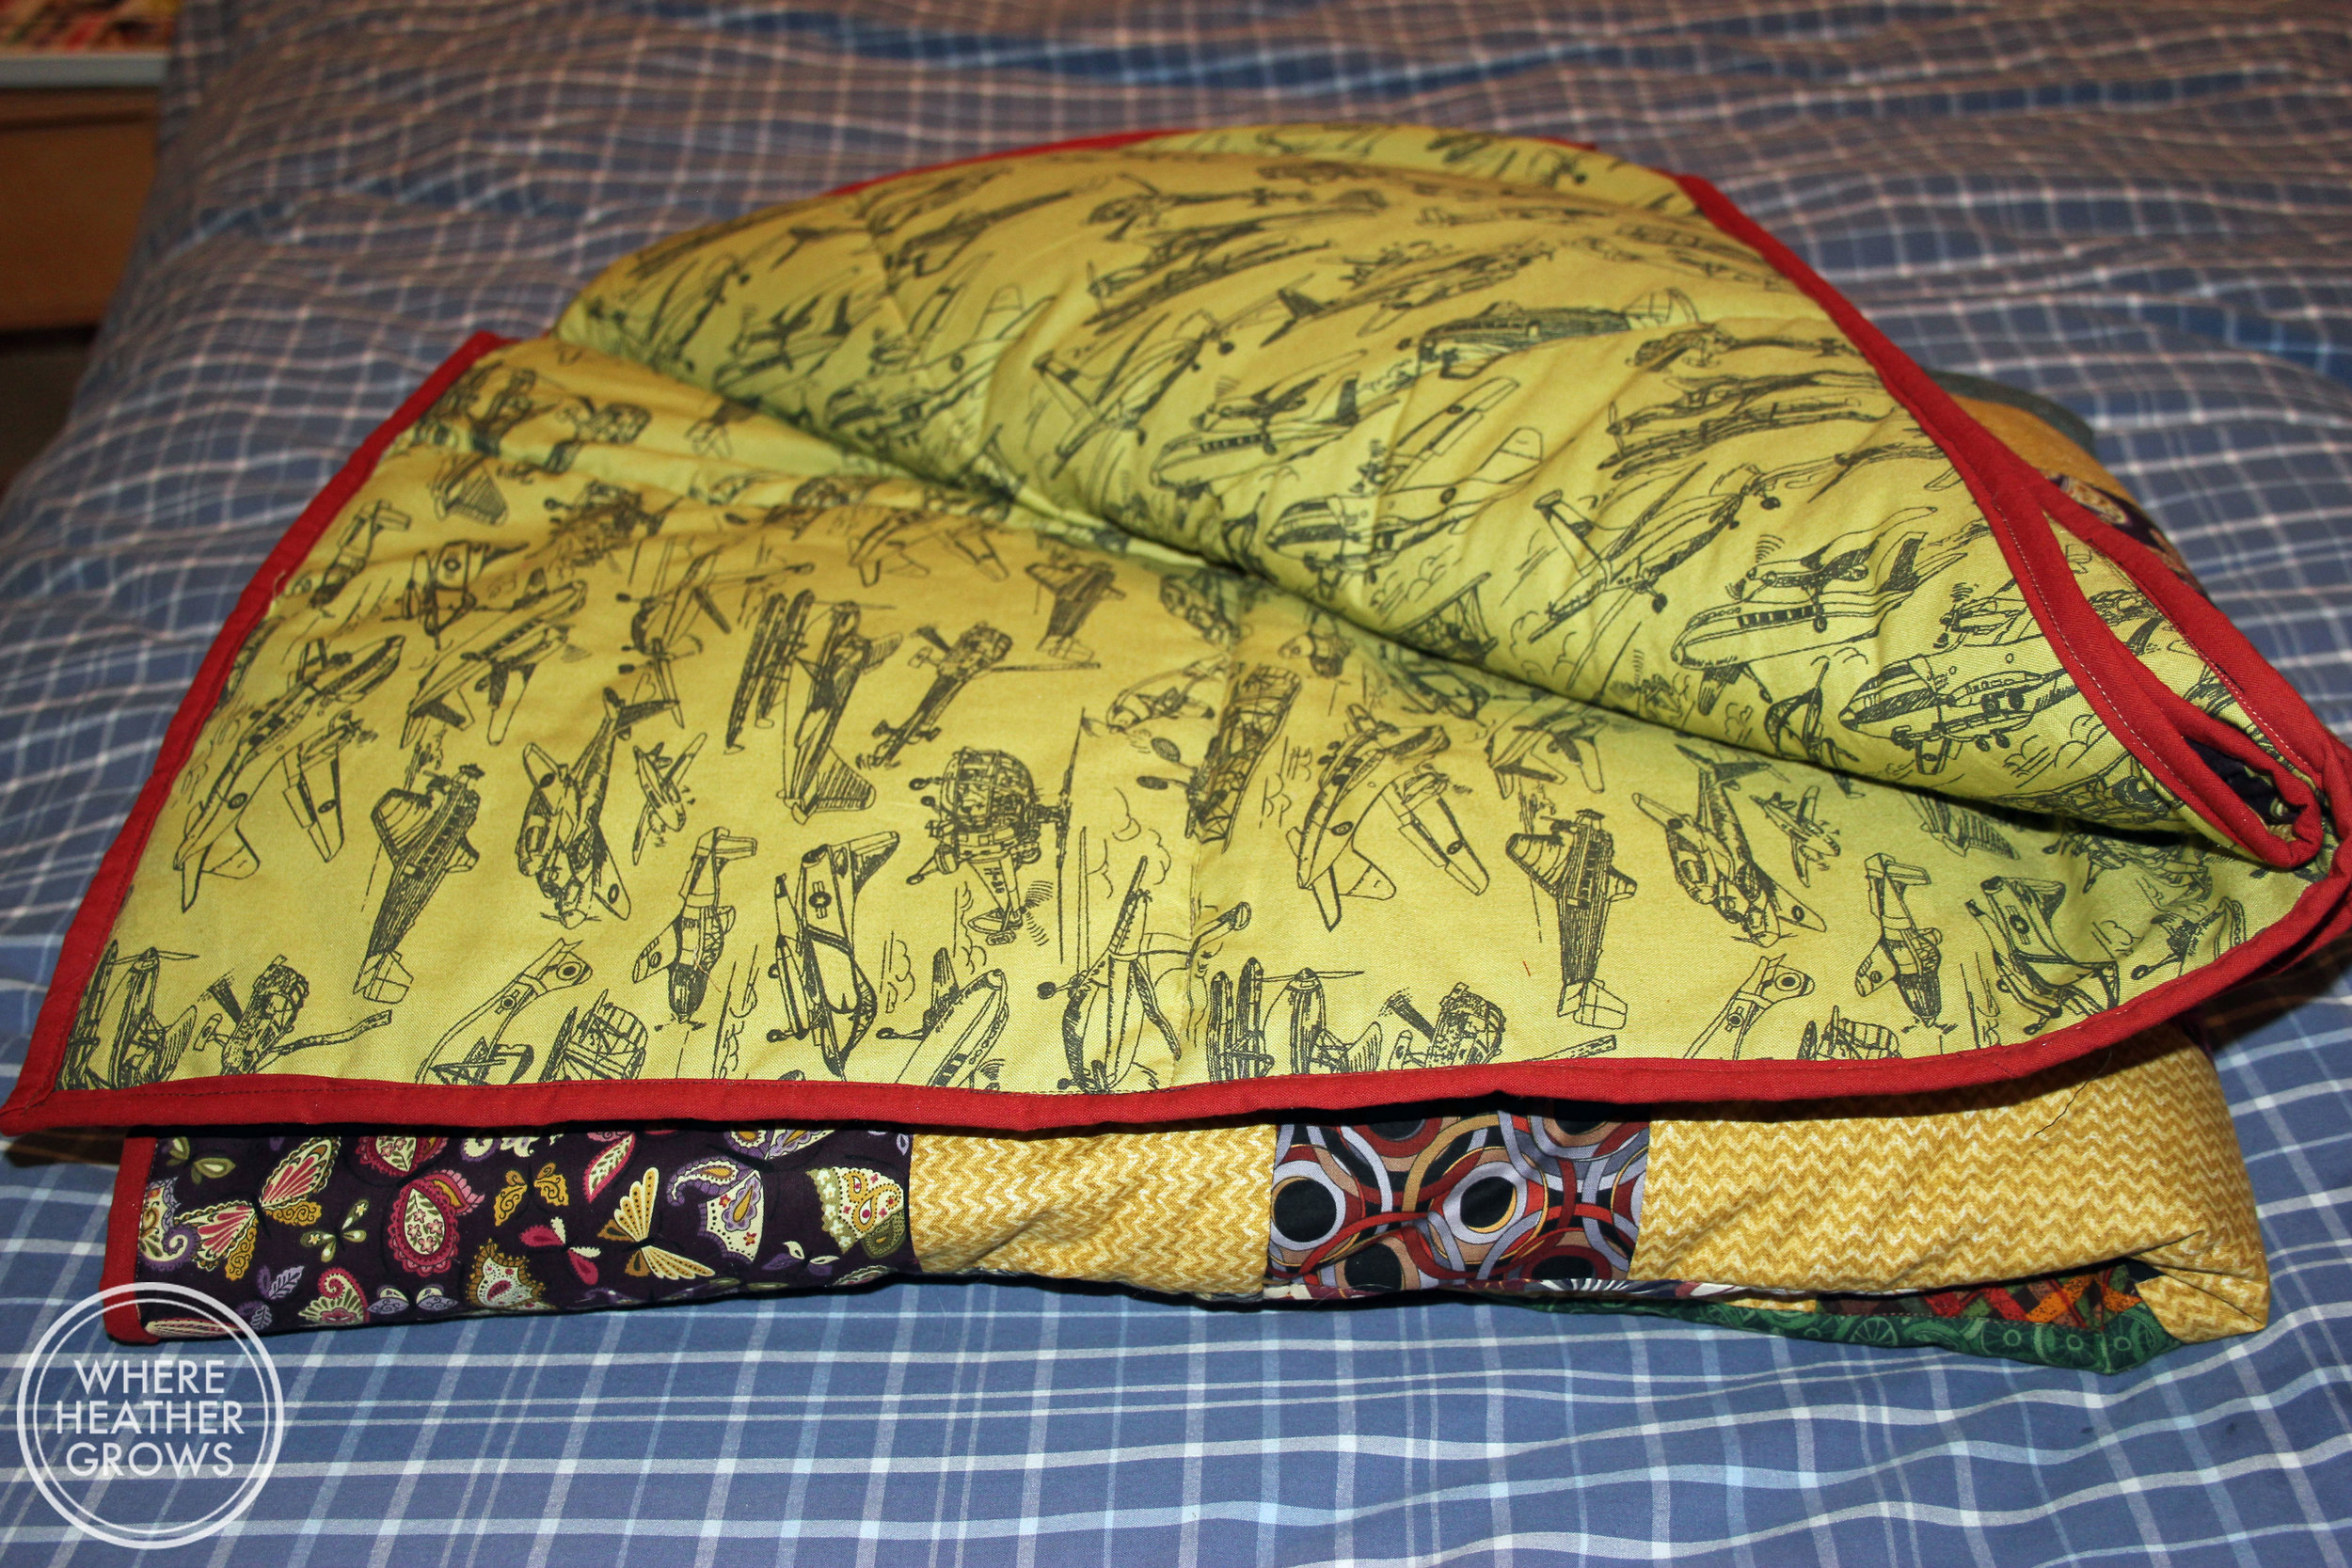
So at the beginning of this year, I thought, this is stupid. I have tons of fabric, let's change the pattern, and I came up with this. It's the biggest quilt I have ever made; somewhere in between a Queen and a King. I was going to piece the back together, but then I found this awesome fabric made especially for quilt backs at Fabric.com. Who knew they made fabric just for this purpose?

IMG_4519Aren't the planes cute?

IMG_4520

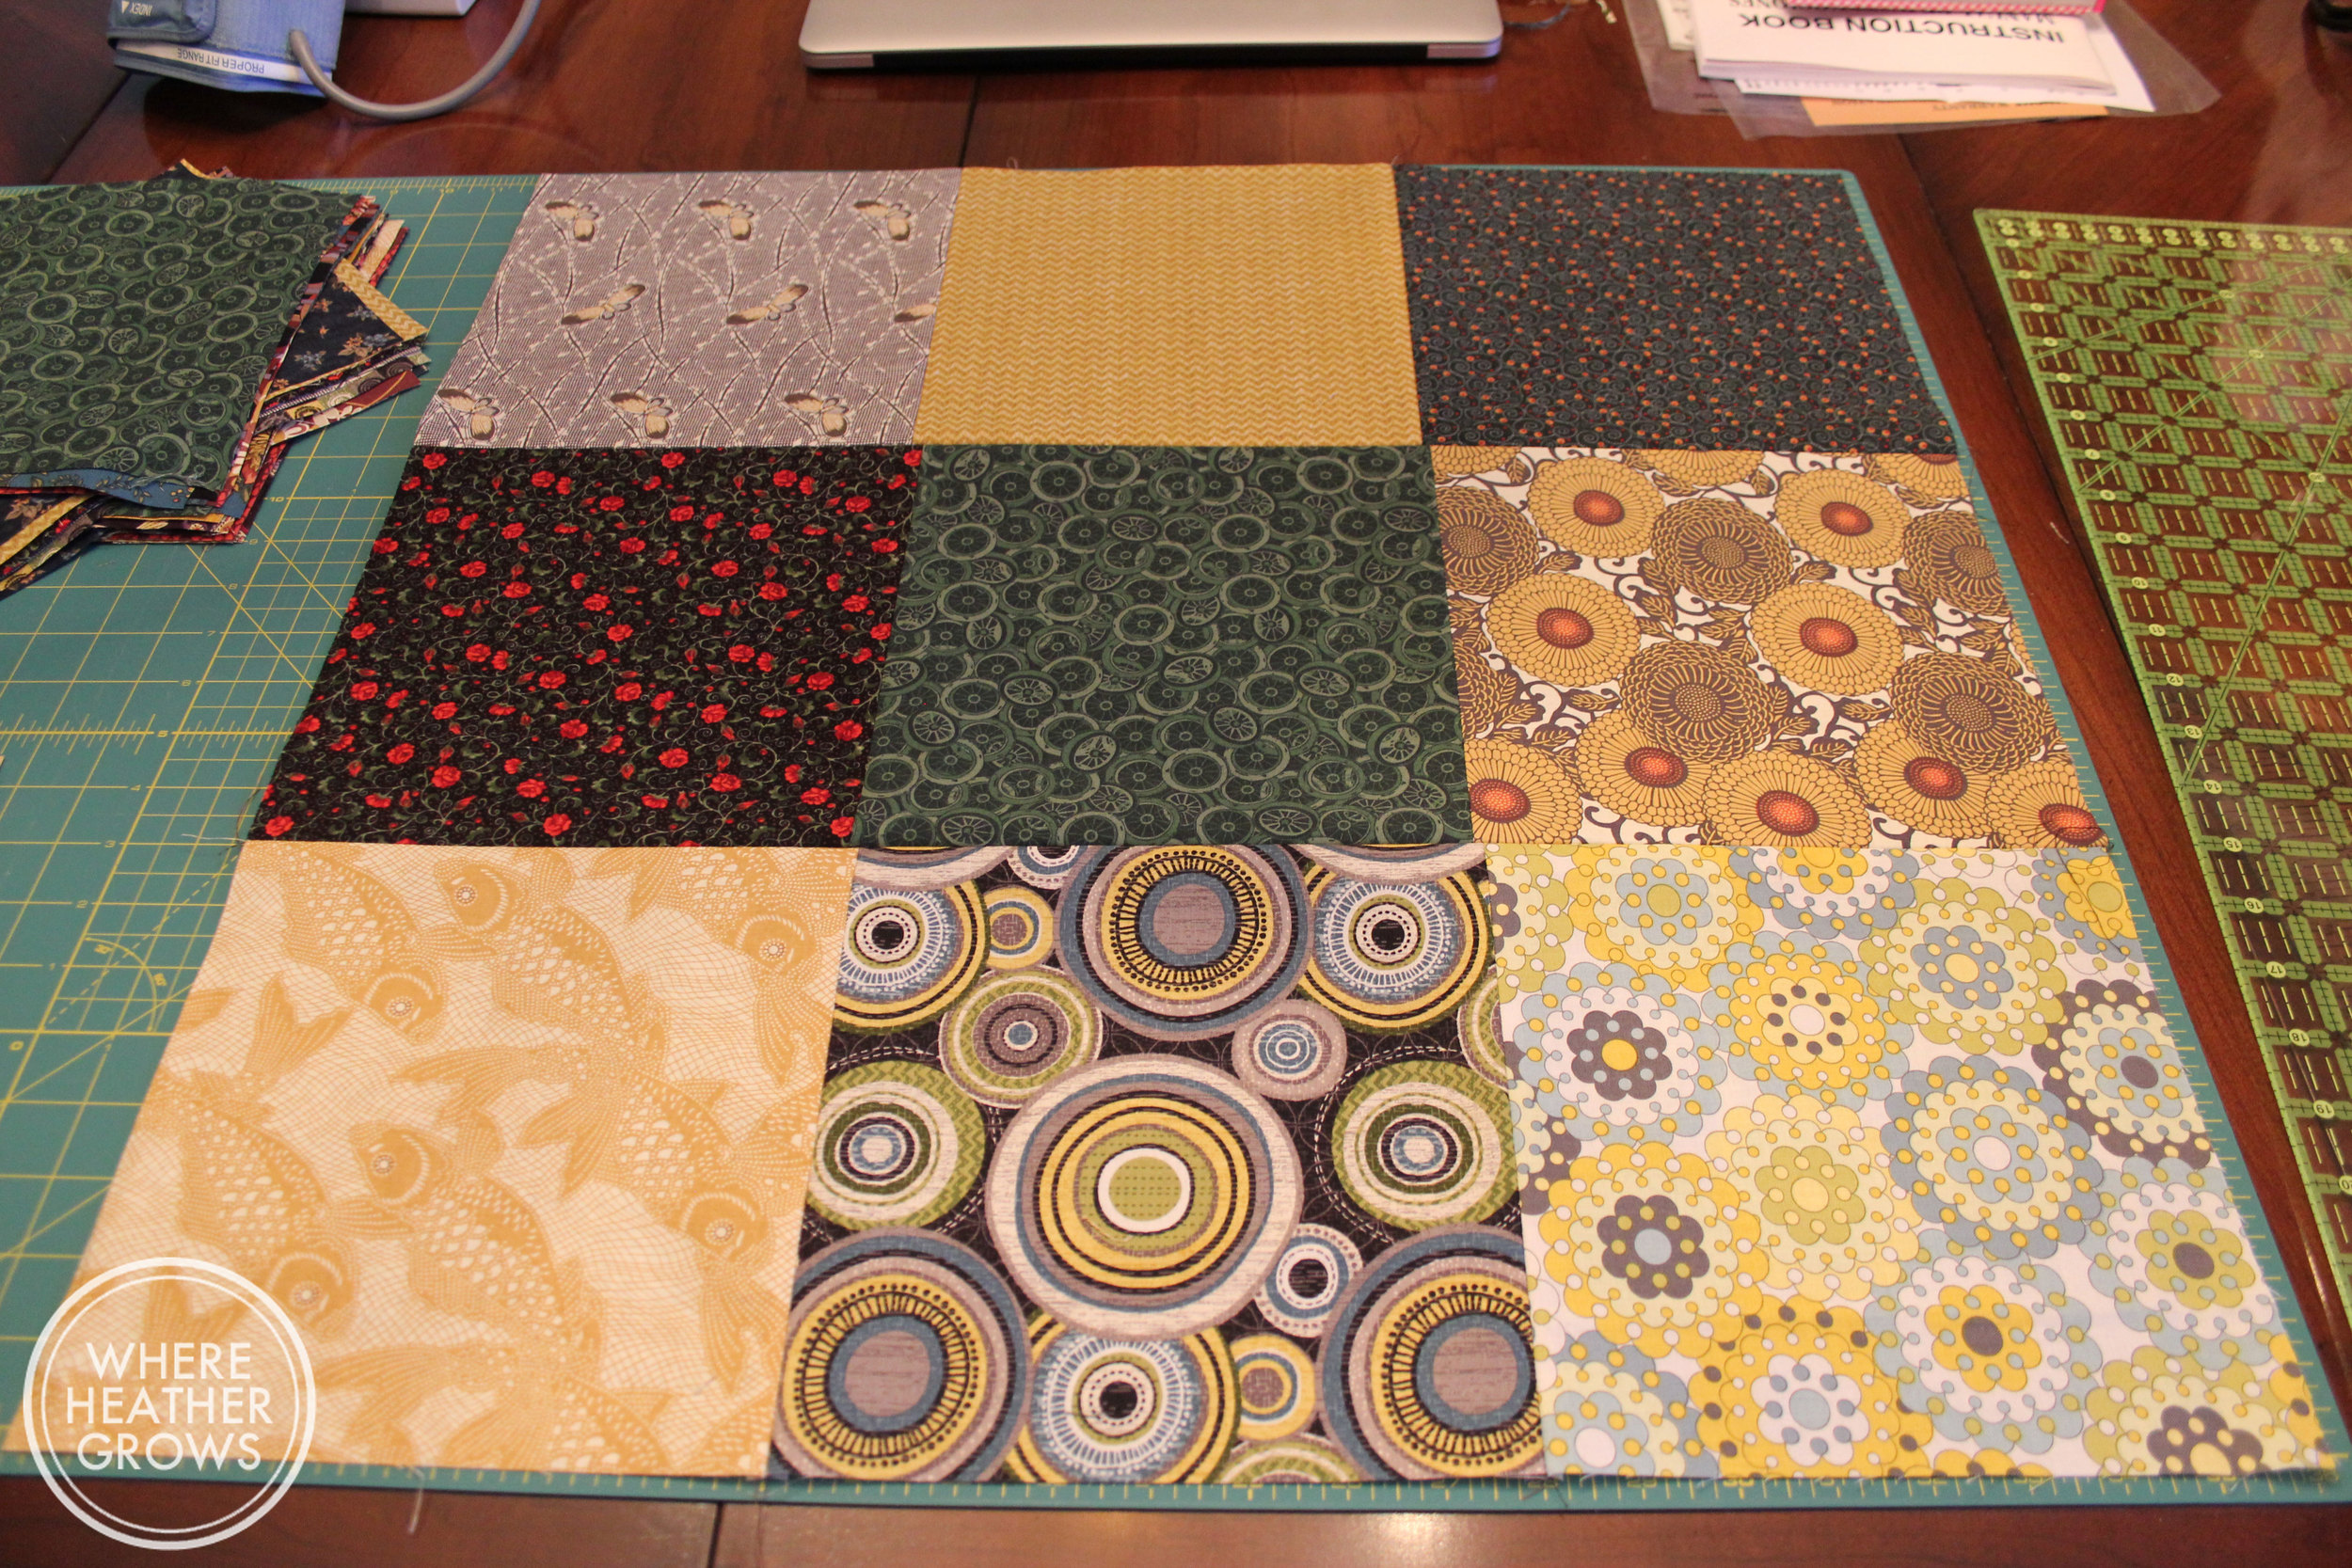
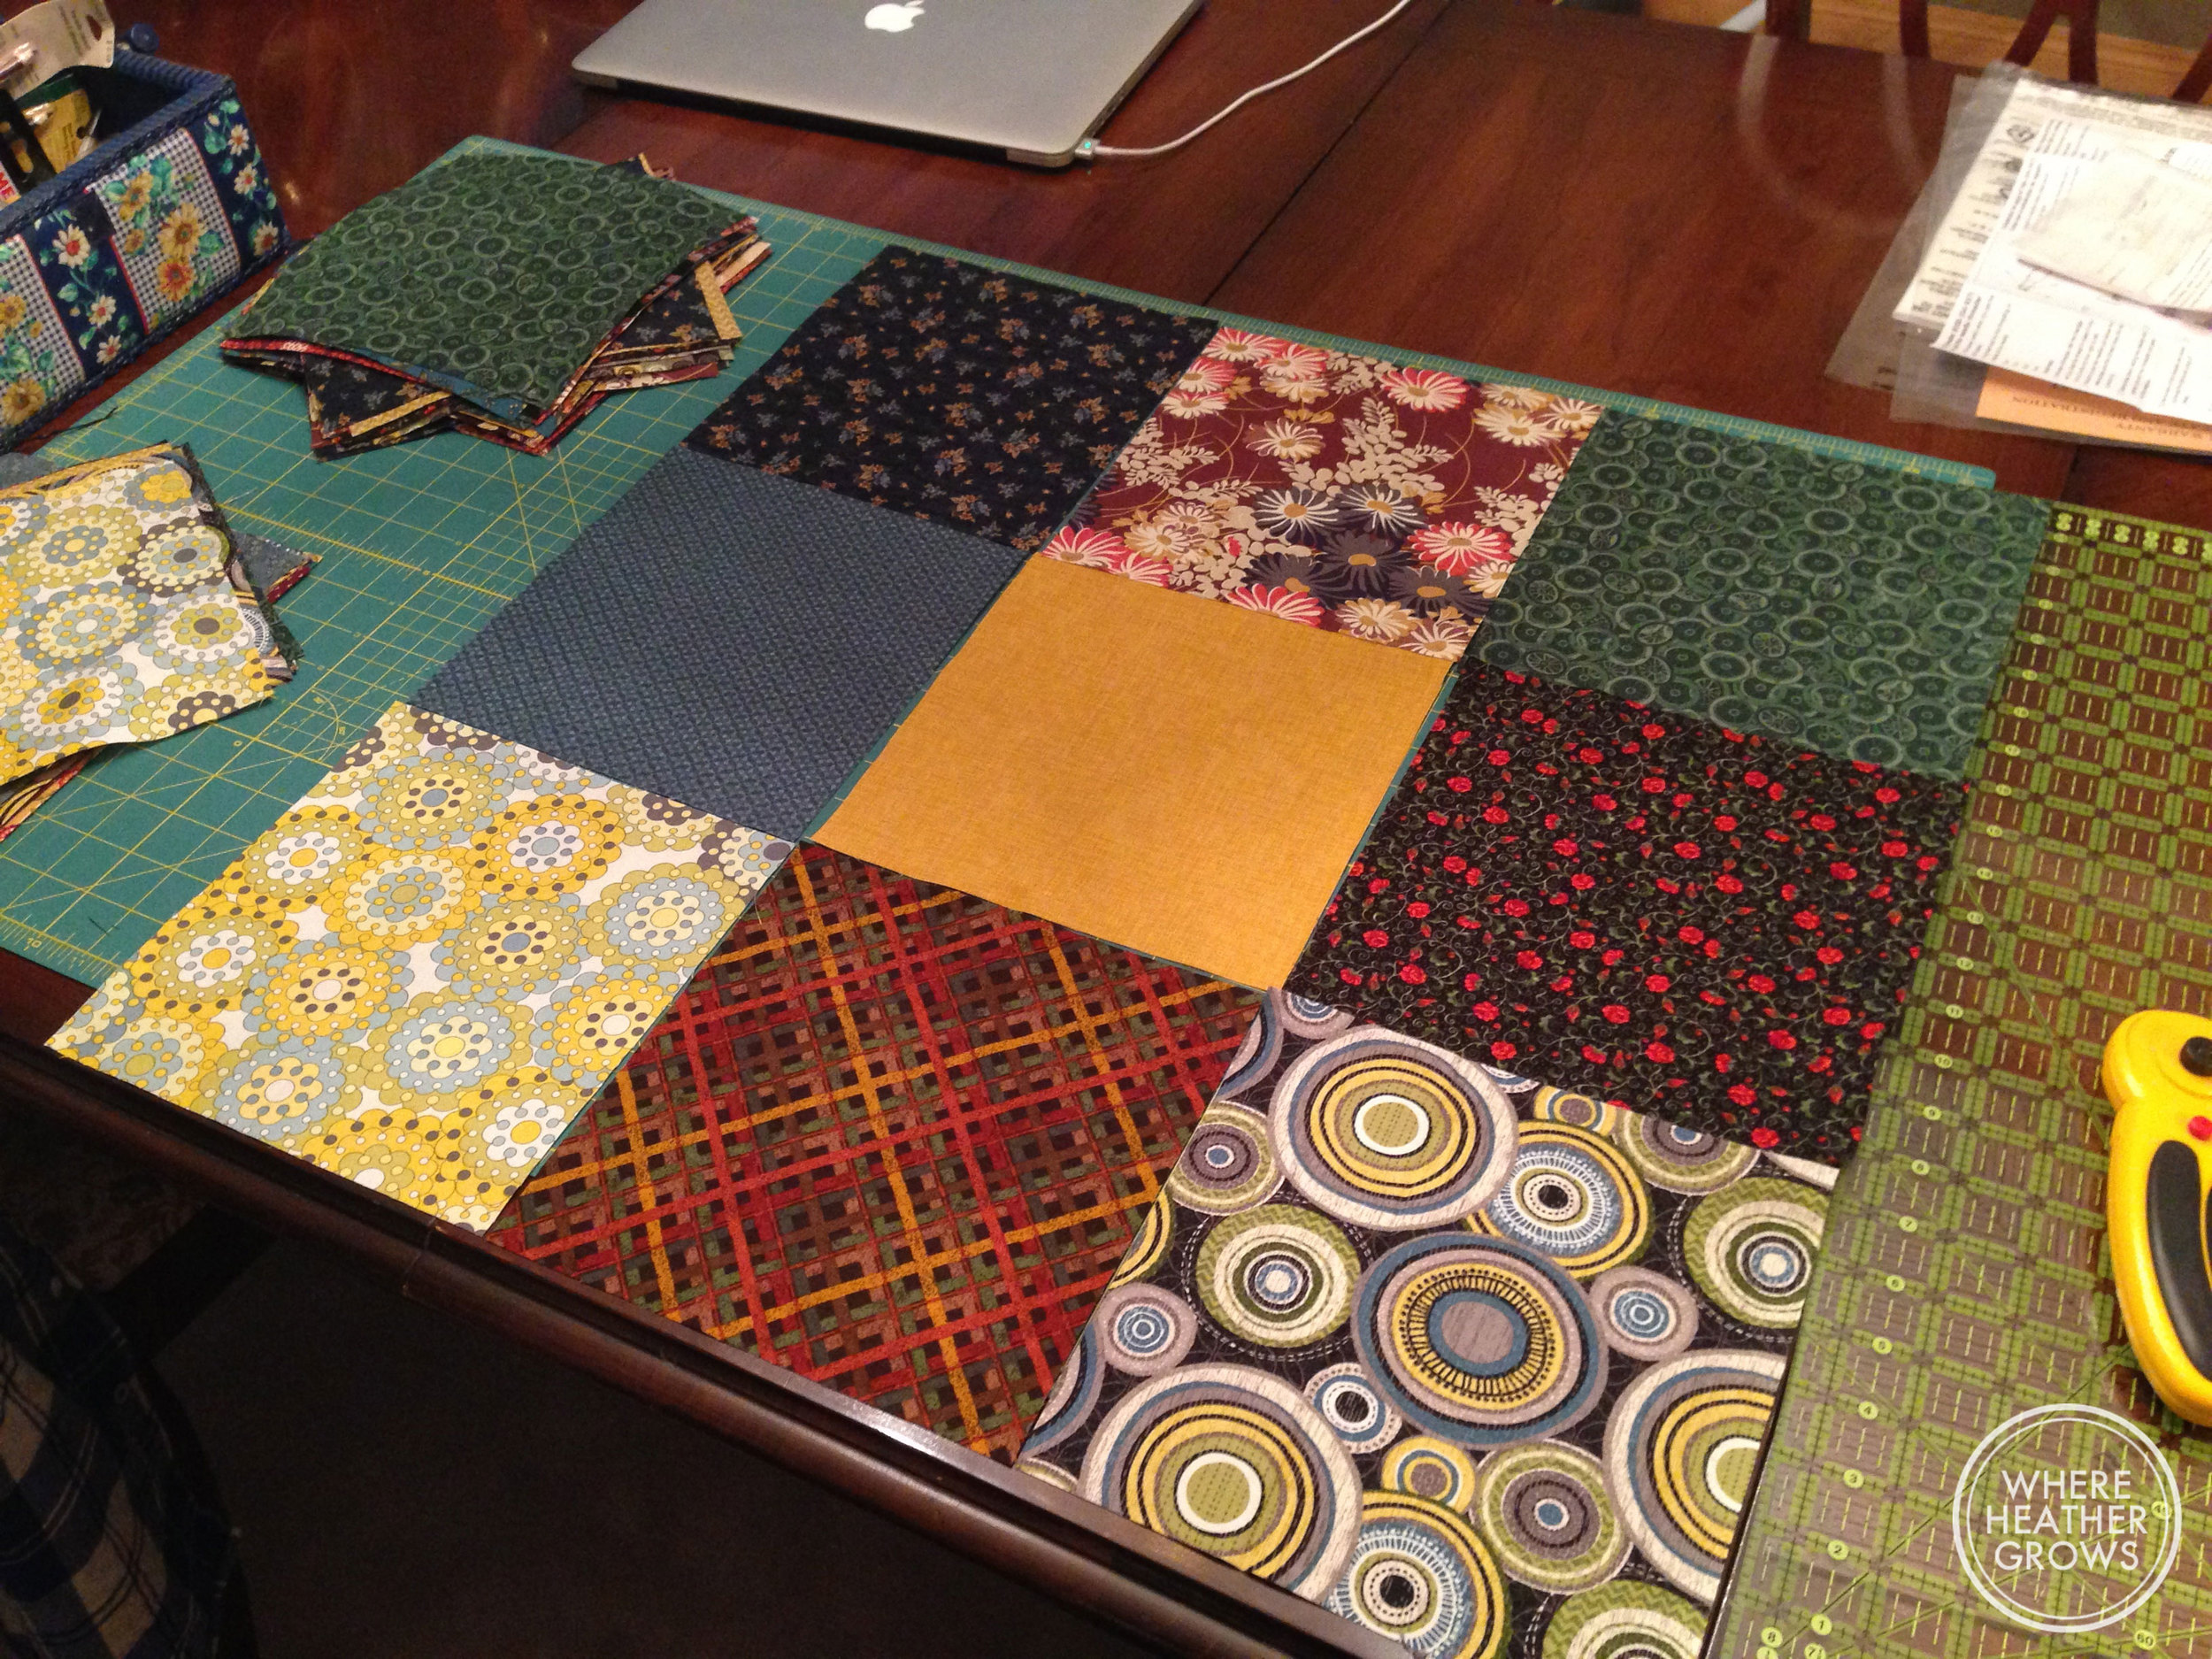
I saw a tutorial for a similar quilt block somewhere, but I can't remember where (Oops!). Anyway, here's how I did it.

First... cut out a bunch of squares (you need nine per block and the size depends on how big you want your finished block to be - mine squares were 8"x 8").

IMG_4131

Then you sew them together:

IMG_4125

IMG_4130

IMG_4140

Then you cut them:

IMG_4141

IMG_4142

Then you rearrange them in a pleasing manor (just by turning the cut blocks) and sew them back together:

IMG_4143

And Voila! A fancy quilt block.

IMG_4147

IMG_4148

One you've made a bunch of these, you sew them together and you have a quilt top. Easy peasy!

While I struggled a lot with this quilt. I am super happy with how it turned out. I didn't do any fancy free hand quilting or anything, mostly because I don't know how, and the prospect of screwing up everything I had done up until the quilting point freaked me out. So I used my old stand-by stitch in the ditch method and while it's not perfect, I think it looks pretty good. It's the sixth quilt I've ever made. I'm pretty proud of it, can you tell? (It passes Solomon's inspection too!)

IMG_4518

IMG_4515

John is pretty happy with it too. He made some lovely fabric choices, which I supplemented with a few of my own choices from the Maui Quilt Shop. I had to replace the fabrics I cut up for the original Canasta blocks (which I may still sew up into a little lap quilt).

It feels so good to have this baby done! It's weight off my shoulders and I am so happy to be able to give my husband something that I've made (and that he likes).

Have you ever made a quilt? How about a handmade gift? 

Blue Hair, Quilting and Sewing Seams: The Things That Dreams Are Made Of

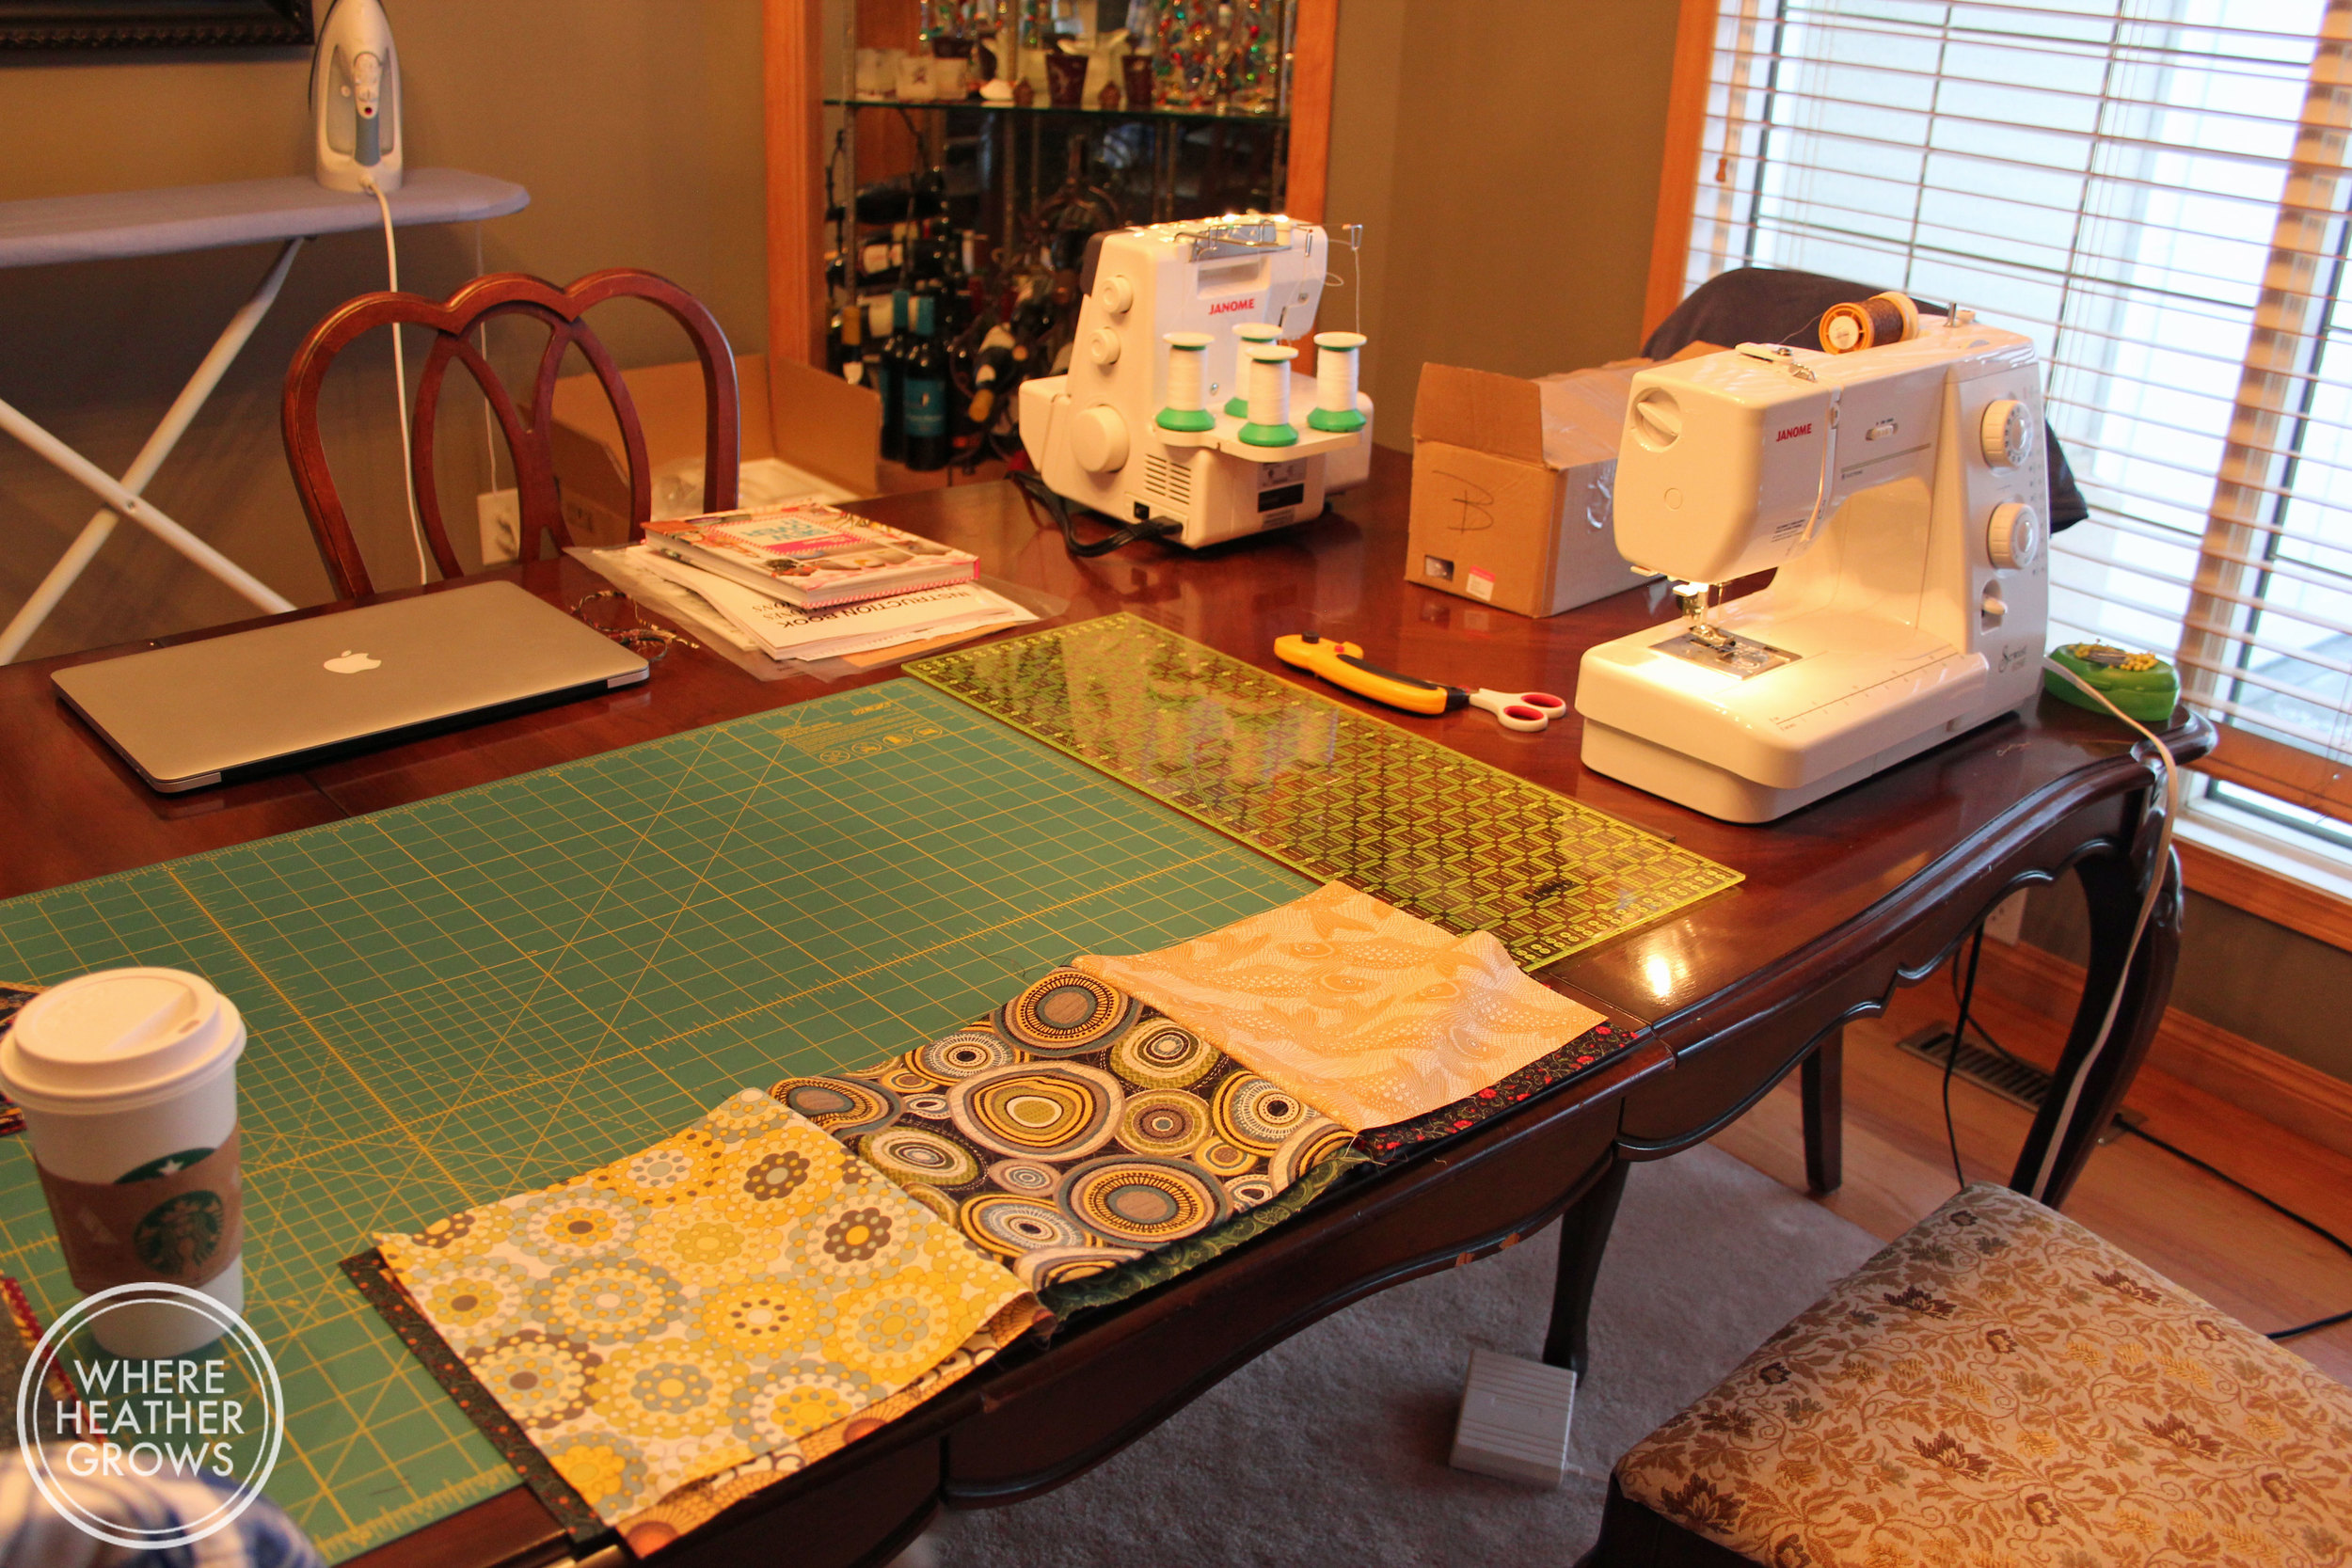
Did I tell you that John bought me a serger for Christmas? We don't usually give each other Christmas gifts as a rule, but this year John broke the rule and bought me a beautiful serger. I have no idea how to use a serger, but I remember seeing one long ago when I was a child and being mesmerized by it. It sews and cuts? What?!? Anyway, I have mentioned a few times over the years that I would like one, but had mostly forgotten about it until now. (My husband really is the best gift giver ever!) To be honest, I am a little intimidated by it and it took me a couple days to take it out of the box. But I have finally unpacked it and have been planning, reading and preparing to make amazing things with it (youtube has lots of great videos about sewing and serging by the way). I have played with it a bit, and set up a time with the lady who sold it to John, so that she can show me how it works (how cool is that?!). Unfortunately that won't be happening until Friday - only two more sleeps.

In the meantime, I have been working on the quilt that I promised John two years ago. I have no real good excuse as to why it's taken me so long. We had even gone and picked out all the fabric for it and everything. I actually started it two years agao, but then got intimidated by the pattern I chose and kind of stuck everything into a corner in my office and pretended it wasn't there. I then got it out again about 6 months ago, after much prodding from John, and realized again, that the pattern was just too much for this beginner - so back into the corner it went. I have felt really guilty about not finishing it, but did my best to forget about it. Anyway, while we were in Hawaii, I searched online for an easier pattern, and found one, so now I am bound and determined to get this baby finished! Here's a peek at how it's coming together:

IMG_4125

IMG_4131

IMG_5449

IMG_4130

IMG_4147

I think it's going to look really cool when it's all done, and it's actually really easy (it looks much more intricate than it actually is). John picked out pretty much all of the fabric. I had to supplement it a little because I already used some of the fabric when I was attempting the original pattern. I may end up making a nice little lap quilt out of those original blocks too. I would have added them into this quilt, but I think it would look funny.

The serger has gotten me really excited about making my own clothes. It's something I have always wanted to do, but just never attempted.  Well, actually I did make some pyjama shorts back in junior high home-ec class, and a top with the help of a friend's mom, but that's it. I'm not entirely sure why I haven't ever tried, but the serger has rekindled my love for handmade things. Anyway, in between quilting and waiting for my serger lesson, I was able to whip up a couple of skirts. 

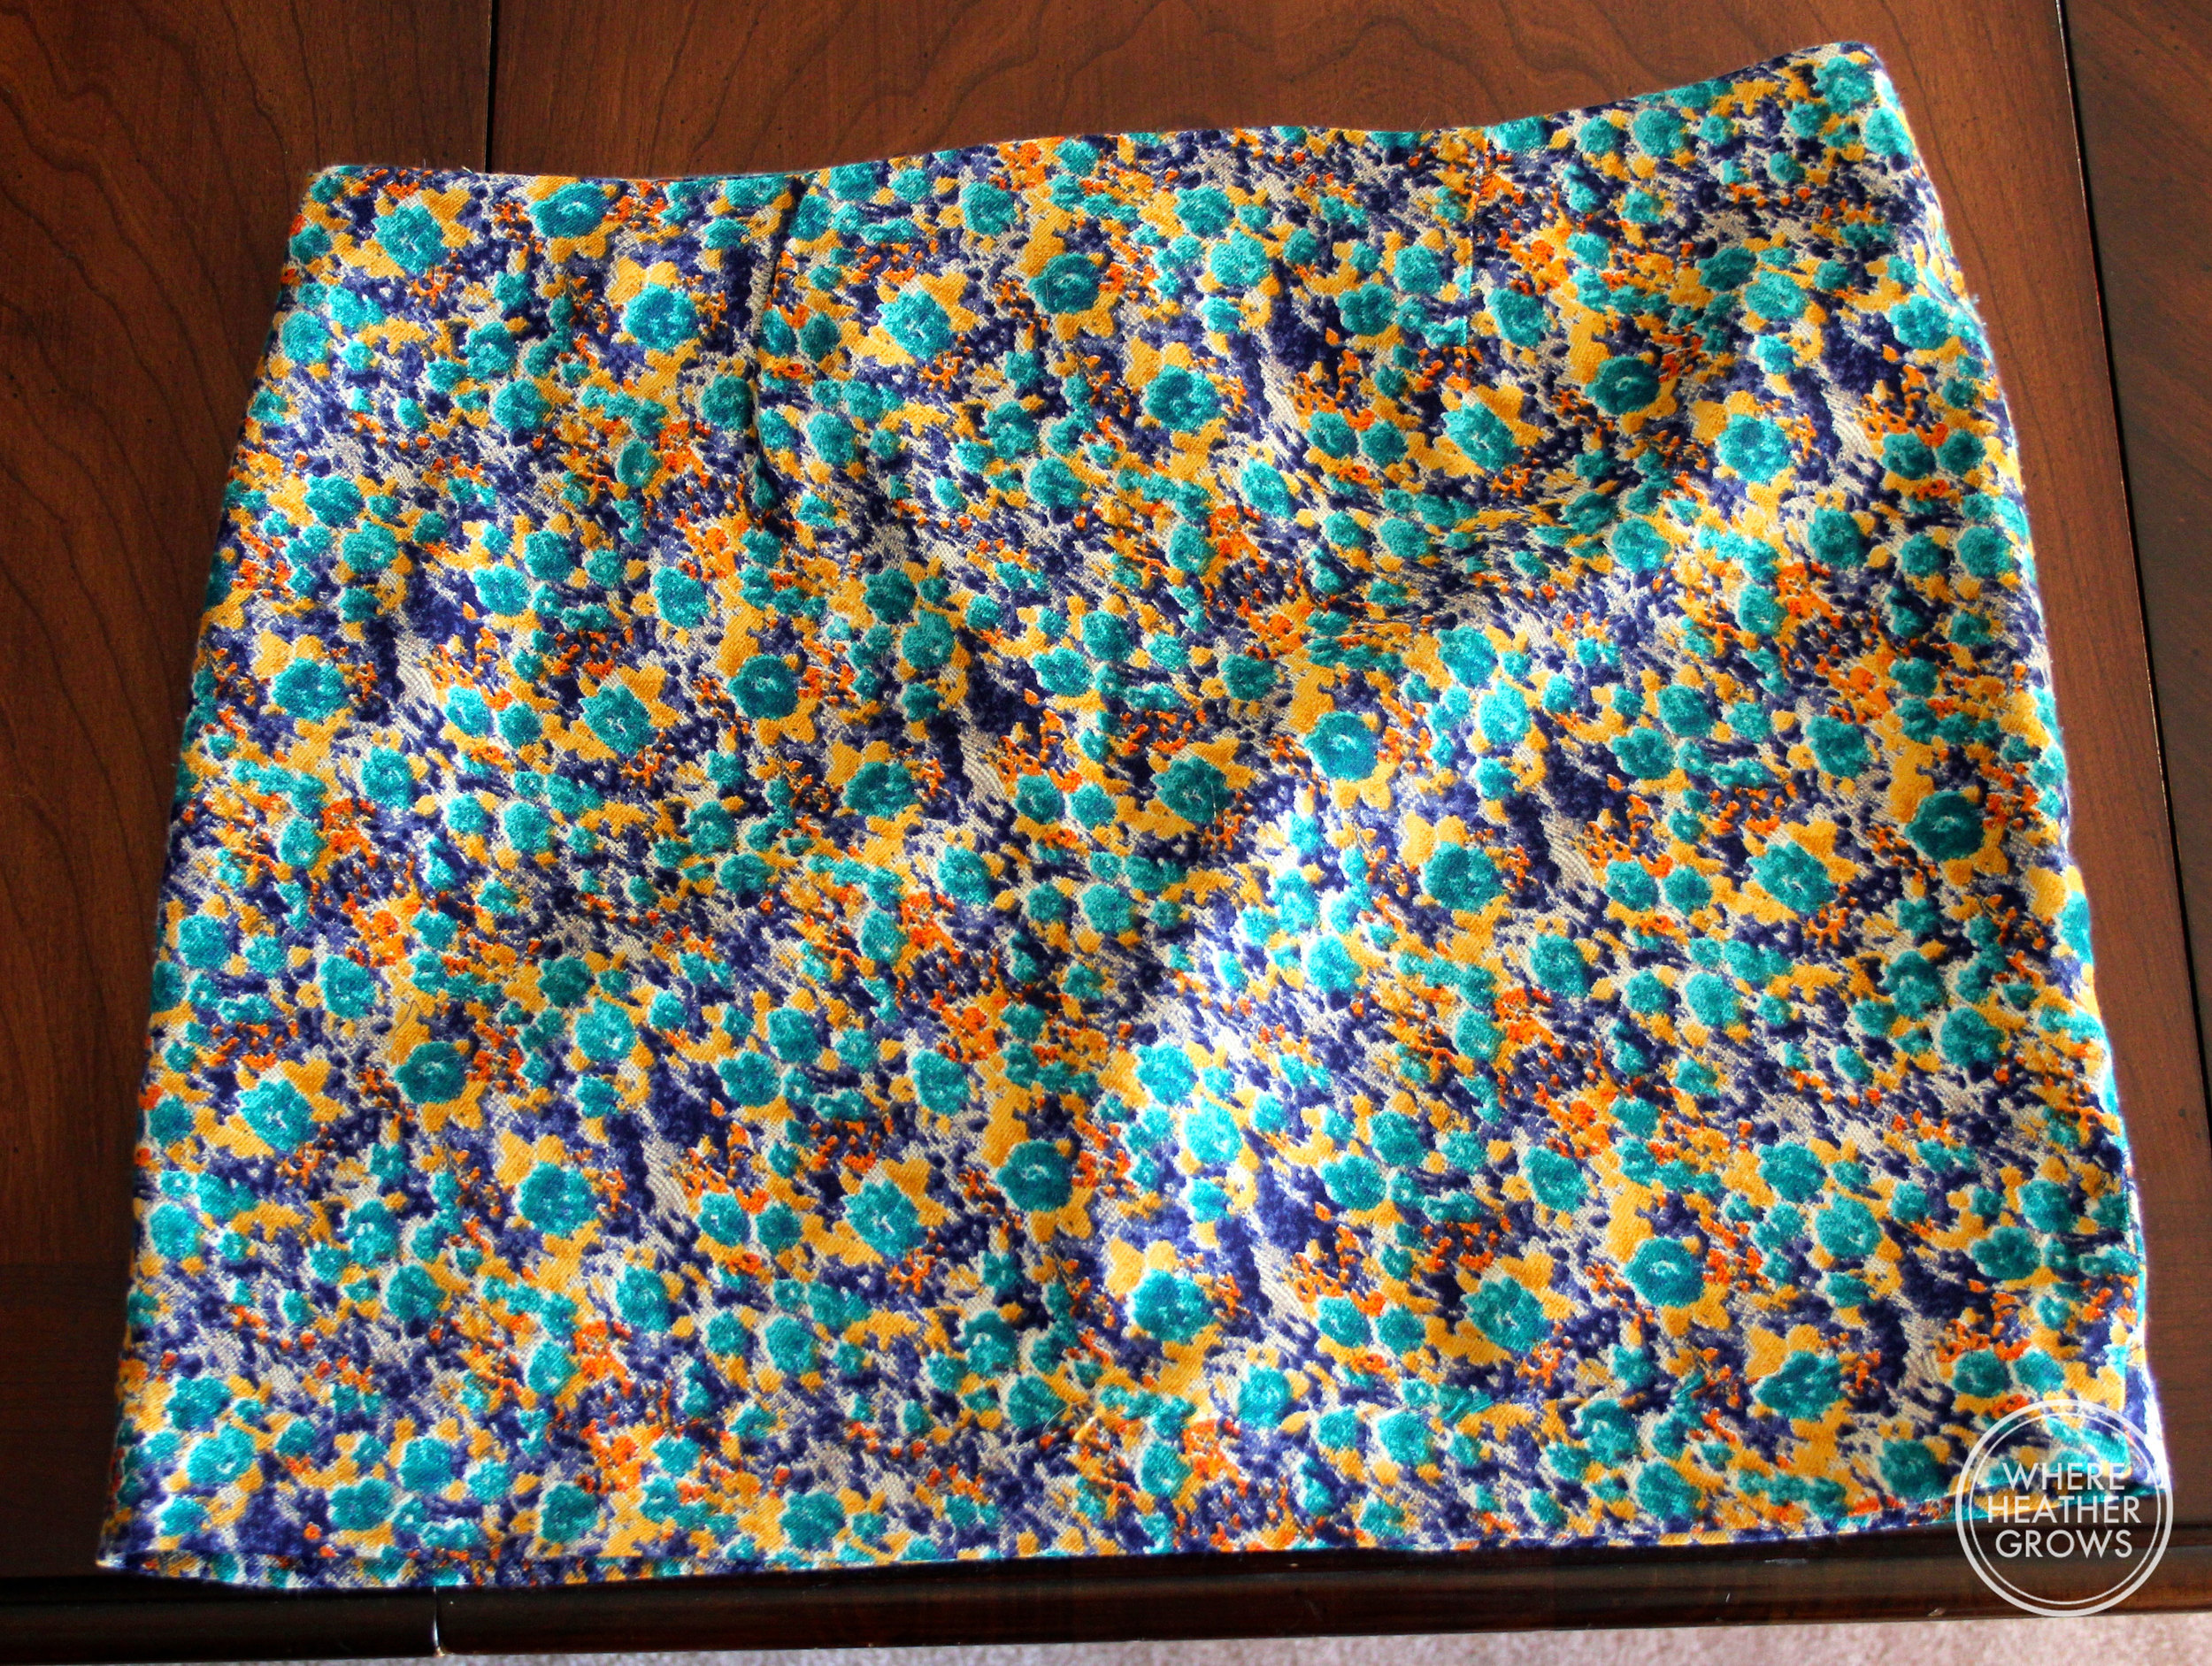
This first one is a very simple, elastic waist band skirt. I used this tutorial to make it and I am quite happy with how it turned out. I bought the fabric from the clearance section at Fabricland and it cost me a whopping $3.20/metre.

IMG_4170

IMG_4171

I really like it, and I think it turned out well for my first try. I think if I make another one, I would like to add pockets. It will be a great little skirt for summer.

My next project was a straight skirt from the DK Dressmaking book. It also turned out really well and it was my first attempt at an invisible zipper and also following a pattern. It's super cute with tights, and the fabric is very soft. It was kind of slippery to work with so maybe not the best for beginners, but I am still happy with how it turned out.

IMG_4167

IMG_4168

IMG_4169

I took these pictures after wearing it all day so it looks a little stretched out. I also apologize for my headless shot, but I'm a little self-conscious when it comes to full body self-portraits. Anyway, you get the idea:

IMG_4159

I also have to share this shot of the pugs:

IMG_4152

This is what they look like while I am sewing. I'm not sure where Solomon was when I took this, probably snoring under the table LOL.

And finally:

IMG_5448

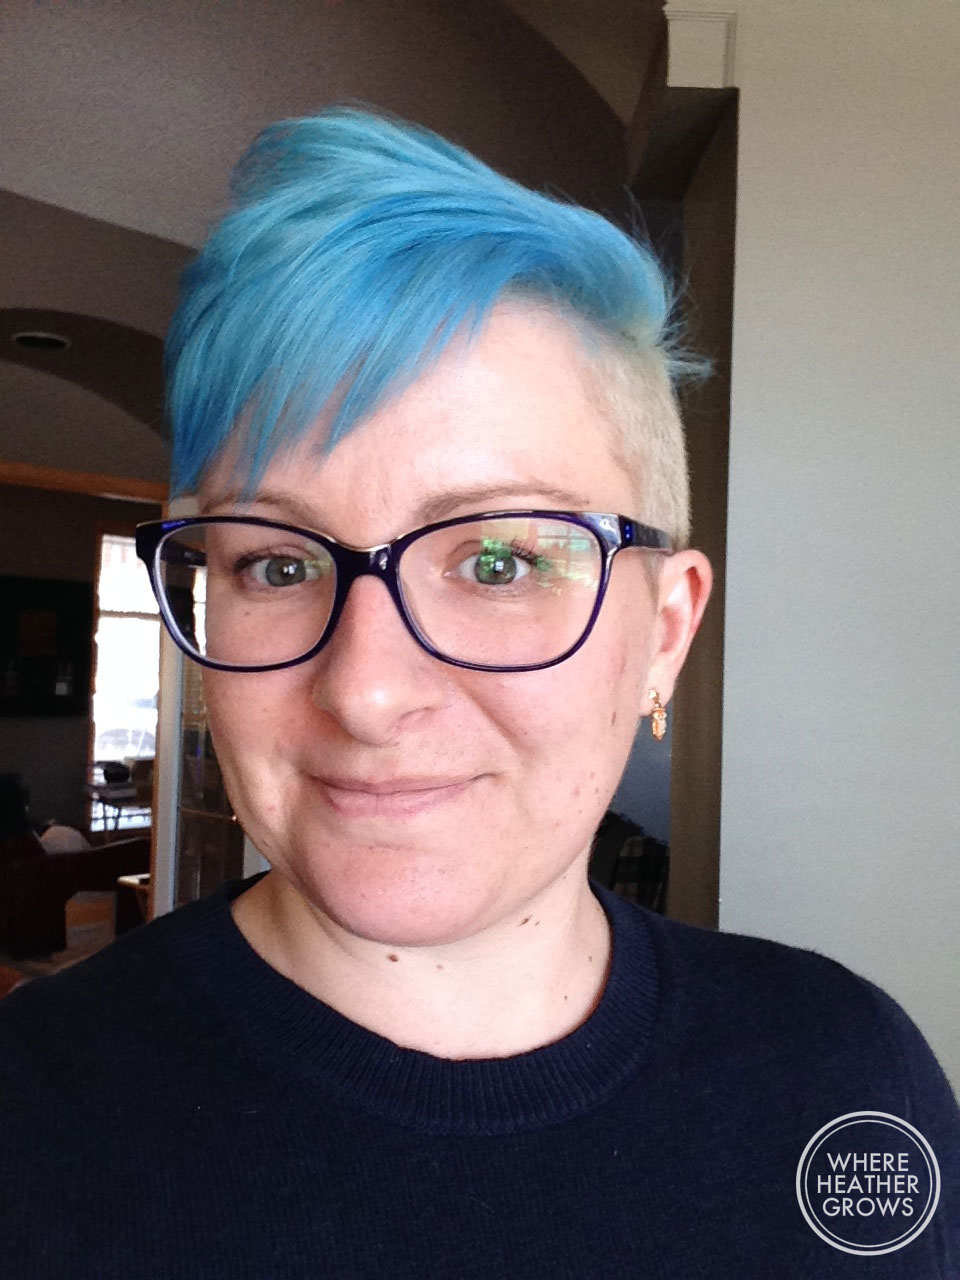
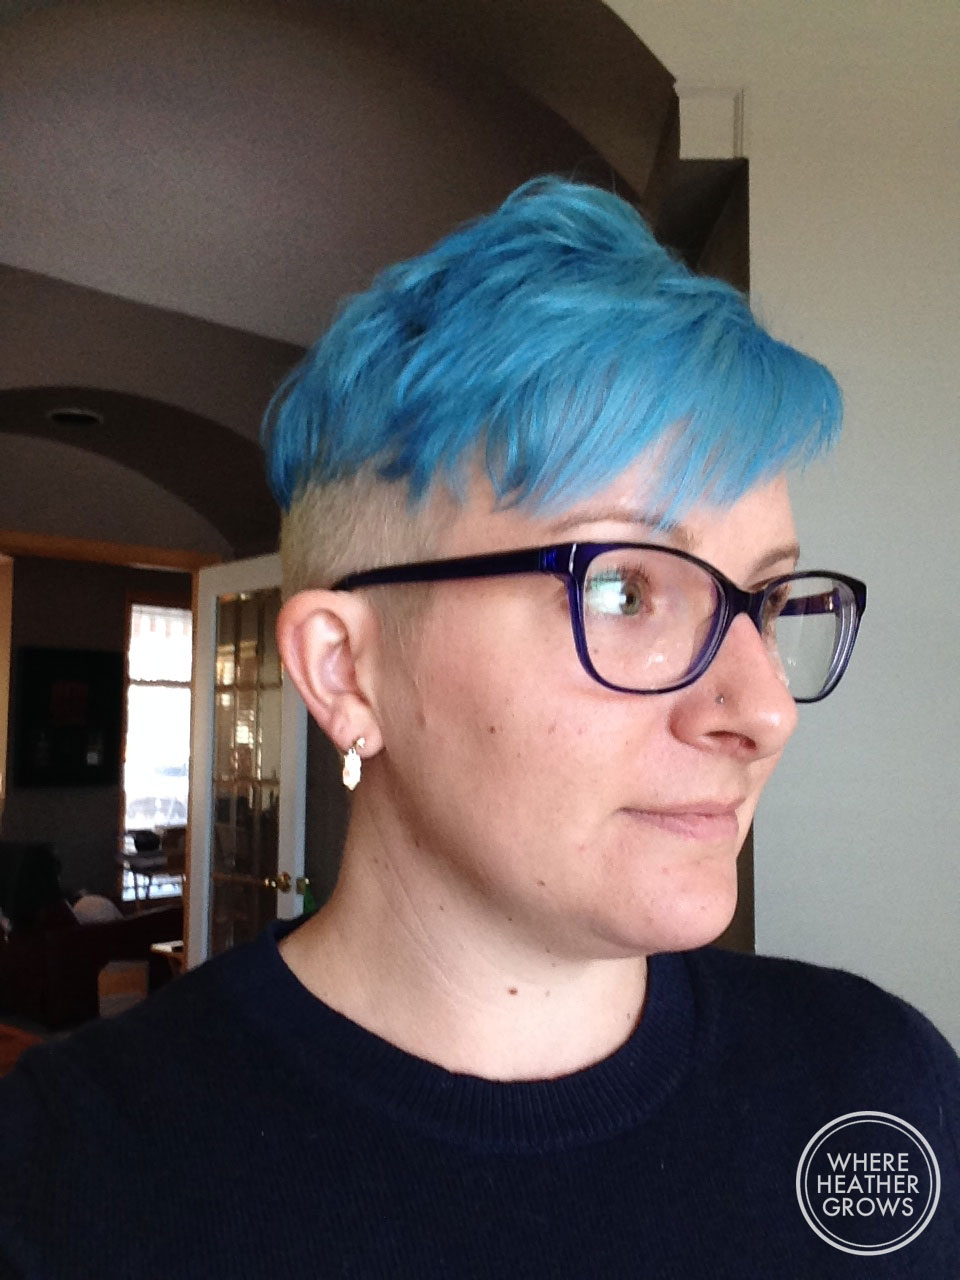
Yup, I have blue hair, or rather teal hair. I have always wanted to do something really funky, so I finally did. I was waffling between pink and teal, and finally decided on teal. When I first got it done, it was really dark, but it has faded quite a bit now. Here's what it looks like about a week and a half later.IMG_5473

IMG_5475

I like it, but I don't think I love it. The colour is absolutely beautiful and it definitely turns a lot of heads, but I'm not sure if it's me. I think I might have been happier with pink to be honest. The blue is a bit dark, but I am liking it more and more as it fades.

So anyway, that's all that's been happening in my world. I hope to keep sewing up a storm and to get better and better with practice (and to also finish John's quilt LOL).