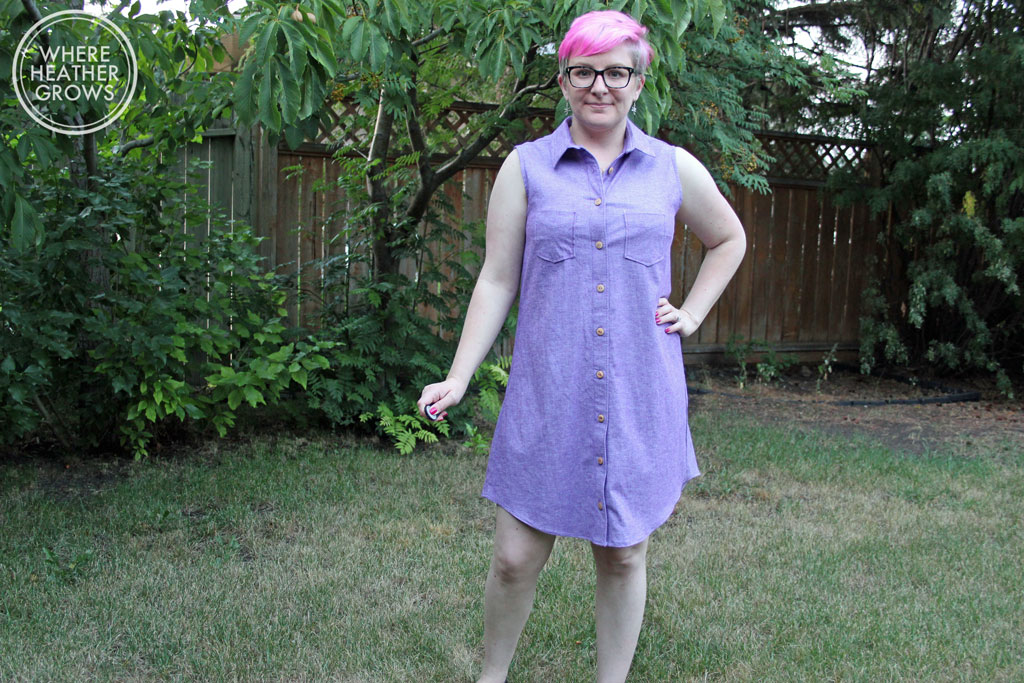
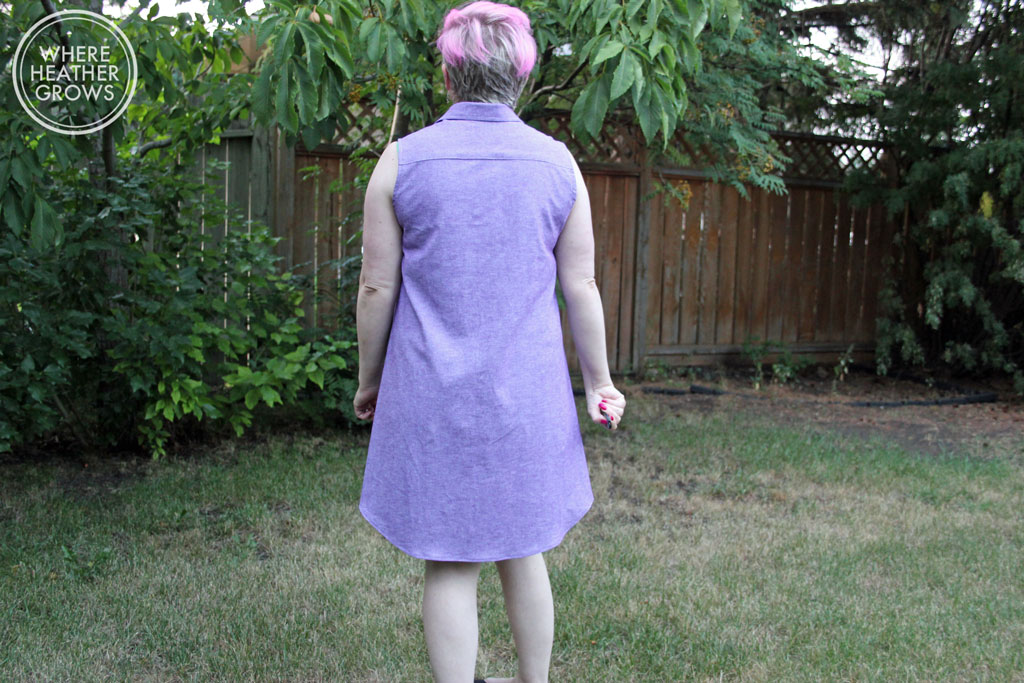
 So here it is, my Grainline Studio Alder Shirtdress! I loved this design the minute I saw it on Jen's instagram feed, and I bought it pretty much the second it went on sale. Then it sat and it sat and it sat, and I couldn't drudge up enough courage to make it. I had so many fears: how would it look on a curvier shape like mine? I've never made a collar with a stand - how would that work? What fabric would I use? What if I put in a bunch of time and it looks awful on me?? It seemed easier to just dream about it and let it sit on the shelf, rather than try it out and possibly be disappointed (or thrilled). Silly, huh?
I finally just bit the bullet and decided to try it out late last week. I went with View A first, but I do have plans to make the ruffle butt (View B) version too.
 Oh my goodness, do I ever need a haircut!! I took these photos last night as I wanted to get them done, but I'm looking a little rough and perhaps taking photos after a big steak dinner is not the best idea in the world.
I used a super soft purple chambray I bought months ago out of the clearance section at Fabricland. I had planned to make a practice Archer out of it, but I decided it would probably work really well for an Alder wearable muslin. I'm not sure I am crazy about the colour on me, especially as a solid dress, but it's okay.
The construction of this baby went well. The collar is far from perfect, but it's not awful for my first try, and I had a bit of trouble with positioning the pockets (note to self -be sure to make pocket markings when cutting out, not when it's already sewn). I also feel like I may have screwed up the button band. It seems like the sides of this shirt are not symmetrical, but it might just be me. My husband couldn't see what I was talking about, and he's pretty picky about those things. Jen's instructions are very good, and if you've made a button down shirt before, I am sure they would be enough, but because I haven't, I feel like I needed a little extra hand holding. I'm pretty confident that once all the sew along posts are up, they will clear up any issues I had. So I am very much looking forward to that.
I didn't make any adjustments, except to hem it up an extra 2 inches. I didn't shorten the pattern because I wanted to see the original length on me, but it was of course too long, and I actually think it's meant to be even shorter. I think the fit is pretty good, but next time I might grade down a size in the hips as I feel like there is a bit too much fabric there. I debated adding side seam pockets, but I decided against it as I like how streamlined this version is. I think on the ruffle butt version side seam pockets would work really well.
I can definitely see myself make a ton of cute shirts from this pattern, or even shortening it to a tunic length to wear with leggings. John said it just looks like a really long shirt and would be much better if I just chopped it off at the waist. So needless to say he's not a big fan. I'm not sure what I think. It's cute and comfy, but does it flatter, or just make me look like a big blob? I love how it looks from the front, but when I turn to the side, I'm not so sure. Perhaps it's because I'm not in love with the fabric. I think maybe in a patterned fabric I might feel differently. I have loved all the ones I've seen around the interwebs - they are all so cute.
What do you think? Can you help me decide? Is it a keeper?


