Sewaholic Granville for Summer

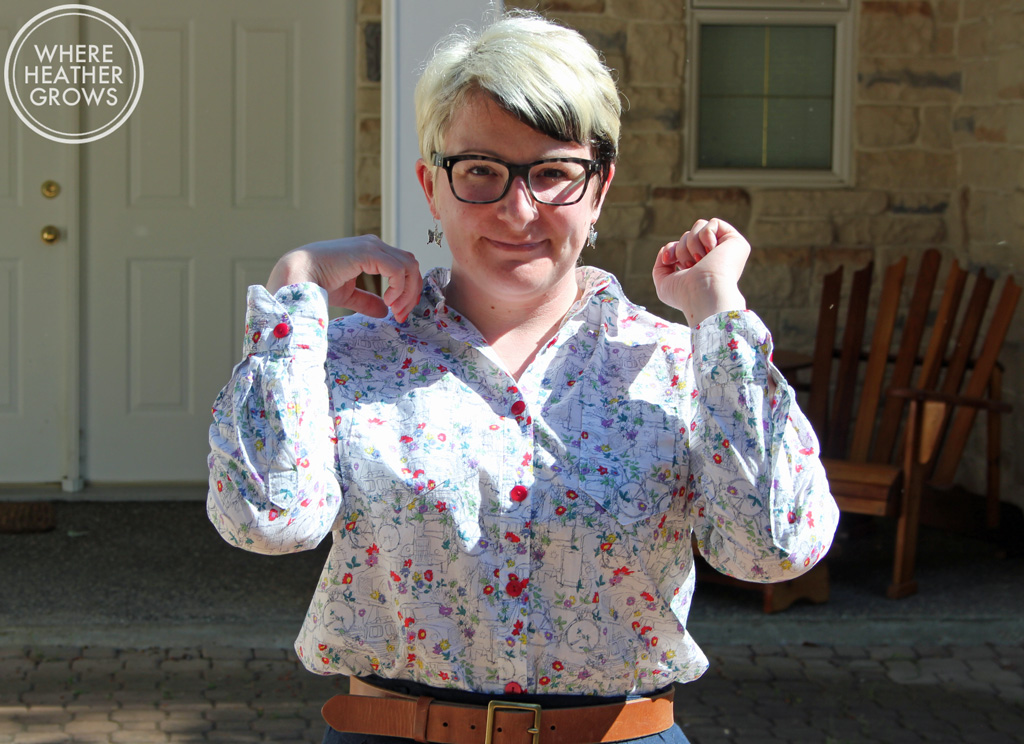
So I think we all know just how in love I am with button-up shirts I am. In fact, if you have read this blog for more than three posts, I am sure that you know about the intense love affair I have had with Archer.  Many moons ago (okay not so many, but you I like to be dramatic), Tasia over at Sewaholic released the Granville shirt. I was very intrigued by Granville, as it seemed to have a softer, more curvy shape, and these gorgeous princess seams in the back; and all round more feminine look that Archer. I bought the pattern right away, and then it sat on my shelf. I couldn't bring myself to cheat on my beloved Archer. It just seemed wrong.

Then I made my last Archer and noticed how many I have in my closet. I was craving working on a button down shirt, but the only way I could justify it was to try something a little different. And that's how this sleeveless, summer, Granville shirt came to be.

I don't seem to very thrilled in the above picture, but don't be fooled. I love this shirt! It's the perfect companion to my collection of Archers. 

Sewaholic patterns are drafted for a pear shape, and I am much closer to an hourglass, so I chose my size based on my high bust measurement (with the help of the finished measurements chart), and then did a full bust adjustment. I have been forcing myself to do FBAs lately, and while I do still find figuring out when I need one a bit confusing, I think I am getting better at it. I have read a lot of material, that would suggest that I don't actually need an FBA (I only have a 2 inch difference between my upper and full bust measurements), but in the garments I've made lately without one, it appears that I do in fact need more space for the girls.

So anyway, I started with a size 10, and then did a 1.5" FBA, which adds a total of 3 inches. If I had gone by my full bust, waist and hip measurement to choose my size, I would have had to go with a size 14 bust and waist, and a size 8 hip. I think I could have done that with simple grading between sizes, but then I have a feeling it would have been way too big in the shoulders (a common problem for me), and it probably wouldn't have maintained it's nipped in waist shape. I also debated doing that (the grading between sizes), and then doing a narrow shoulder adjustment, but I still think that, that would have resulted in a poorer fit in the shoulders. This is quite the journey, this fitting business, isn't it? 

There are a few wrinkles in the back in the above picture, but I really think that's just from moving around; I'm really happy with the fit at the back. While you can't really see them in this busy print, the princess seams really do create a nice shape at the back.

To make this shirt sleeveless, I used Jen's tutorial for a sleeveless Archer and it worked out really well. There was a bit of trial and error becasue I think it's a bit of personal preference to where you want the shoulder to end, but I am really happy with where it is on this shirt. I ended up removing about 5/8" and grading to nothing.

The fabric I used for this shirt, is a lovely cotton that I picked up from the Man In Front of Sainsbury's at Walthamstow Market. It is nice and light and perfect for a summery shirt. For the collar construction, I skipped Tasia's instructions and did my normal collar method I learned from Andrea. I am interested in trying Tasia's method at least once though, as it is different than any I have seen before. I do find the collar a little bit big on this shirt, but it may just be because I am used the Archer's collar. I should also mention that I shortened this pattern at the lengthen/shorten line by a whopping 3 inches! I think it's safe to say that I am significantly shorter all around than Tasia. LOL

I have been wearing this shirt a ton, and I really can't wait to make more of them. It won't replace my beloved Archer, but will be a welcome addition to my TNT collection. Have you tried Granville yet?

Also if you follow me on Instagram you will know that John and I are currently in London. I am having an absolute blast fabric shopping (and John has been an excellent fabric shopping companion), and I can hardly wait to get home and get sewing! Today is a rainy day, so we are just taking it easy and catching up on our favourite British game shows. So I thought it would be a good time to catch up on some blogging, I'm so behind!! Hope you all are well and enjoying your August so far!


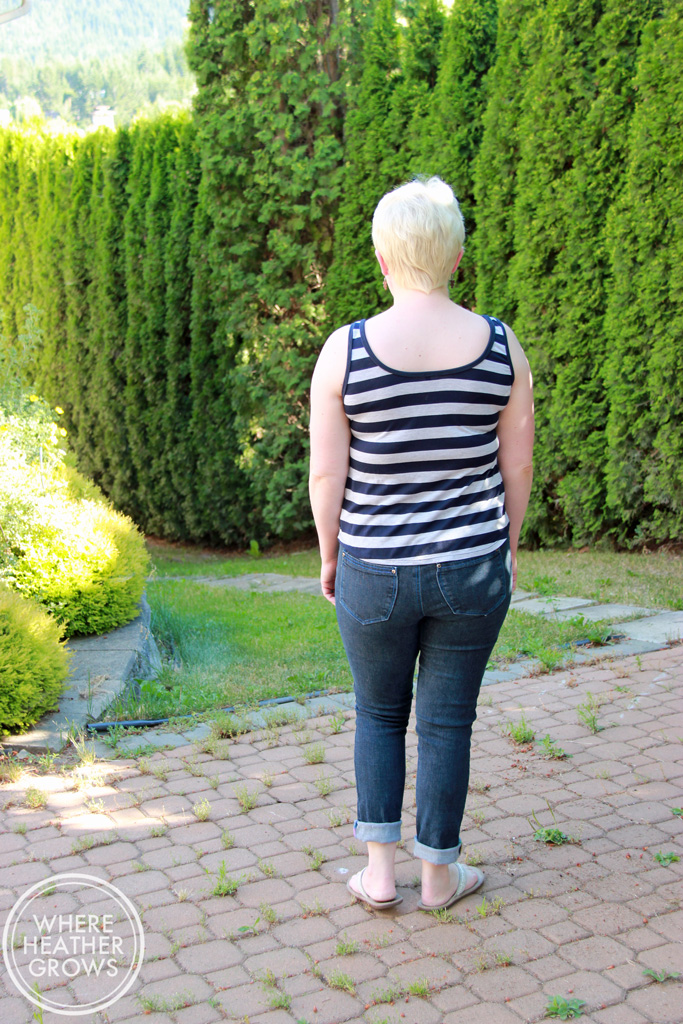
The Greenwood Tanks

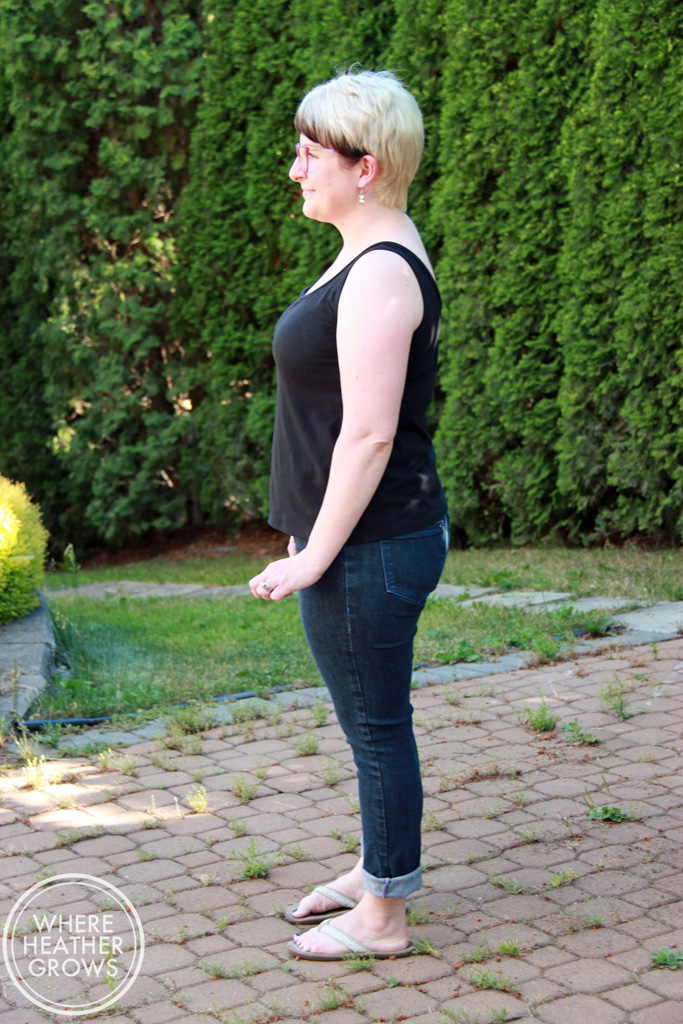
Hullo everybody! I feel like I have been trying to write this post for days, and it just hasn't happened. Writer's block or laziness? I'm not sure. Life just seems to get in the way sometimes, and it seem that the blog gets sent to the back burner. But I have been finding lots of time to sew, and to fit so I have lots to share. I have been going further down the rabbit hole with fitting, and having some success in some things, not so much in others. But with every step, and every thing I try, I learn a little bit. Not just about sewing and fitting, but also about myself and my shape. I'll save my introspective findings for another post though. For now, let's get on with the Greenwood tanks I recently made.IMG_7062Have you seen this pattern yet? It's a great wardrobe staple from Straight Stitch Designs. I first spotted it on Meg's blog, and then my good friend Katie recommended it to me too, so I had to give it a shot. I'm not really one for tank tops on their own (I usually use them as a layering piece), but we've been spending a lot of time in BC this summer and it has been really hot. Heatwave anyone? Anyway, a simple tank really fits the bill to stay cool - well that and air-conditioning. The pugs and I could not live without it. And slurpees, let's not forget about slurpees. But I digress.... IMG_7063I quickly whipped up a size 12 tank based on my measurements, and discovered (of course) that it was too big in the shoulders and pretty much all over. It was okay across the chest, but it just didn't feel right. The straps kept sliding down - not cool. So I took your guys' advice from my post about my shingle dress, and decided to do some adjustments to make this tank fit right. I chose my bust size (an 8) based on my high bust measurement, and then I graded to a size 14 from the waist to the hip based on my waist and hip measurements (also I didn't want a super tight fit across the belly fit). Then I did an FBA of 1.25". But doing the FBA created a dart, and I really didn't want to have a dart so I used this tutorial by Maria Denmark to remove it. Sounds a bit tricky, but really it's easy. It just involves a lot of cutting and taping.

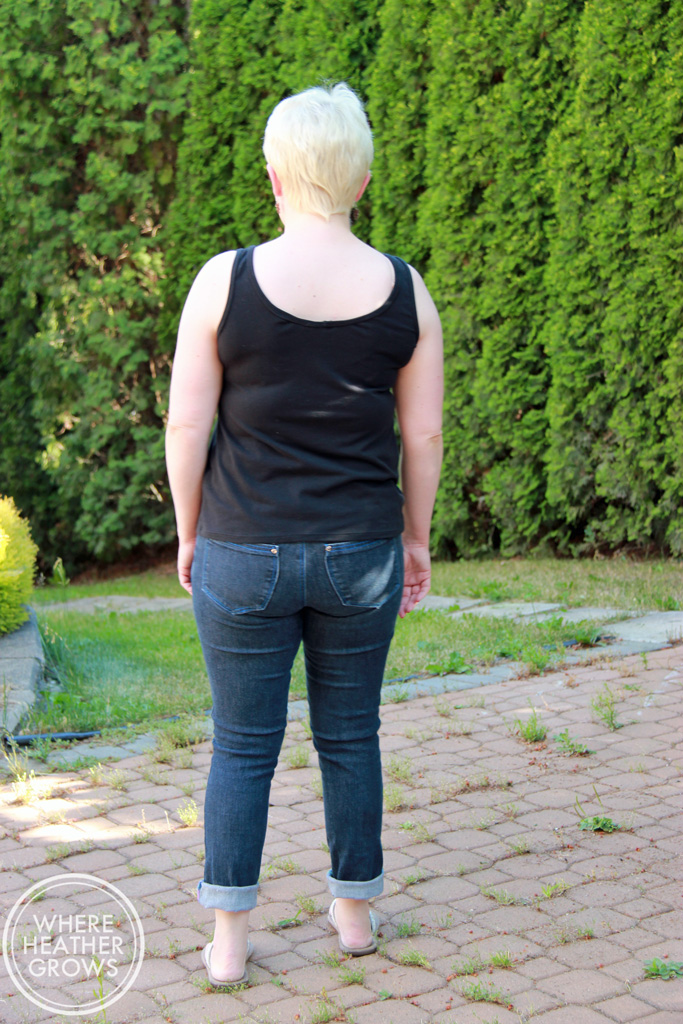
IMG_7064Then I did some alterations to the back piece. I should mention that I chose the scoop neck, scoop back version of this pattern, and it uses the same pattern piece for both the front and the back. But if you are like me and you need to do a bunch of alterations, you need separate back and front patten pieces, so trace/print two. Anyway, for the back I did a 1/4" high round back alteration, and I also did a 1/2" forward shoulder adjustment, both which I learned in the book Fit for Real People. Also, because I am short, I shortened it by 3 inches. Phew, seems like a lot of alterations for a knit tank doesn't it? But I'm pretty happy with the results. And now I have a solid TNT staple tank pattern. I used some black cotton jersey from Girl Charlee that I had in my stash for this version and I know it will get lots of wear. There still seems to be a bit of pooling in the back, but I'm not sure if it's just hung up on my bra, or what going on. Your guys' advice is always welcome there, but I'm not really losing sleep over it.

IMG_9863So that's what my two pattern pieces look like. Pretty cool right?

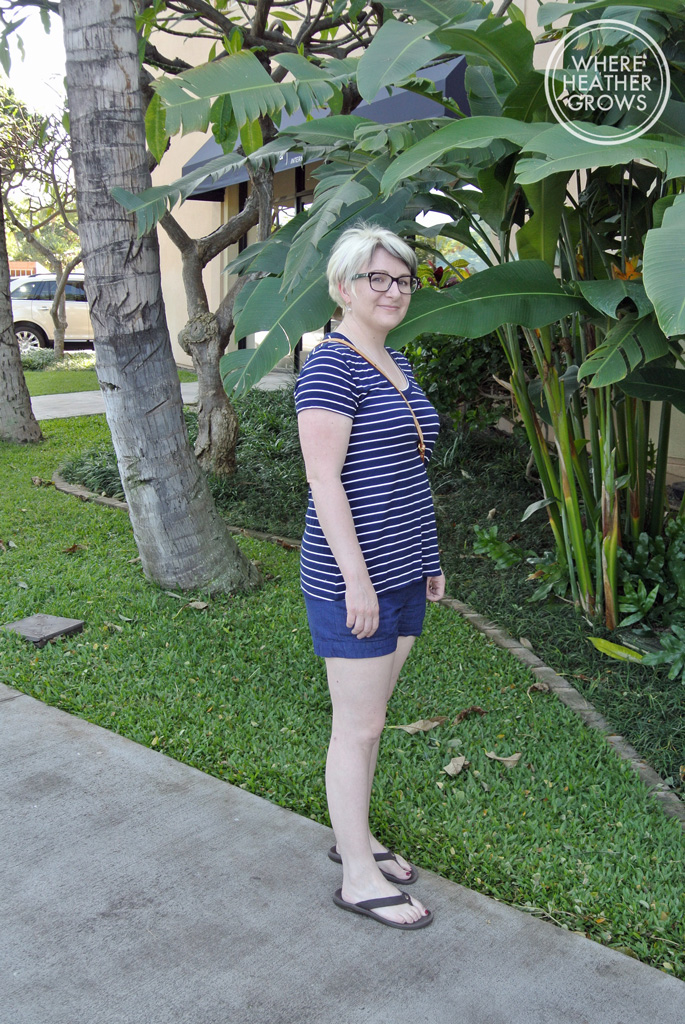
Before I made the Greenwood tank, I took a shot at the Aurora tank from the June issue of Seamwork. I did not like the construction of that tank at all, in fact I found it incredibly frustrating, and in the end I didn't really like the style on me. (What is up with these Seamwork patterns? They really seem to be hit and miss for me - anyone else tried them?) It looks so good on a lot of people, but I found the gathers a bit bulky and I think the instructions and the construction of it just left a bad taste in my mouth, so I just didn't want to like it. I did however like the curved hemline and the way it fell away slightly from the body. John agreed and said, "well why don't you just combine the two?". So that's what I did. And I made 4 more tanks just like that.

IMG_9877

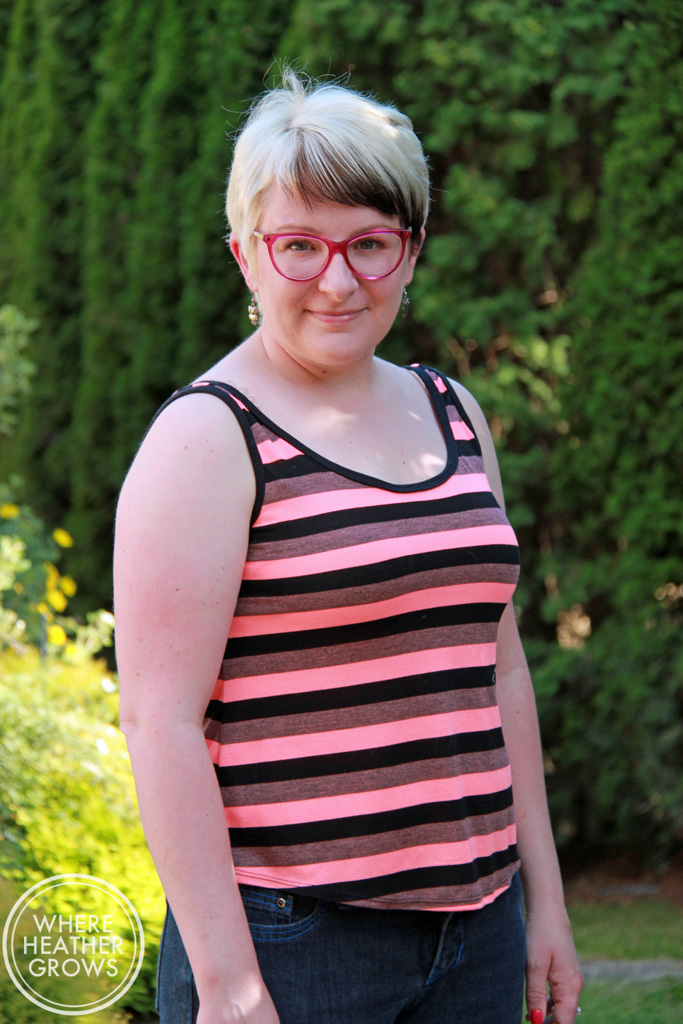
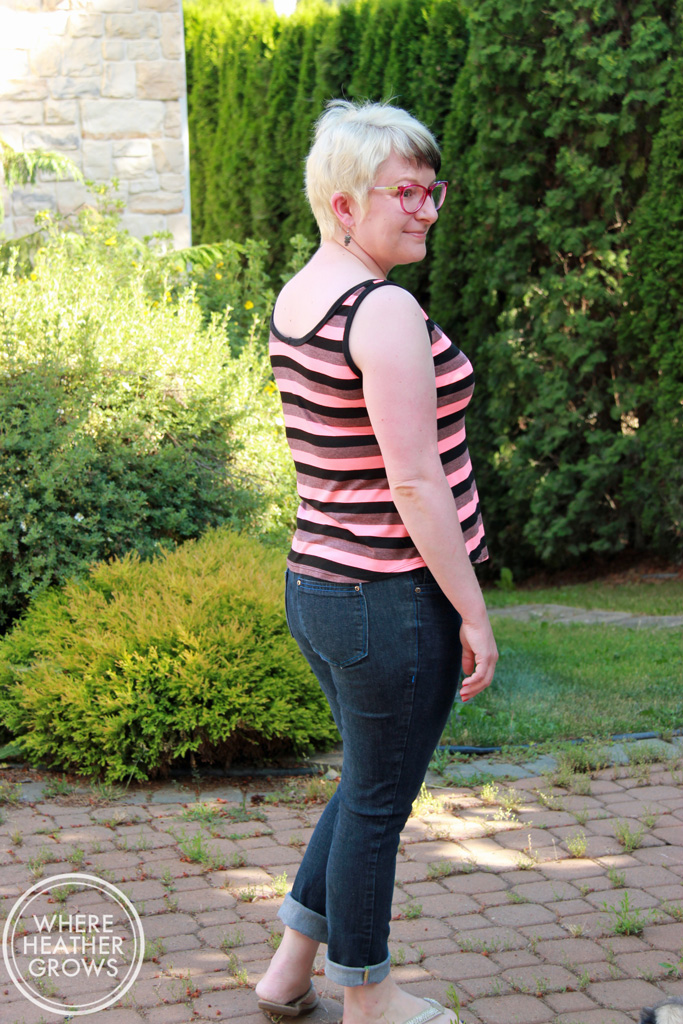
I may have gotten a little carried away and made them a bit too short, but I'm still quite happy with them anyway. See what you think:

IMG_7053

Hello! Everybody needs a super bright tank top right?

IMG_7052

IMG_7050

IMG_7067

IMG_7068

IMG_7069See the back doesn't look nearly as bad here. Maybe it's still just a little bit too tight, and that's why my bra line is so obvious, or maybe I'm just being too picky now.

IMG_7054

IMG_7056So I think that's enough photos of me for now, don't you? All of the striped fabrics came from Fabricville in Montreal (I'm not sure why Fabricville always seems to have a lot more and nicer knits than Fabricland in Calgary when they are the same company, but they do). I think they are all a cotton/rayon jersey blend, but I'm not 100% sure. They have great horizontal stretch, but not much vertical stretch. They worked perfectly for these tanks and I have a bit more left over for t-shirts too! That's another great thing about this tank: it doesn't require much fabric, especially when you're short like me.

I just realized that I didn't get any photos of the skinny striped one I made, it's made from a remnant I got from Marcy Tilton's website, and it's super comfy, but not the easiest to photograph. Those mircostripes always look a bit funny on a computer screen.

Hope you all are having a lovely summer, and for all my fellow Canucks out there, Happy Canada Day!!

Tropical Pyjamas

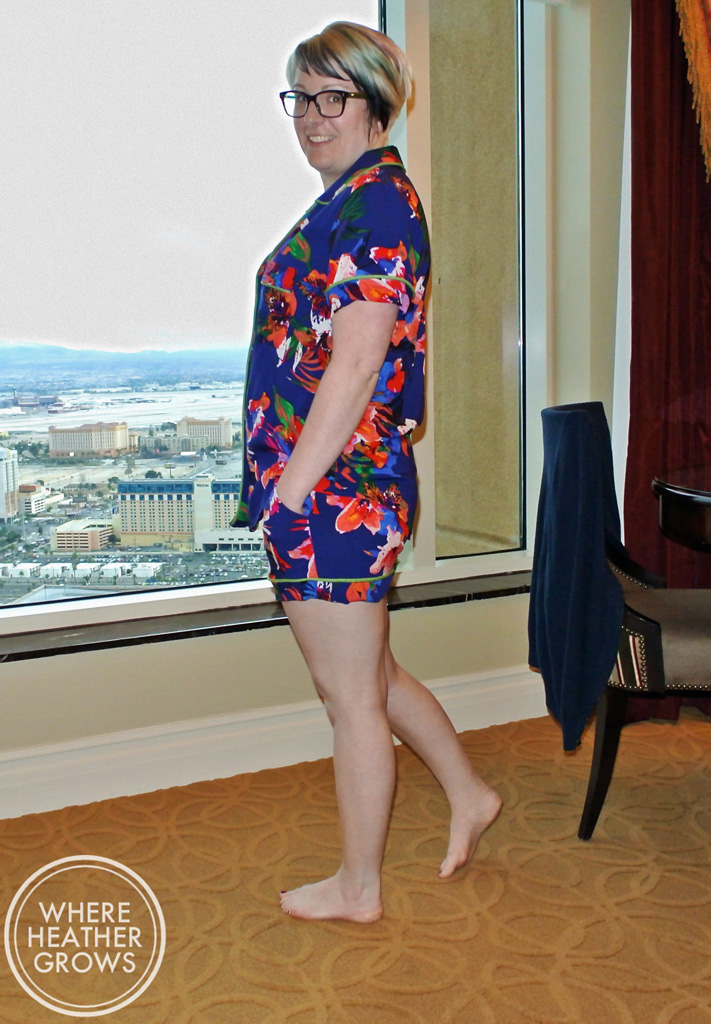
Hey everybody! It's finally time for something different! Pyjamas - with piping and everything! I'm sure by now, most of you have seen Heather Lou's latest pattern (and if not, head over to Closet Case Files and check it out). This time it's all about upping your lounge wear game and I am all for that. John recently bought me some pyjamas (for Christmas) and I absolutely love wearing them. I never used to be a full set type of girl. I used to only wear pyjama bottoms and a t-shirt, but this latest pair I own has changed my thinking. They are flannel (kind of like these but with penguins) and snuggly, and I love wearing them as a set. Who knew matchy-matchy could be so fun? Anyway, being a new full pyjama set convert, I was thrilled to see this new pattern for the Carolyn Pajamas. I really love all the versions included with this pattern, and that they are designed to be fitted, feminine, flattering and comfy, not the usual boxy unisex business.  This girl likes to lounge in style. Plus, I will be way less embarrassed answering the door in the middle of the afternoon in these babies, than in my usual pug-hair covered yoga pants and ratty t-shirt. (Heather Lou the UPS man thanks you too.)

DSC_5541

I have never sewn with piping before, nor have I sewn a notched collar, so I decided I would try the shorts version first (version C). It seemed like less fabric so a good place to start just in case I made of mess of them. I should also mention that the pdf went together really well. All of the markings match up, and I like how you can print the top, pants and shorts separately. Also, I love that you can put the pattern pieces together individually. I'm not entirely sure how to explain it, but you don't have to stick all the pages together to form one giant paper. You can put the first 2 pages together for 8 or 9 rows, then the 3rd and 4th pages together for 8 rows and have all the pattern pieces. Here, I'll show you the layout so you can see what I'm talking about.

Screen Shot 2015-02-24 at 9.15.41 PMHopefully, it's okay that I show you that little diagram, but do you see what I mean? Closet Case Files' pdfs are really well thought out, and always a breeze to put together.

DSC_5542

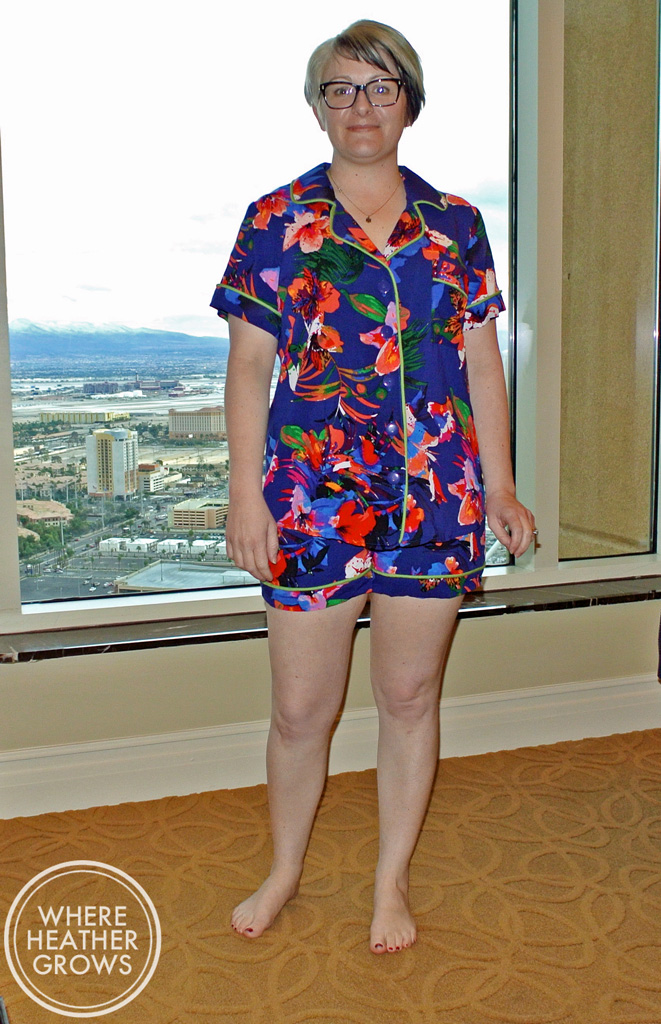
I made up a quick muslin of the shorts in some cheap rayon I had lying around before I cut into this tropcial gorgeousness. I chose the size 10, but found the shorts a little too snug for pjs, so for this version I made a straight size 12 for both the shorts and the top, and I think they both fit perfectly! In fact, I can't really get over just how perfect the fit of the shirt is. I mean check out those shoulders. Once again, it feels like Heather Lou drafted this pattern just for me.

DSC_5543

The fabric is a really gorgeous tropical print rayon voile from Blackbird Fabrics. When I saw it I knew it was destined to be warm weather pyjamas so I snapped it up right away. Unfortunately, I think it is now sold out. Have you ever sewn with rayon voile before? I hadn't until this, and let me tell you it is amazing! This fabric is so incredibly soft, and flowy, and silky, and it was a dream to sew with. I wish I could send each of you a little swatch of it, so you could feel it. It's beautiful! And it makes for an uber luxurious set of pyjamas.

DSC_5544

I went with store bought piping that I picked up at my local Fabricland. I think it looks okay, but it's a little stiff and bulky (the shorts can almost stand on their own). For my next pair I will either make my own smaller piping, or go with flat bias tape piping. I think this stuff might be more suited to pillows and cushions and what not. This was my first time piping anything and I was a little nervous but it went okay. I started with the shorts and my stitching doesn't look the greatest when you get really close up, but I'm okay with that. I mean, who's going to be getting that close to my cuffs while I'm in my pyjamas anyway? The pugs maybe, but they love me and I feed them, so they can overlook wonky stitching every now and then.

After struggling a bit with piping the shorts (I started off using my zipper foot, then my regular foot which worked better than my zipper foot but still wasn't great), I ended up buying a piping foot for my darling Pfaff and it made a world of difference. So if you plan on doing much piping work I would definitely recommend getting the proper foot. It made my life so much easier, and it made my sewing look a lot better too! By the time I got to the cuffs on the shirtsleeves, I felt much more confident in my piping abilities.

DSC_5540

I also struggled a little bit with the notched collar too, but I am confident that my next one will go much smoother. The instructions were fine, but I still consider myself a beginner sewer, and I am definitely someone who needs to do things at least once to figure them out, so I know next time will be a lot easier. And also since I made these, Heather Lou has added a tutorial to her website that is quite helpful for visual learners like myself.

All in all, I am thrilled with how these turned out and I can't wait to make more. I already have a stash of fabric reserved for more sets. My dream is to have a set of these to wear everyday for every season. They are like my version of the leisure suit.

Do you wear pyjamas? And if you do, do you wear the full set, or just one piece? Also what do you think of the pyjama on the street fashion trend? Would you wear them out of the house?

PS: This post comes to you live from Las Vegas. John is here for business and I tagged along. I thought it would be cute to photograph these in the hotel room, but it ended up just being a little creepy so John ended up taking my picture by the window instead of on the bed. LOL

The Linden Tunic

Hey there everybody!! I feel like I haven't blogged in ages, but when I checked the date on my last post it's really only been a little over a week. I have been sewing up a storm and making lots more things, but sadly, I haven't photographed any of them yet. Sometimes I feel like blogging gets in the way of sewing, and I also like to have a bit of a selection of things to blog about so there's been a lot more sewing, than blogging and photographing going on lately. Anyway, I do have one project photographed and ready, so in the spirit of sharing all the makes, I bring you my Linden Tunic Experiment. I know, I know, we're sick of Lindens!! Well to be honest, I am not sick of making them or wearing them, or seeing them AT ALL, but I am a teensy bit sick of blogging about them myself. But because this one is a little bit different, I decided that you all might like to see how it turned out, in case you are thinking about making one for yourself.  Anyway, enough blabbing....

IMG_6259

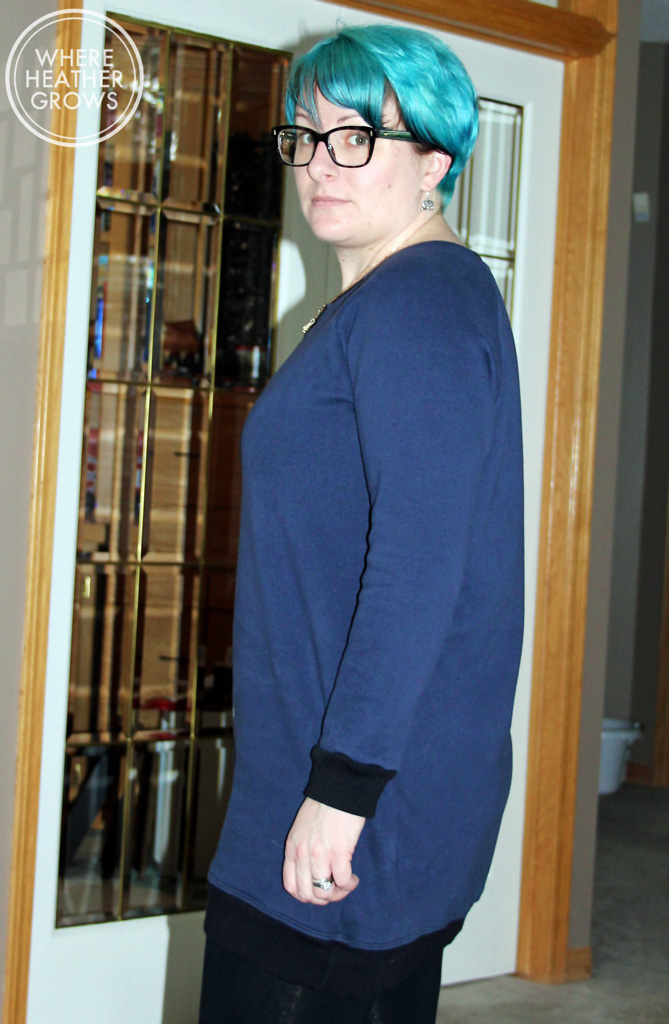
So I'm not sure this is my best looking project ever, but it is sooooo comfy!! I made it out of sweatshirt fleece I bought from Girl Charlee ages ago. I actually bought it to make a Lola Dress, but that doesn't seem to be happening anytime soon, so I decided to just use it for this. It's warm and thick and extremely soft. The right side of this fabric almost seems brushed. Very snuggly. Oh and the black ribbing is from Fabric.com.

IMG_6258

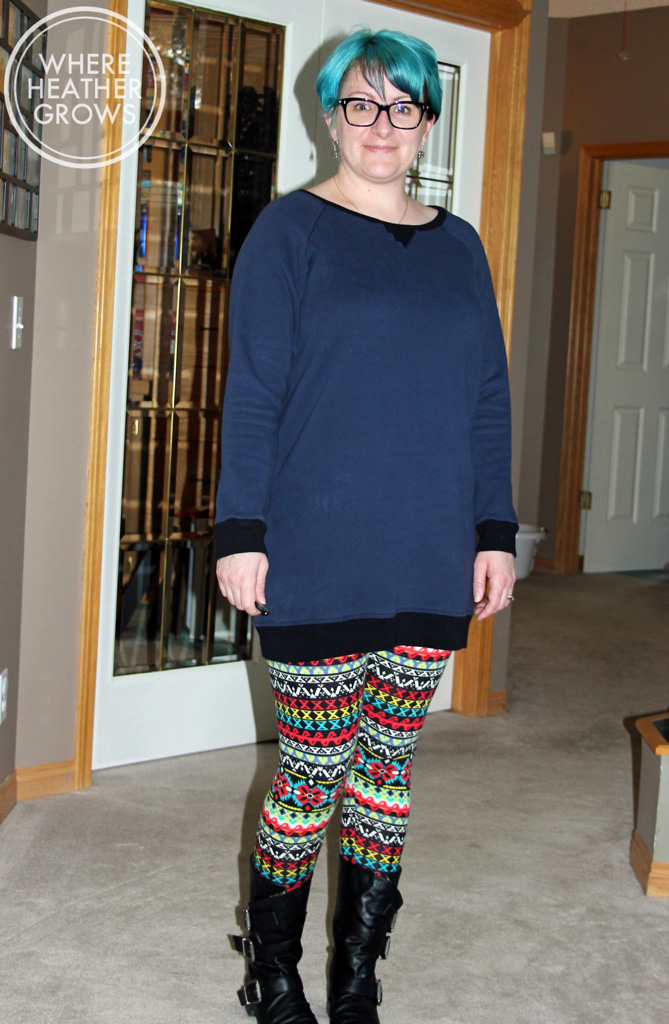
So back to the pattern, all I did was lengthen in by 7 inches at the lengthen/shorten line. Easy peesy!

IMG_6281

One time, a long time ago, (in a galaxy far far away), a very lovely sales girl at Anthropologie told me that a tunic  (or even a short dress) should hit you mid-thigh for the most flattering fit. Right at the point where your thigh starts to widen - does that make sense?  For some reason, that little rule has stuck with me. So that's where I aimed for the bottom of the ribbing to hit.

IMG_6256

I was just looking for something snuggly and comfy to wear with leggings - so this pretty much fits the bill. I'm not sure I am in love with my fabric choice as it is a bit stiff and makes for a sack like garment, but it's okay. It's perfect for lounging around the house and being cozy, and if I need to sneak out to the store, my butt is covered!

I'm not sure if I will make this again. It's a little too plain for me. I feel like it needs a funner fabric, or pockets or maybe a waistline or something. The hunt for the perfect sweater dress/tunic continues!

Actually, not long after I made this up, Paprika Patterns released their Jasper dress. It has an interesting collar and a hood option with really cute welt pockets. So I might try that next time I'm in the mood for a snuggly sweater dress. (PS: I think that pattern is on sale until Feb 24th if you want to snatch it up too!) [Also, guys in the interest of all the advertising/affiliate links conversation going on in blogland - I want to let you know that I am not sponsored or affiliated with anyone at the moment. I know I link to tons of stuff, and I rave about lots of stuff, which may make it seem like maybe I am getting paid to do so but I want to be clear that I'm not. And I promise to tell you if I ever do get sponsored or sent any free stuff in the future. I am totally not against it, but I like it when bloggers are forth coming about it, so I promise to be too.]

So there you have it! I promise to blog something other than a Linden for my next post ;). Hope you all are staying warm wherever you are!