Ginger Jeans Take 2

First off, thank you all so much for the comments on my last post, for all the helpful tips and support, and also for reading my blog. I have never had so much feedback and I am super grateful for it! Best blogging/hobby community ever! Yay Sewcialists!! Secondly, I have to apologize for these photos. Not my best photography, but the day I took them it was cold and I was having troubles with my tripod, so I took them inside. The colour/contrast is not as good as it usually is but I think you can see well enough to get a good idea of how these Gingers fit!

IMG_5787

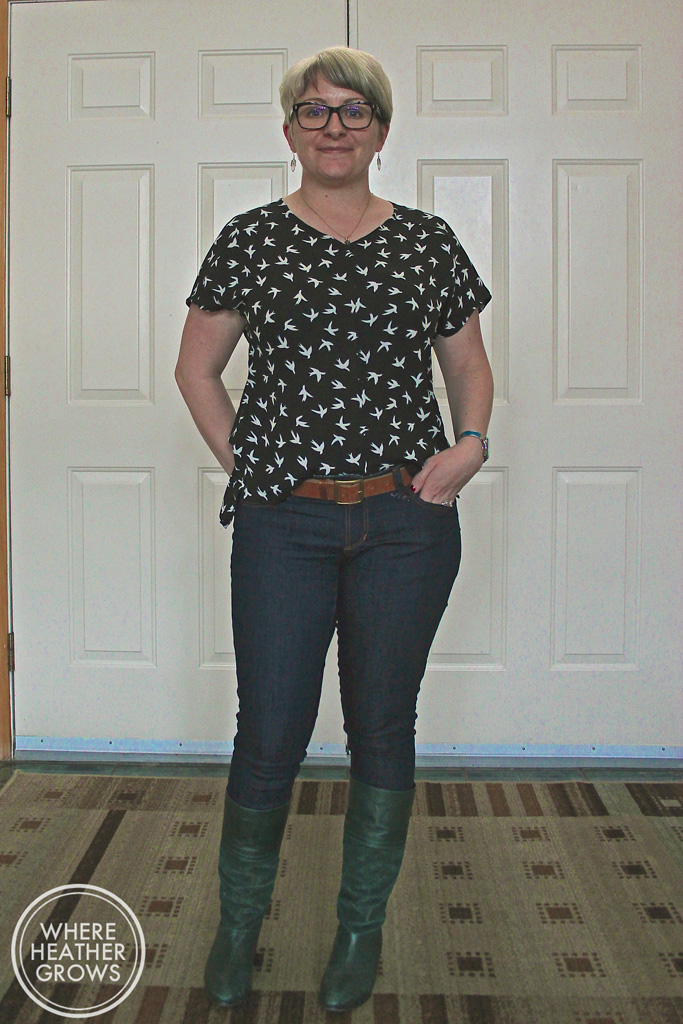
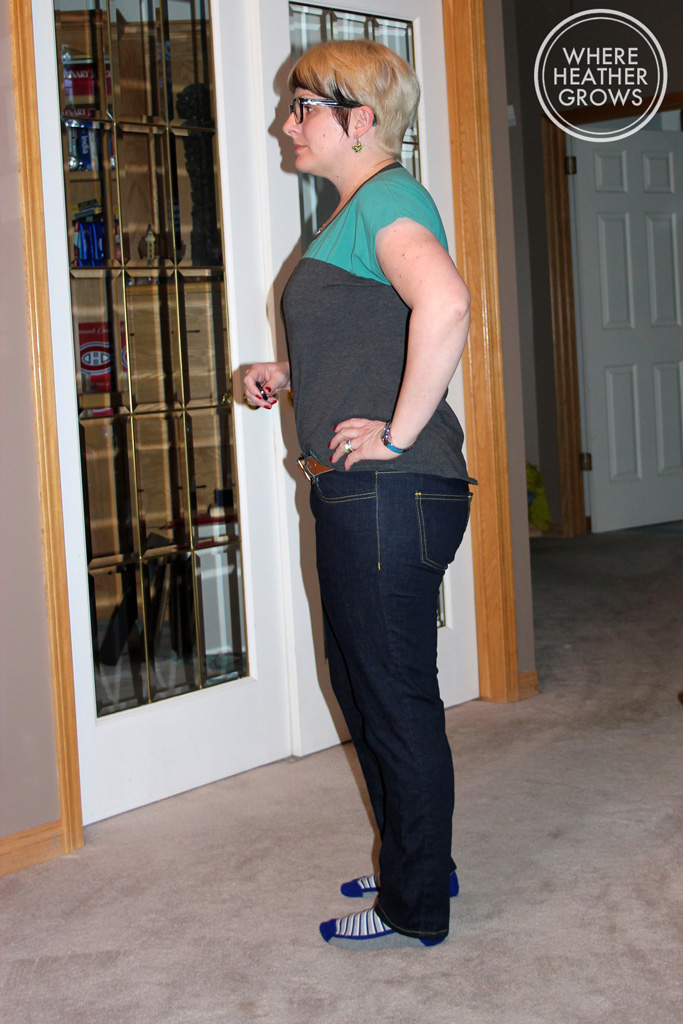
So as I mentioned last time, I decided to go down to a size 10. This was a great decision as I think the fit is even better now. I also decided to make the legs a bit slimmer as this time of year I mostly wear boots, and skinnies are so much easier to tuck in. I took a 1/2" off of each side of each leg, grading to nothing about mid-thigh. So that takes a total of 2" off each leg. I used this tutorial and it worked really well.

IMG_5780

The denim I used is from Girl Charlee and I am really happy with it. It's got a nice stretch and it recovers really well. I have been wearing this pair for about 3 days now and they haven't bagged out. They stretch with wear for sure, but not so much that it's noticeable to the outside eye and not so much that I feel like I have to wash them again to get them fitting properly.

IMG_5783

I used a different colour for the top-stitching thread this time too. It's more of a coppery-orangey colour. I like the gold, but I though it would be fun to switch it up. I was debating doing red or blue topstitching too, but I chickened out and went with something more "regular". I don't have much to say about construction this time. The pattern instructions are still very straight forward, and I found things went more smoothly and faster the second time around because I had done everything once before. I really like making jeans. It's so soothing and satisfying; challenging but not overwhelming. I also love wearing jeans so I'm sure there will be many more pairs to come.

IMG_5754

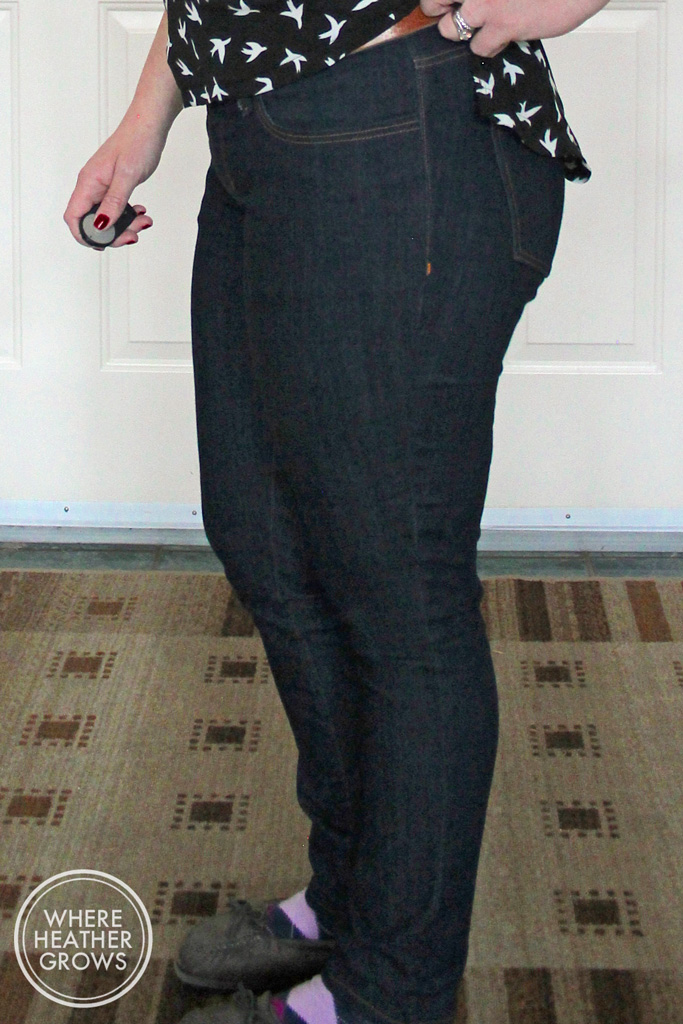
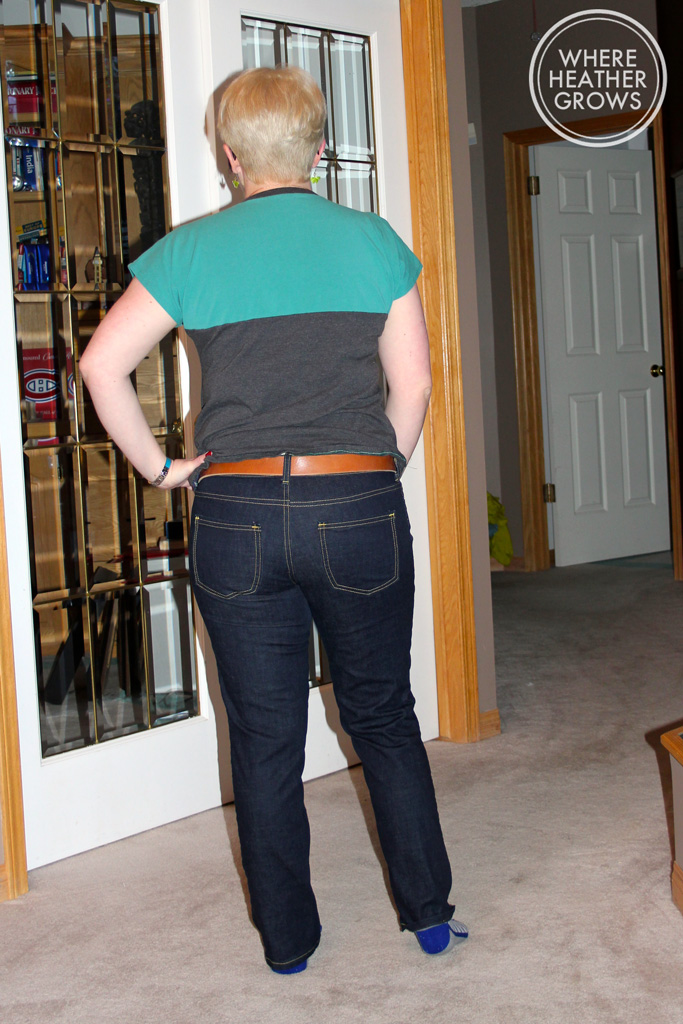
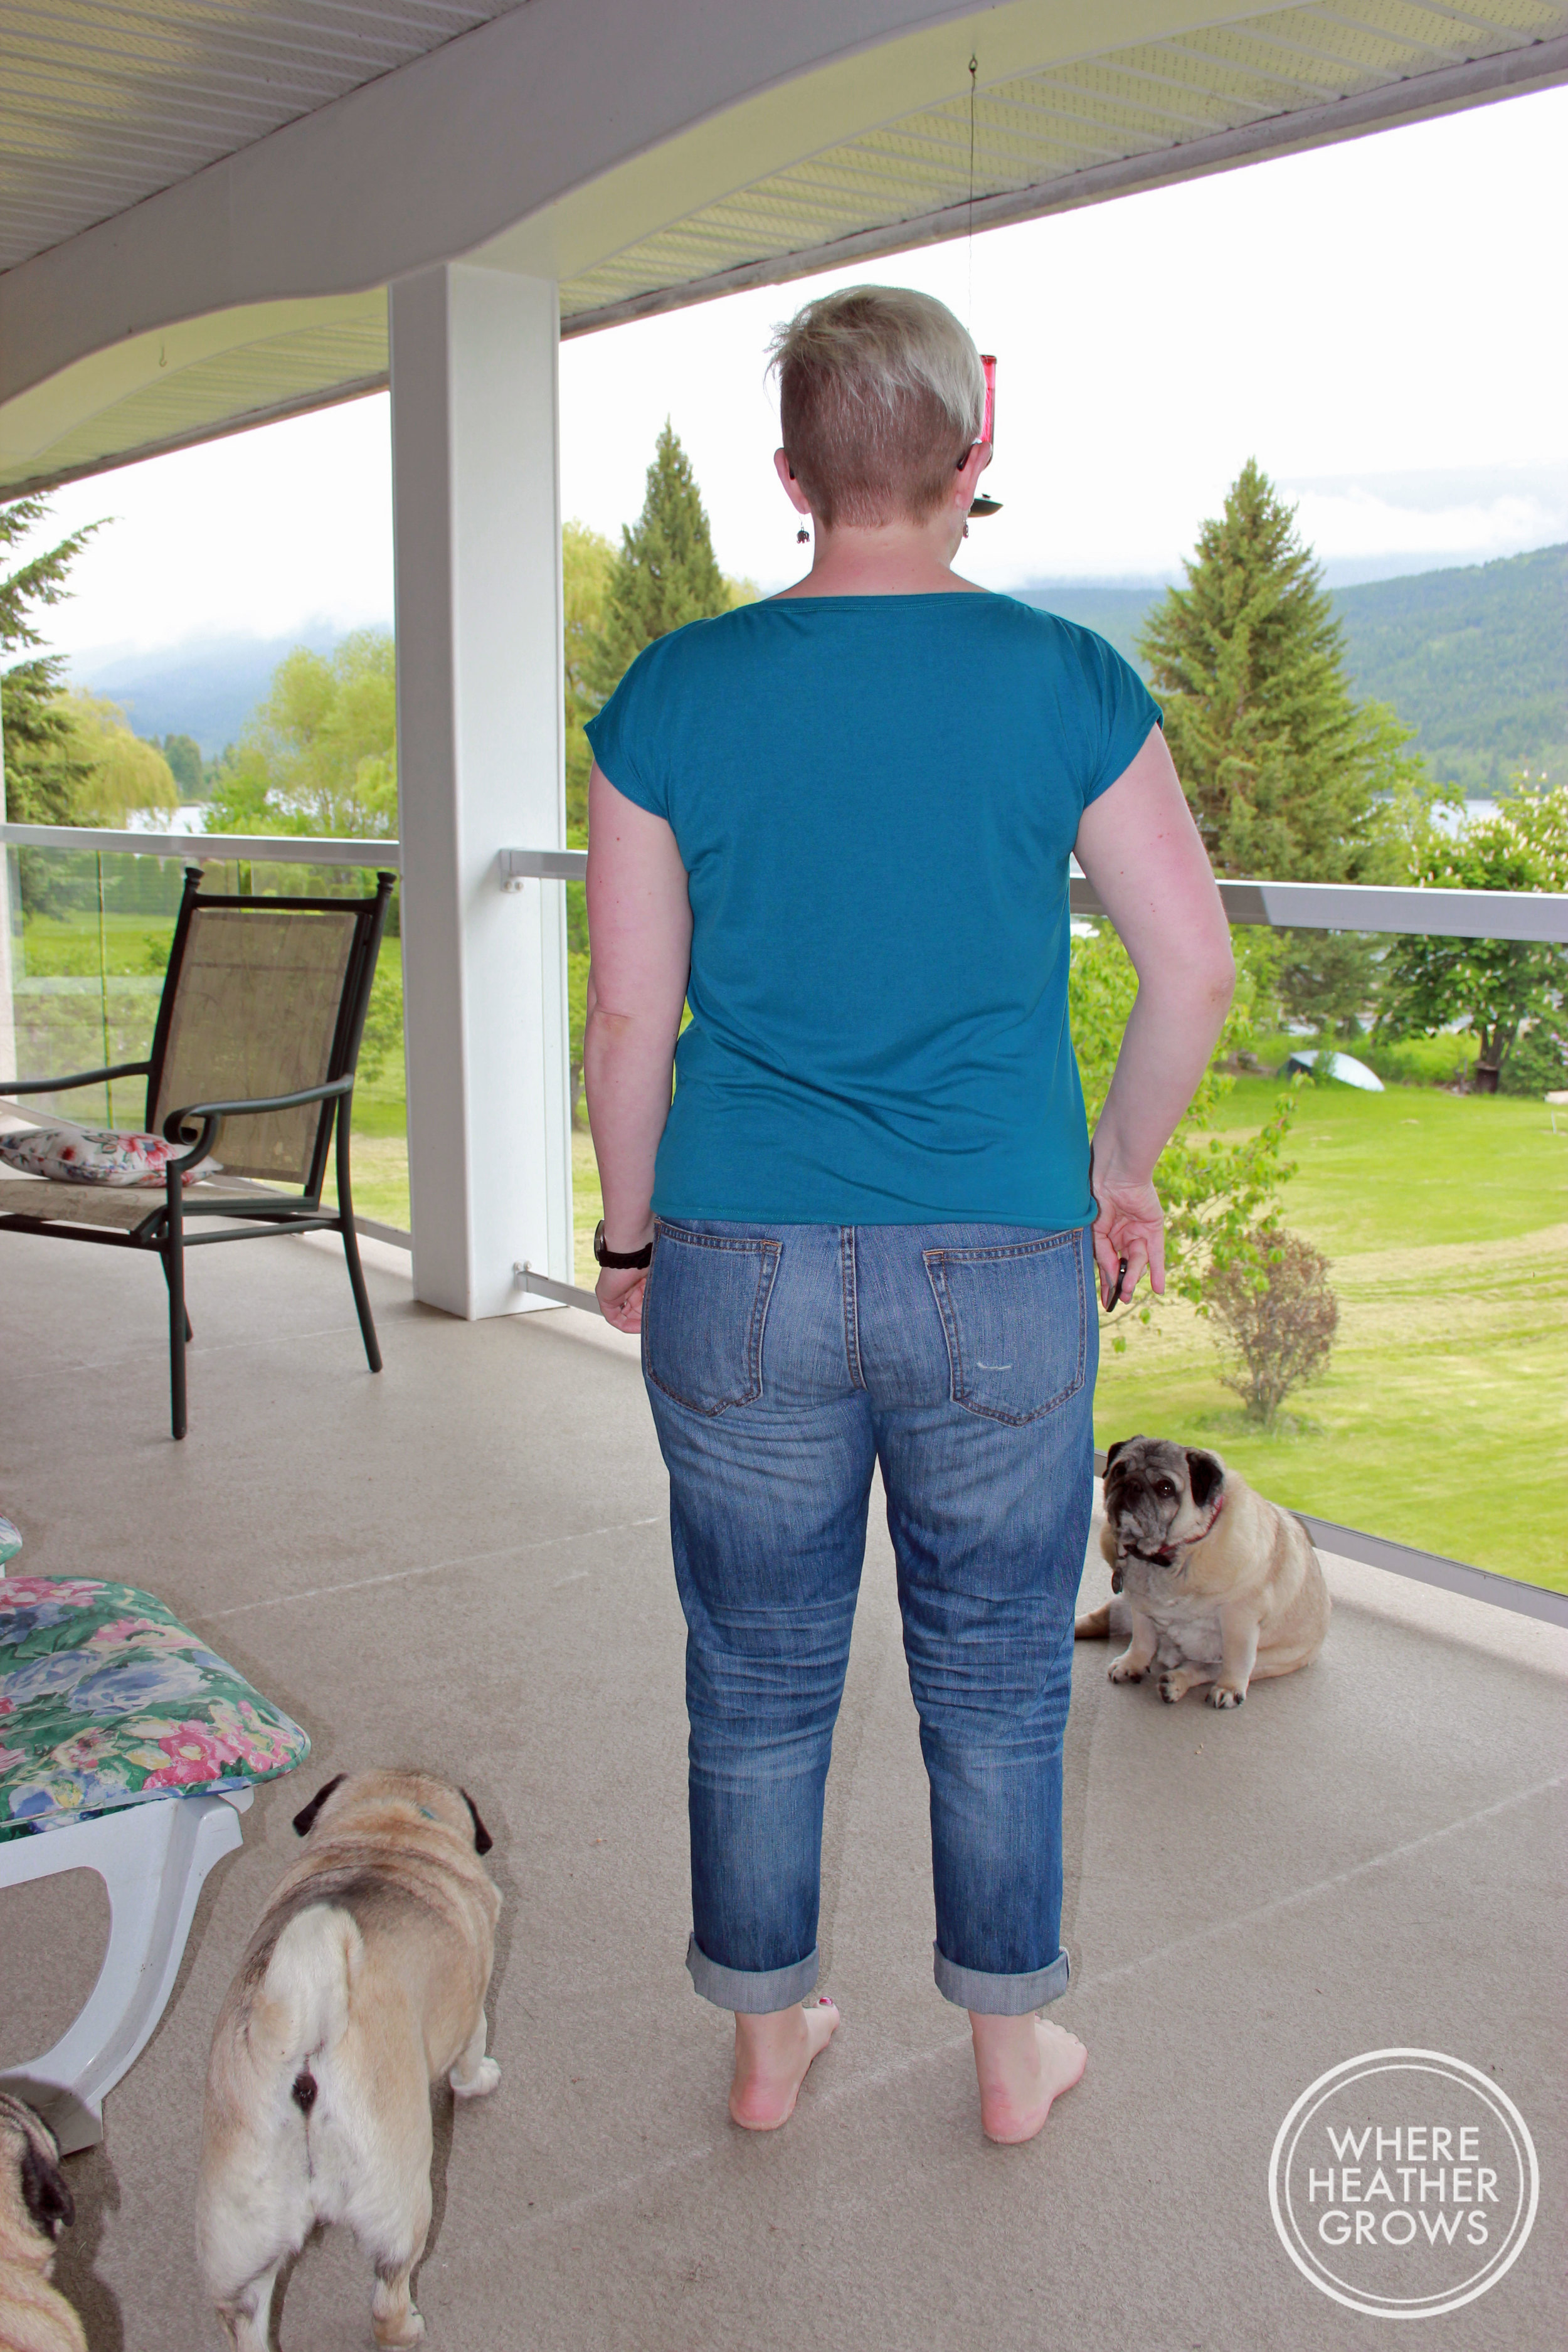
Check out that fit? (I can't believe I am posting a photo of my butt on the internet again, yikes!) I was a tiny bit worried that by going down a size the fit might change, but I am happy to say that I think it just got better. There are still a couple little wrinkles in the front, so for my next pair I might try to lengthen the front crotch just a smidge as Katie suggested in the comments of my last post. But other than that, I don't really want to mess around with them too much.

IMG_5786

I'm not sure if I mentioned this last time, but I had a heck of time getting the topstitching around the fly to look right. I unpicked it three times before I was happy. On this pair, I only unpicked it once. You know what they say, practice makes perfect. Also, I used barracks to sew on the belt loops this time. My beautiful Pfaff actually has a barrack function, so it makes it really easy.

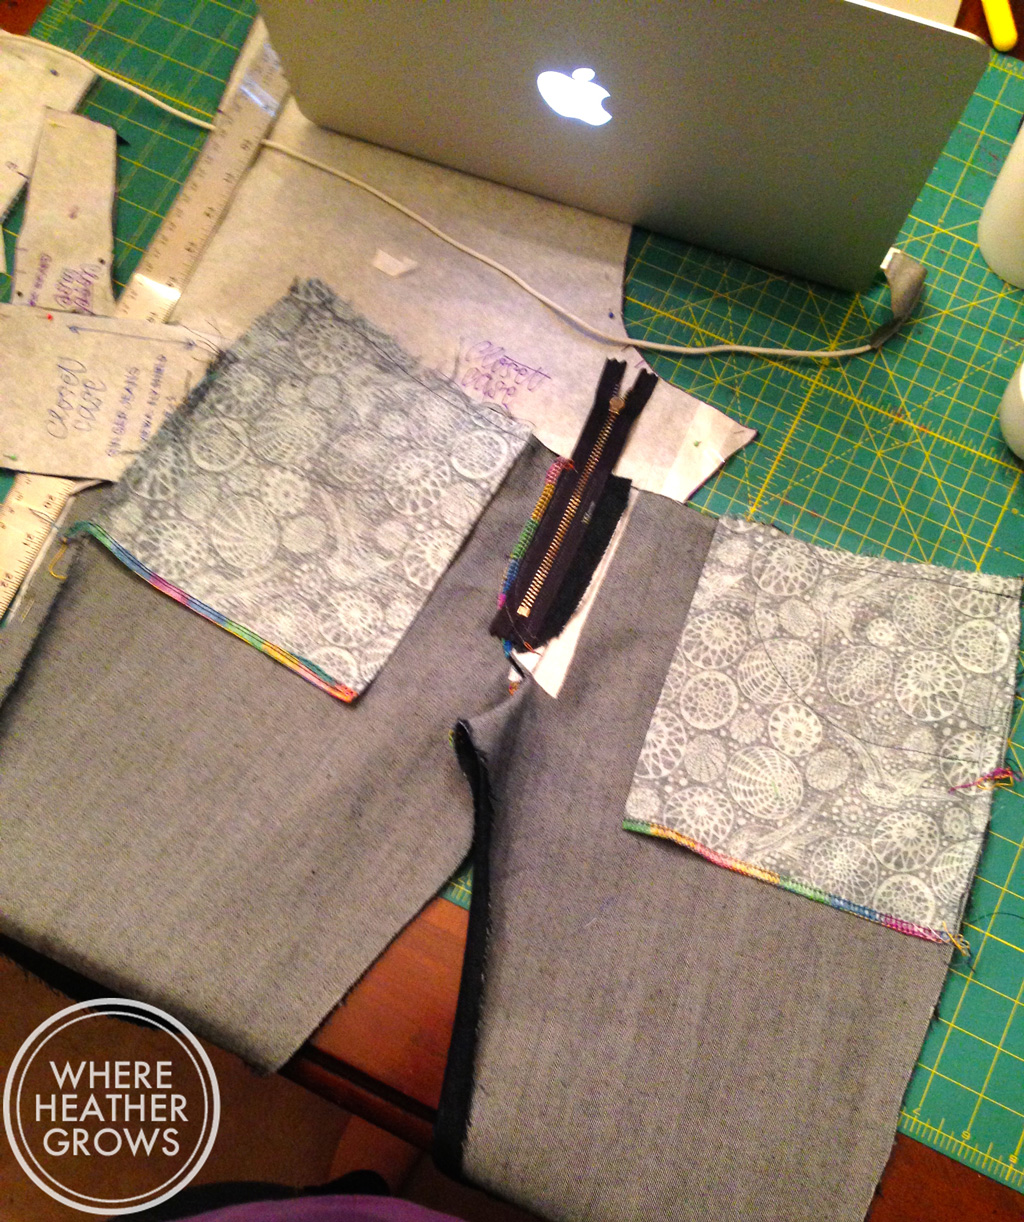
I also took a few shots during construction, so you could see the insides this time.

IMG_8099

IMG_8107

I know Heather Lou suggests having the right side of your pocket fabric showing, but that just didn't seem right to me. I had some kind of mental block about it for some reason. This way if my pocket turns out you see the right side of the fabric.

IMG_8106

I love this rainbow variegated thread with denim (well really, I love it with everything, but it looks extra awesomesauce with denim). One of my favourite things about sewing my own clothes is being able to add little details like this. I love having a unique piece of clothing that no one else will ever have. I can't believe it's taken me so long to really start sewing my own clothes. I can't imagine all the craziness I would have come up with when I was younger. I do remember cutting my jeans up the side seams and adding a strip of fabric. Did you ever do that? A couple of older cool girls at school were doing it, and I loved my pair that I did it to and wore them to death. I wonder why I stopped there? I was probably just too intimidated by fancy patterns. If only I had had the internet back then. The things I would have gotten up too...oh well, I am happy that I am doing it now!

I obviously haven't worked up the nerve to try flat fell seams yet. The serger/overlocker way is just working out so well for me, and it looks pretty too! As you can see, I skipped out on the rivets again. It's not because I don't like rivets, it's because I couldn't find any locally. I have finally ordered a bunch so I will give installing them a try on my next pair. Or I might even add them to this pair, we'll see when they get here.

So there you have it, Ginger Jeans take 2! I have been wearing them pretty much non-stop since I finished them. I can't wait to make more!

What is your favourite thing to sew? Are you doing any handmade Christmas gifts this year, and if so, have you started making them, or are you procrastinating really hard like me?

And just in case you are going through pug withdrawals, here is a picture of Quincie checking out my butt:

IMG_5755


Happy Sewing!
JEANS! I Made Jeans!!

I made Closet Case Files Ginger Jeans to be exact - and I'm pretty tickled with myself. Can you tell? IMG_5739

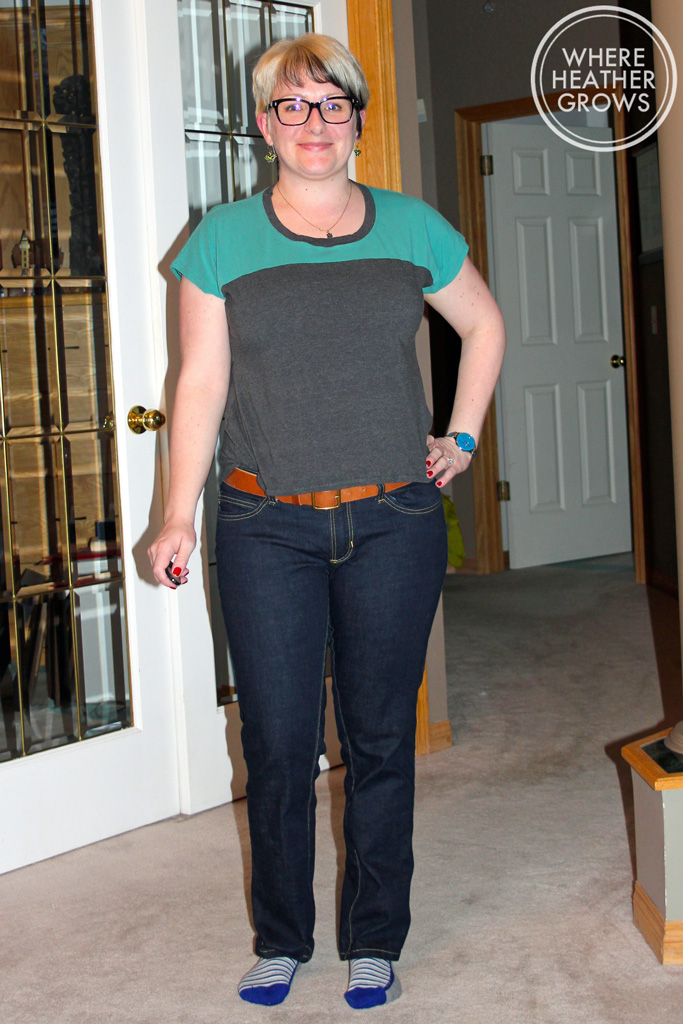
I would love to tell you that I am a pants fitting wizard and I make pants all the time getting the fit perfect, but I think we all know that just isn't true. This pattern did all the work for me. I feel like Heather Lou drafted this pattern just for me; the fit is amazing! I honestly did nothing to it, well I shortened the legs by 3" but that's it! This is how it fit me right out of the envelope...err..computer pdf file. You know what I mean.

IMG_5741

I took these photos when these babies were fresh out of the wash so there is something going on with the one leg in the picture above, but I assure you it's just cause I didn't straighten them out as I was super excited to get them photographed. Upon looking at these photos, I know there are some wrinkles in the front and the back, but I'm not anxious to mess around with anything as I think the fit is so much better than any RTW jeans I have. But that being said, if you have any advice for me, I would love to hear it.

IMG_5744

I made version A - the mid-rise stovepipe leg version. I am a little scared of the high-waisted version as I am so short, but after making this version and seeing all the awesome high-waisted versions out there I may just give it a go. My top-stitching isn't perfect, but I'm quite happy with it, and unless you get up close and personal, you probably won't notice any wonkiness. I added bar tacks to the back pockets as I didn't have any rivets on hand for this pair, and I really like how it turned out. You want to see another picture of my butt now, don't you?

IMG_5742

I made a straight size 12, and while the fit is pretty spot on, I find them a little loose after wearing them for awhile as jeans always seem to stretch out. They are perfect when the first come out of the wash, but after about an hour they stretch out quite a bit. I took these babies with me when we were away last week, and after about 3 days of wear they were pretty baggy, so for my next pair I plan to size down. In my experience, that's just the way jeans are. On my hunt for the perfect fitting jeans over the years, I've worn high end designers like Citizens of Humanity, J Brand, Paige, 7 for All Mankind, AG, and I've worn Jessica Simpson, Gap, Old Navy, Next, Top Shop, and Joe Fresh (and many, many others). All of them stretch out with wear, so I always try to start with a snug fit. I'm sure going down a size will fix this issue.

I bought this denim from Corrine at The Sewing Affair and it's awesome. It's a gorgeous dark wash, and it's super comfy and soft. After sewing with it, and wearing it, I would definitely recommend it. It's a great weight for jeans, but I imagine it would work perfectly for a skirt or a jacket. I really want to make a denim jacket; know of any good patterns out there?

IMG_5745

The leg on this jean is great (although I usually wear something a little skinnier in the winter as it makes them easier to tuck into boots). It's slim and it looks great cuffed too. I should also mention that I interfaced the waistband with a medium weight fusible interfacing. I love this feature. It makes the waistband maintain its shape. I have a round belly and I usually find that after wearing a pair of pants for awhile, the waistband folds over and kind of bunches up, but that isn't a problem with a little bit of stabilization (is that a word?). It's so awesome to be able to make your own jeans and add little things like that. I also used my rainbow variegated thread to serge all the seams, which looks awesome if I cuff them, and I used a really light weight cotton to line the waistband and for the pockets. For my next pair I will use a little bit heavier cotton as I think it will wear better next to the heavier denim over time.

So there you have it: my Ginger Jeans. I really enjoyed the jean making process and I am just in the process of cutting out another pair (I took a break to blog - FINALLY); I see many more pairs in my future. I am so happy I bought this pattern because it fits me so well. I am now having dreams of cords and chinos, and even dress pants, the possibilities are endless! The instructions with this pattern are really good and the sew along is great for visuals. If you have ever been intimidated by sewing pants, this is a great pattern to quell your fears (well it was for me anyway). And don't be intimidated, it's just sewing. Go slow and sew one seam at a time, it's easy when you break it down step by step. (Another great tool I would recommend is the Pants Construction class by Sandra Betzina on Craftsy. It's awesome and has lots of tips and tricks. Plus Sandra Betzina is a hoot and a wealth of knowledge.)

Have you sewn jeans, or pants before? How did it go? Got any fitting tips and tricks to share? Do you have a favourite RTW (ready-to-wear) pair of jeans that fits perfectly or have you always been searching, like me?

The Nettie Chardon Conglomerate

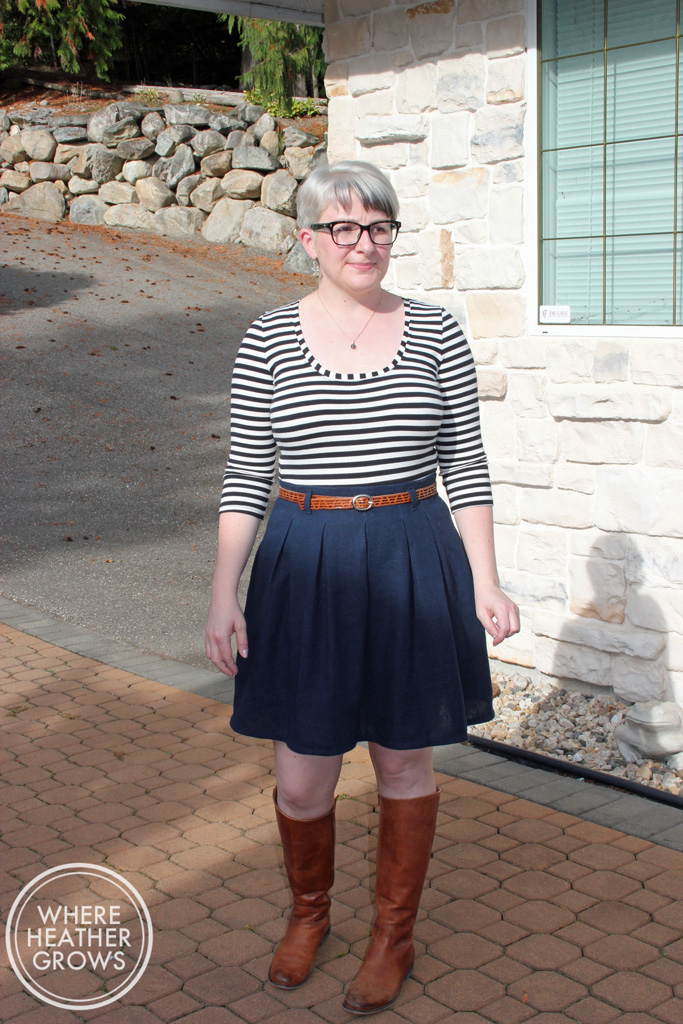
Get ready for a pretty picture heavy post guys! I thought I would give the blog an Archer break and share something a little different. Well different for me anyway. The Deer & Doe Chardon skirt and the lovely (what will I ever wear that with, but now I can't live without) Closet Case Nettie! IMG_5495

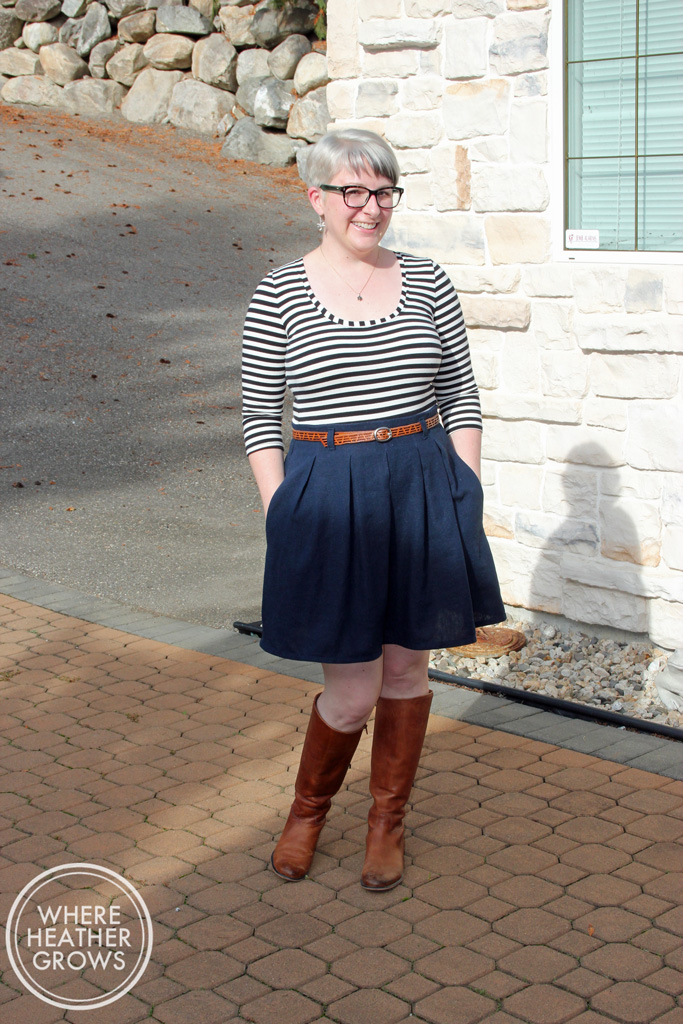
I say a little different because I hardly ever wear skirts (and I have never worn a bodysuit). I'm not sure why I don't really wear skirts, as they seem like a pretty versatile item, but for some reason, I have always thought that they don't really suit me. That being said, I really like this one! I think the highwaisted-ness suits my petite frame and I love the pleats and belt loops too! Plus it has pockets - woo hoo!

IMG_5491Hey look, I still have pink in my hair!

I've seen a bunch of Nettie/skirt combos popping up online and I thought that a Nettie paired with this skirt would be perfect! I wouldn't have to worry about always tucking in, or that my top was riding up and/or becoming untucked and I think it worked out splendidly.

IMG_5492

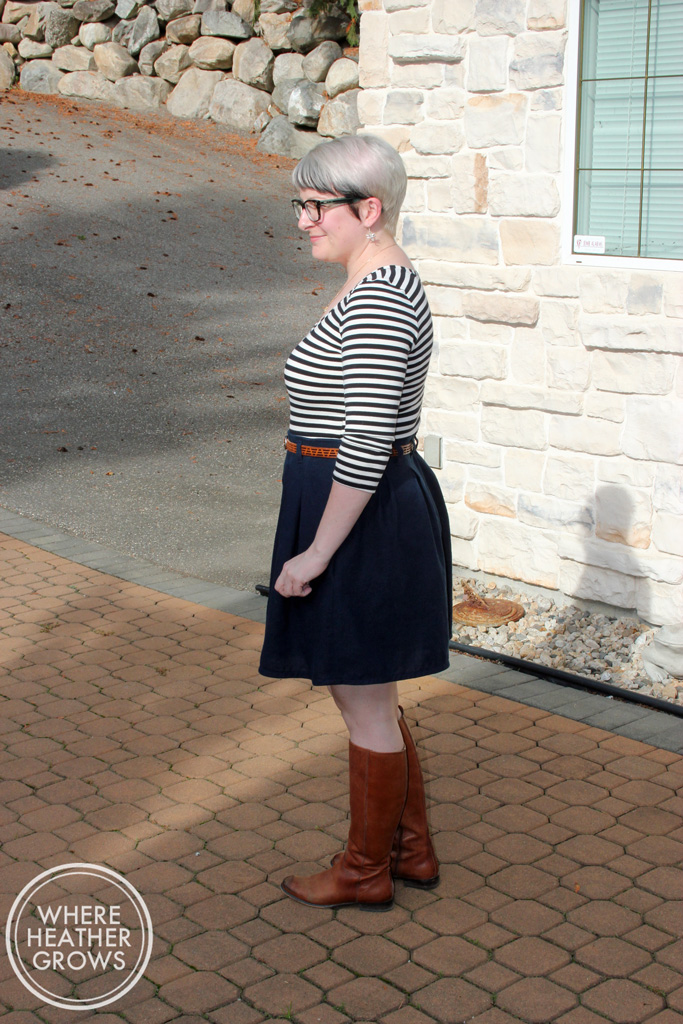
For the Chardon, I used Kaufman Brussels Washer Linen Blend (say that three times fast) from Fabric.com. I think it has the right amount of drape and body and it holds the pleats well. I made a size 44 and I used the length of version A without the contrasting piece - what can I say, I'm short. I used store bought bias tape for the hem and I love how that worked out too. I'm all about the bias tape hems lately.

IMG_5522

IMG_5489

For Nettie I used a striped cotton jersey from Girl Charlee, and I made the version with 3/4 length sleeves in a size twelve. I ended up shortening the bodice by about 1.5" and I did a small sway back adjustment as well. The leg bindings are supposed to be finished with self fabric, but I decided to do something a little different, and I finished them with lingerie elastic. I have never applied lingerie elastic, but I think it turned out pretty well. This pretty pink came from Sew Sassy, and it's super soft and not pinchy at all.

IMG_5521

I first attached it with a zig zag stitch and then used my coverstitch machine to topstitch it in place.

IMG_5518

This is the first project I have ever made that involved snaps. And I was a little naive about it. I thought, how hard can it be really? Well...here's what it looked like on my muslin.

IMG_7234

Snap fail!! (If you follow me on Instagram, you would have seen this already, with the caption Nailed it! My husband didn't understand the reference until I pointed him here. We had a really good giggle, and it still makes me laugh whenever I think about it).

I think my first mistake was using a scrap of jersey for the gusset. In my experience so far, setting snaps in jersey and having them look good is really, really hard! I think my second mistake was trying to set them through so many layers of fabric. After doing this, I re-read the pattern instructions and discovered that you are supposed to a) use a woven scrap of fabric, and b) set the snaps through one layer of fabric, then fold it over and stitch. My second try turned out so much better! When it comes to sewing, I tend to be one of those people that refuses to be discouraged by fails. I think you learn so much from your mistakes and I was so determined to master snaps, that I just kept trying. I have a couple more projects to share that involve snaps and I am so happy that I just kept on trying, because the effort really paid off.

Here's a look at my second attempt:

IMG_7244

Hallelujah! Not perfect, but much, much better. You are supposed to slip stitch, but I am way too impatient for hand sewing, and no one's going to see this but me, so I just machine stitched as well as I could around the snaps. It works. My cover stitching looks pretty messy too, but in sewing, it's not what's happening on the inside that counts, it's how in looks on the outside that's most important. Right?

Anyway, I was a little bit worried about what I would wear Nettie with, but I think she goes perfectly with skirts and will be a great layering piece during the colder months. She could be worn under cardigans, sweaters, Archers and perhaps even under an Alder Shirtdress. (Btw: Did you hear that Grainline is releasing a new sweatshirt pattern on Monday?? Eeeeee!) I am a little bit confused about how to wear this bad boy when tights are involved though. Do the tights go over or under Nettie? But I'll figure it out I'm sure, it's probably wearer's choice LOL.

What have you been up to lately? Have you had any epic fails (sewing or otherwise)? Did it discourage you or were you like me and even more determined to conquer the task?

PS: Happy Thanksgiving to all my Canadian peeps!! Hope you get lots of yummy turkey and remember all the wonderful things to be grateful for!

The Grainline Hemlock and Espresso Leggings

Have you ever had one of those days where you just feel blah? Well that was how I felt all day today. I woke up and my stomach felt yucky and my arms and hands really hurt. I've been having lots of trouble with them lately - too much sewing (and knitting and putting together pdf patterns) I guess. So I laid pretty low and didn't do much of anything. Lucky for me, my only boss is my husband and he's pretty lenient with me. So I spent most of the day surfin' the net, catching up on sewing blogs and watching Netflix (am I the only one who cried watching Leslie Knope and Ben Wyatt's wedding? I'm the biggest baby ever). I always end up feeling really guilty when I'm sick or if I spend the day doing nothing (there's always so much to do!), so I decided I should at least do some blogging.

IMG_5349

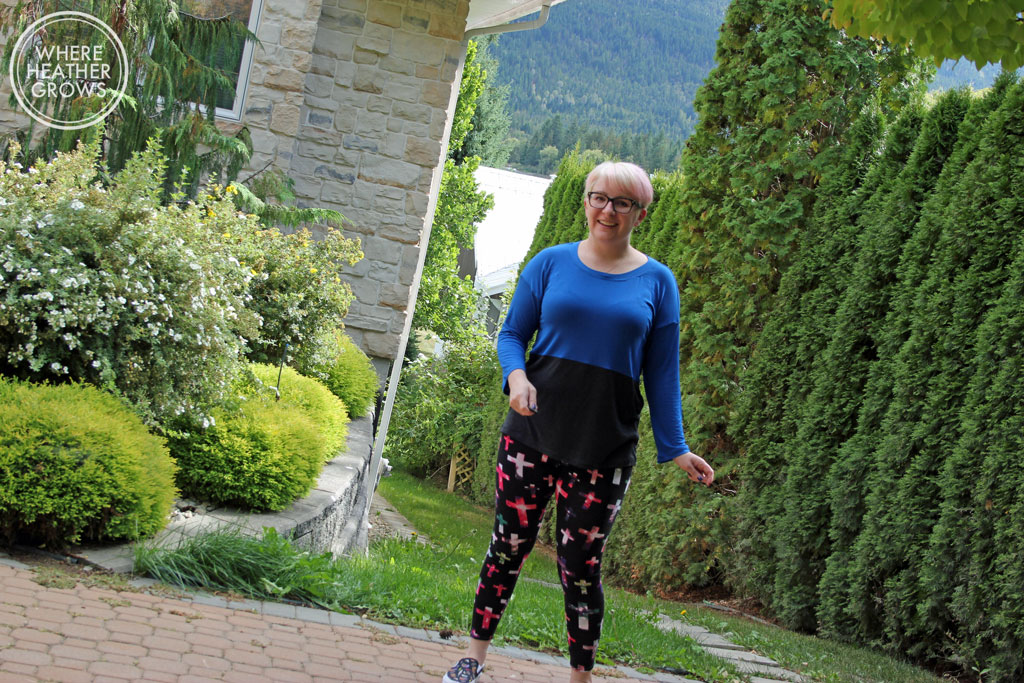
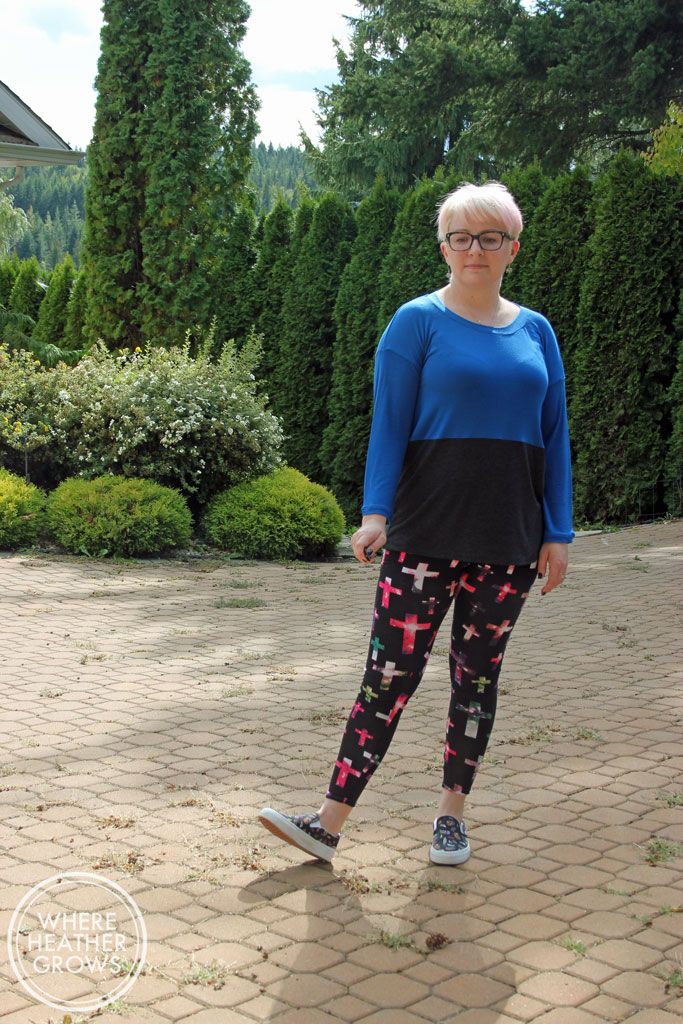
I have wanted to make Grainline Studio's Hemlock tee for quite some time, and I finally got around to it yesterday. I was hoping for a nice boxy oversize tee to wear with leggings, and while that is what I got, I'm not sure it suits my figure. I think I might be a bit too breasty for it. Is that a thing? I can't complain too much as it's a free pattern and only one size. I actually really liked how it looked in the mirror, but I'm not loving it on me in these photos. The pattern is a free pdf, and it all goes together quite nicely. Instructions aren't included but Jen has a great tutorial on her website to go with it.

IMG_5343

I decided to go with a colour-blocked version, and I'm happy with how it worked out. The blue fabric is from Girl Charlee. It's a tissue knit and it's super soft. I wasn't overly impressed with it when I first took it out of the box, but it grew on me. The grey is a lightweight knit I got from the guy in front of Sainsbury's at Walthamstow market in London (if you ever go to London, let me know and I'll tell you all about shopping at Walthamstow - it's great!). It is also incredibly soft.

IMG_5359

Can you tell I took these photos myself? I balanced the camera on the retaining wall of our garden, so some of them are a bit off kilter. The leggings are of course the Espresso Leggings by Cake - my go to pattern for leggings. I love being able to make custom fit leggings for myself and it's a bonus that I can make them out of funky patterned fabric.  This is another fabric from Girl Charlee (I just can't seem to resist Girl Charlee, damn you adorable prints and great website!). I'm a bit of a sucker for galaxy prints, and while the crosses might be a bit much, they really spoke to my inner 90's grunge-rock teenager (what can I say, I'll always love Wayne's World, Pearl Jam, plaid shirts and doc martens - it's my curse).

Anyway, this fabric is nice and soft with fairly good stretch, but it's a little bit on the sheer side for leggings, and after wearing these guys for a few hours they started to bag out a bit (no recovery). Plus the colours have already started to fade after one washing, and I bet next time I wash them they'll pill. They were great for lounging around today though. I probably would have been better making a t-shirt out of this fabric, but hey, I play by my own rules.

IMG_5382

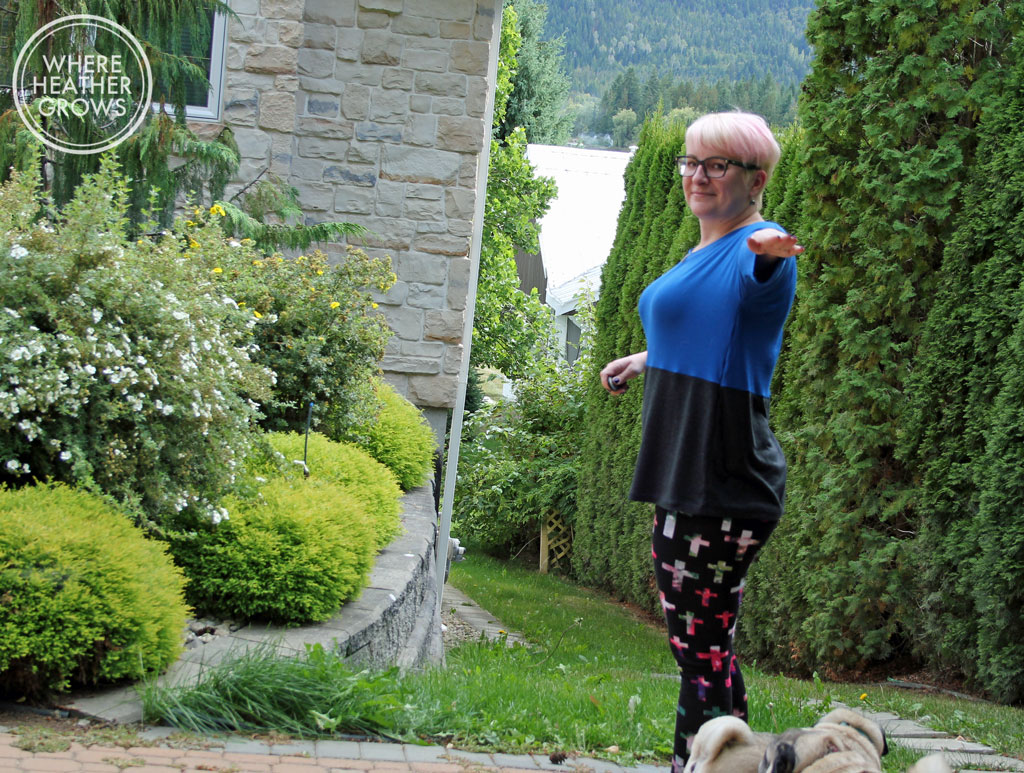
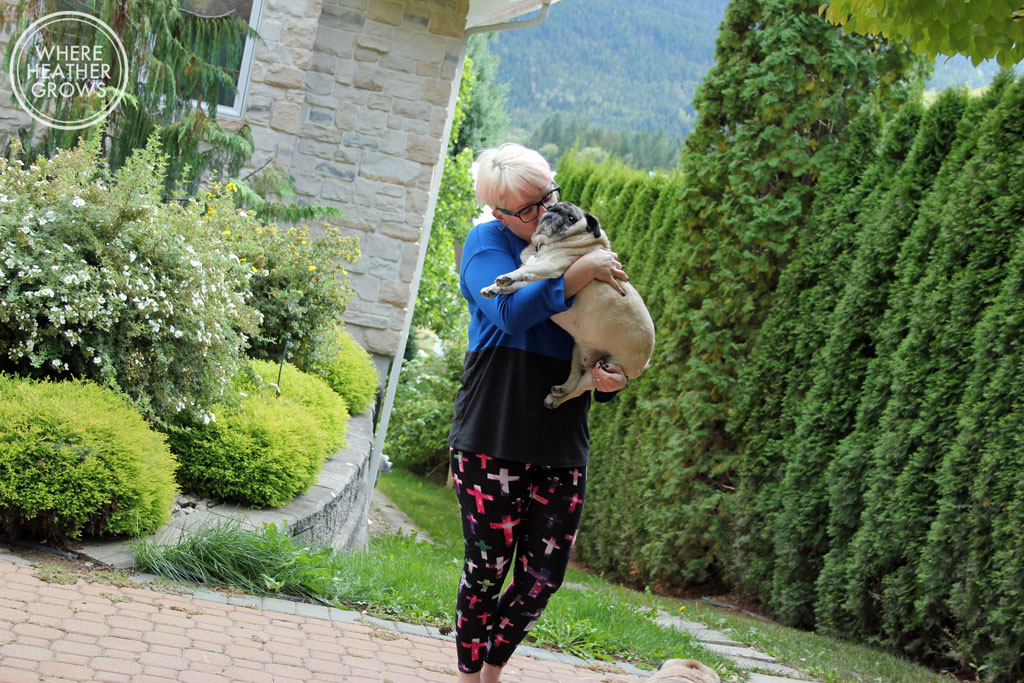
Sweet pose right? I'm trying to show you the underarm seam - I'm a pattern matching genius, no? LOL. And it wouldn't be a legit blog post with out gratuitous pug shots, would it?

IMG_5379

Both of these projects were super quick and easy. I used my serger to put them together, and because the leggings were made pre-coverstitch machine, they got the double-needle treatment, but the Hemlock got treated right and I was thrilled to have no tunnelling using a lighter weight knit in my new machine. Knit projects are great for instant gratification.

Oh and just in case you are wondering where my third pug is, she stayed in the house napping. She's not a big fan of the paparazzi.

IMG_5383

How do you feel about one-size fits all patterns? Or one size garments for that matter? Have you tried the Hemlock tee?  Also have you planned your Fall sewing yet? Based on the crazy blizzard that's happening back home right now, I think I better get my but in gear and sew some warm stuff.

I Made Shorts!!

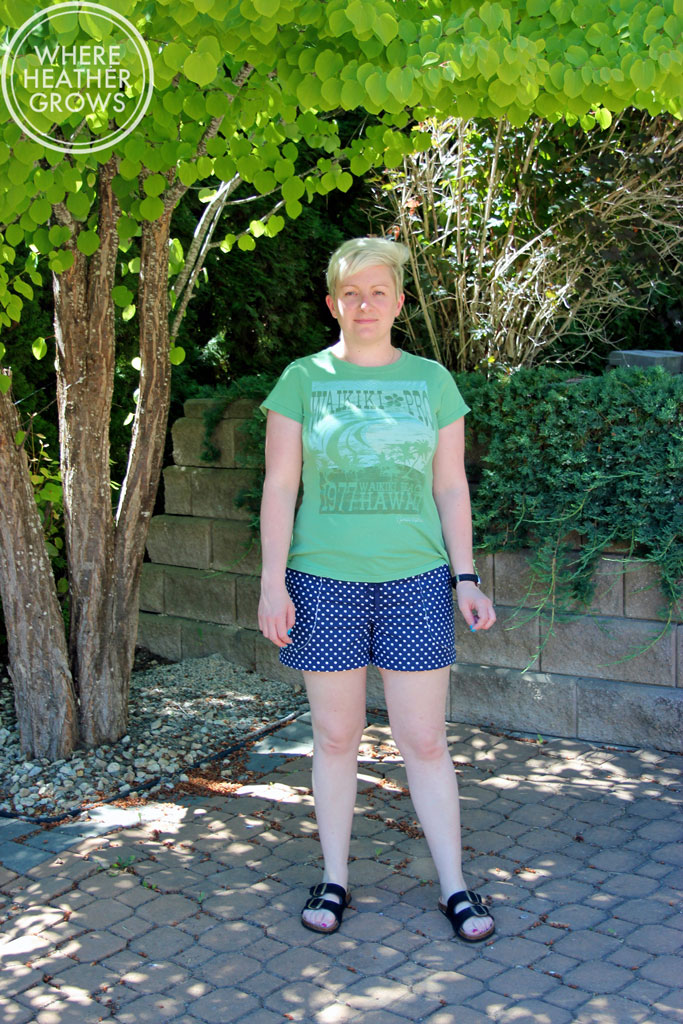
I know, right? I can hardly believe it myself! I made shorts and they even fit!

IMG_4739My goodness, do I look fine in photos. That girl can pose. LOL

IMG_4742Stop you're blinding me with your white legs - please...noooooo.....

IMG_4743Can you tell, John is taking these pictures and I am having too much fun?

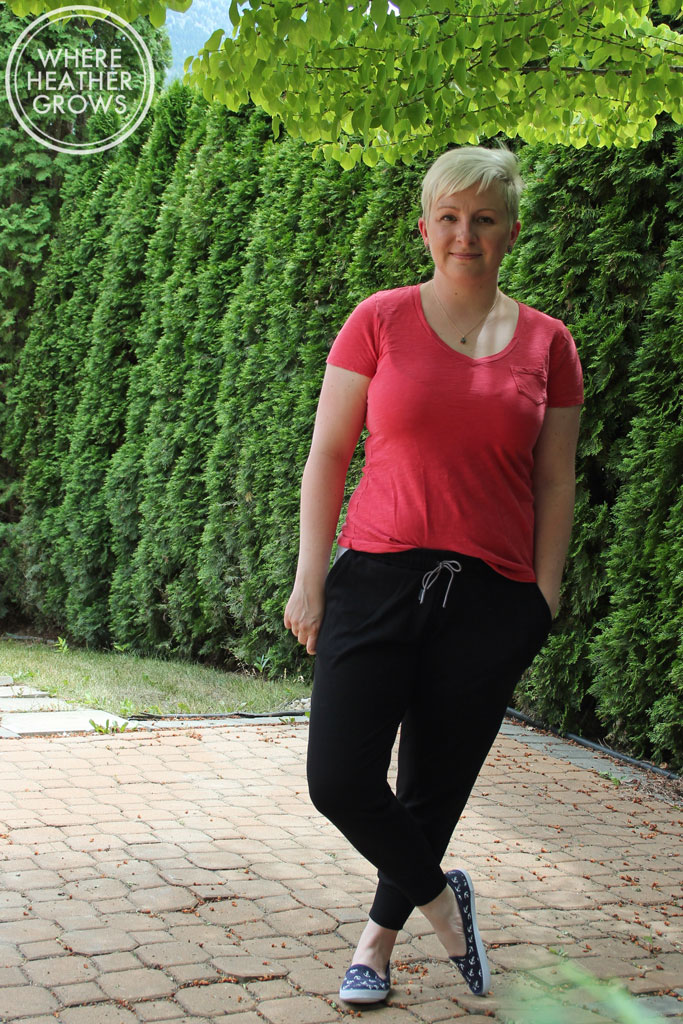
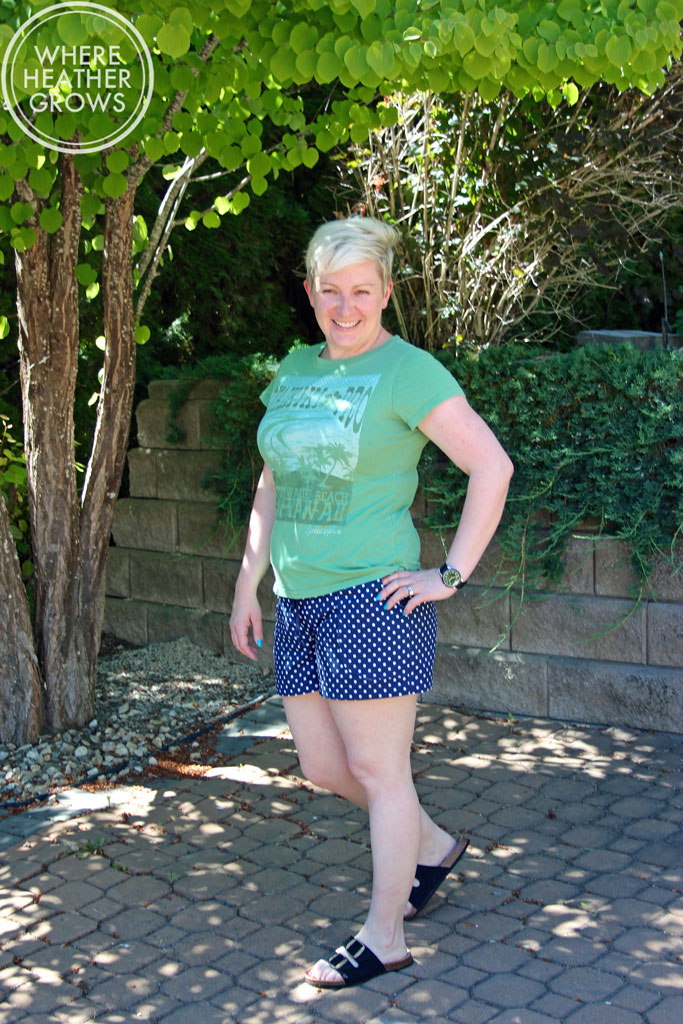
Okay, but seriously, down to business. These are the Juba Shorts by Imagine Gnats. When I first saw this pattern hit the net, I thought, oh what a cute pair of pyjama shorts. And then I thought, not for me, I have too much lounge wear already (and plans for more). But then I saw some other versions cropping up, and Rachel posted a couple of pocket tutorials on her blog, and I thought, I could make these and wear them out of the house! And I could make them the right length and they might actually look good on me. And it soooooo hot right now. (Side note: I have struggled with shorts FOREVER! Every time I try some on they just don't look right, and John crinkles his nose and says, maybe shorts just aren't right for you. At first I thought it was just John being hyper-honest, but then I took the boys shopping with me too, and they said the same thing. I don't know what it is, maybe a proportional thing.)

Anyway, I am super happy with how this pair turned out. I used a super cheap, supposed to be cotton, but I think it's polyester, fabric from Denver Fabrics. And while the fabric is kind of rough and scratchy, they turned out so well (and the polka dots are so cute) that I have been wearing them. They're a teensy bit big in the waist, but I think that might be from my choice of tricot elastic (you don't always know until you try right?). It seemed like a good idea at the time.... Anyway, of course I had to make a second pair. And they turned out even better (if I do say so myself).

IMG_4727This would be a pretty typical Summer House outfit for me. Sorry for the old t-shirt, but it's one of my favs. I got it at Lucky Brand in Montreal back in 2009 just after John and I got married. I don't know why I love it so much. I think that it's just soft and comfy and it fits well - maybe I need to figure out how to copy it......

IMG_4728And check out those cute shoes. They have little anchors on them, and when I saw them at Walmart for $12, I couldn't resist!

IMG_4729

IMG_4730

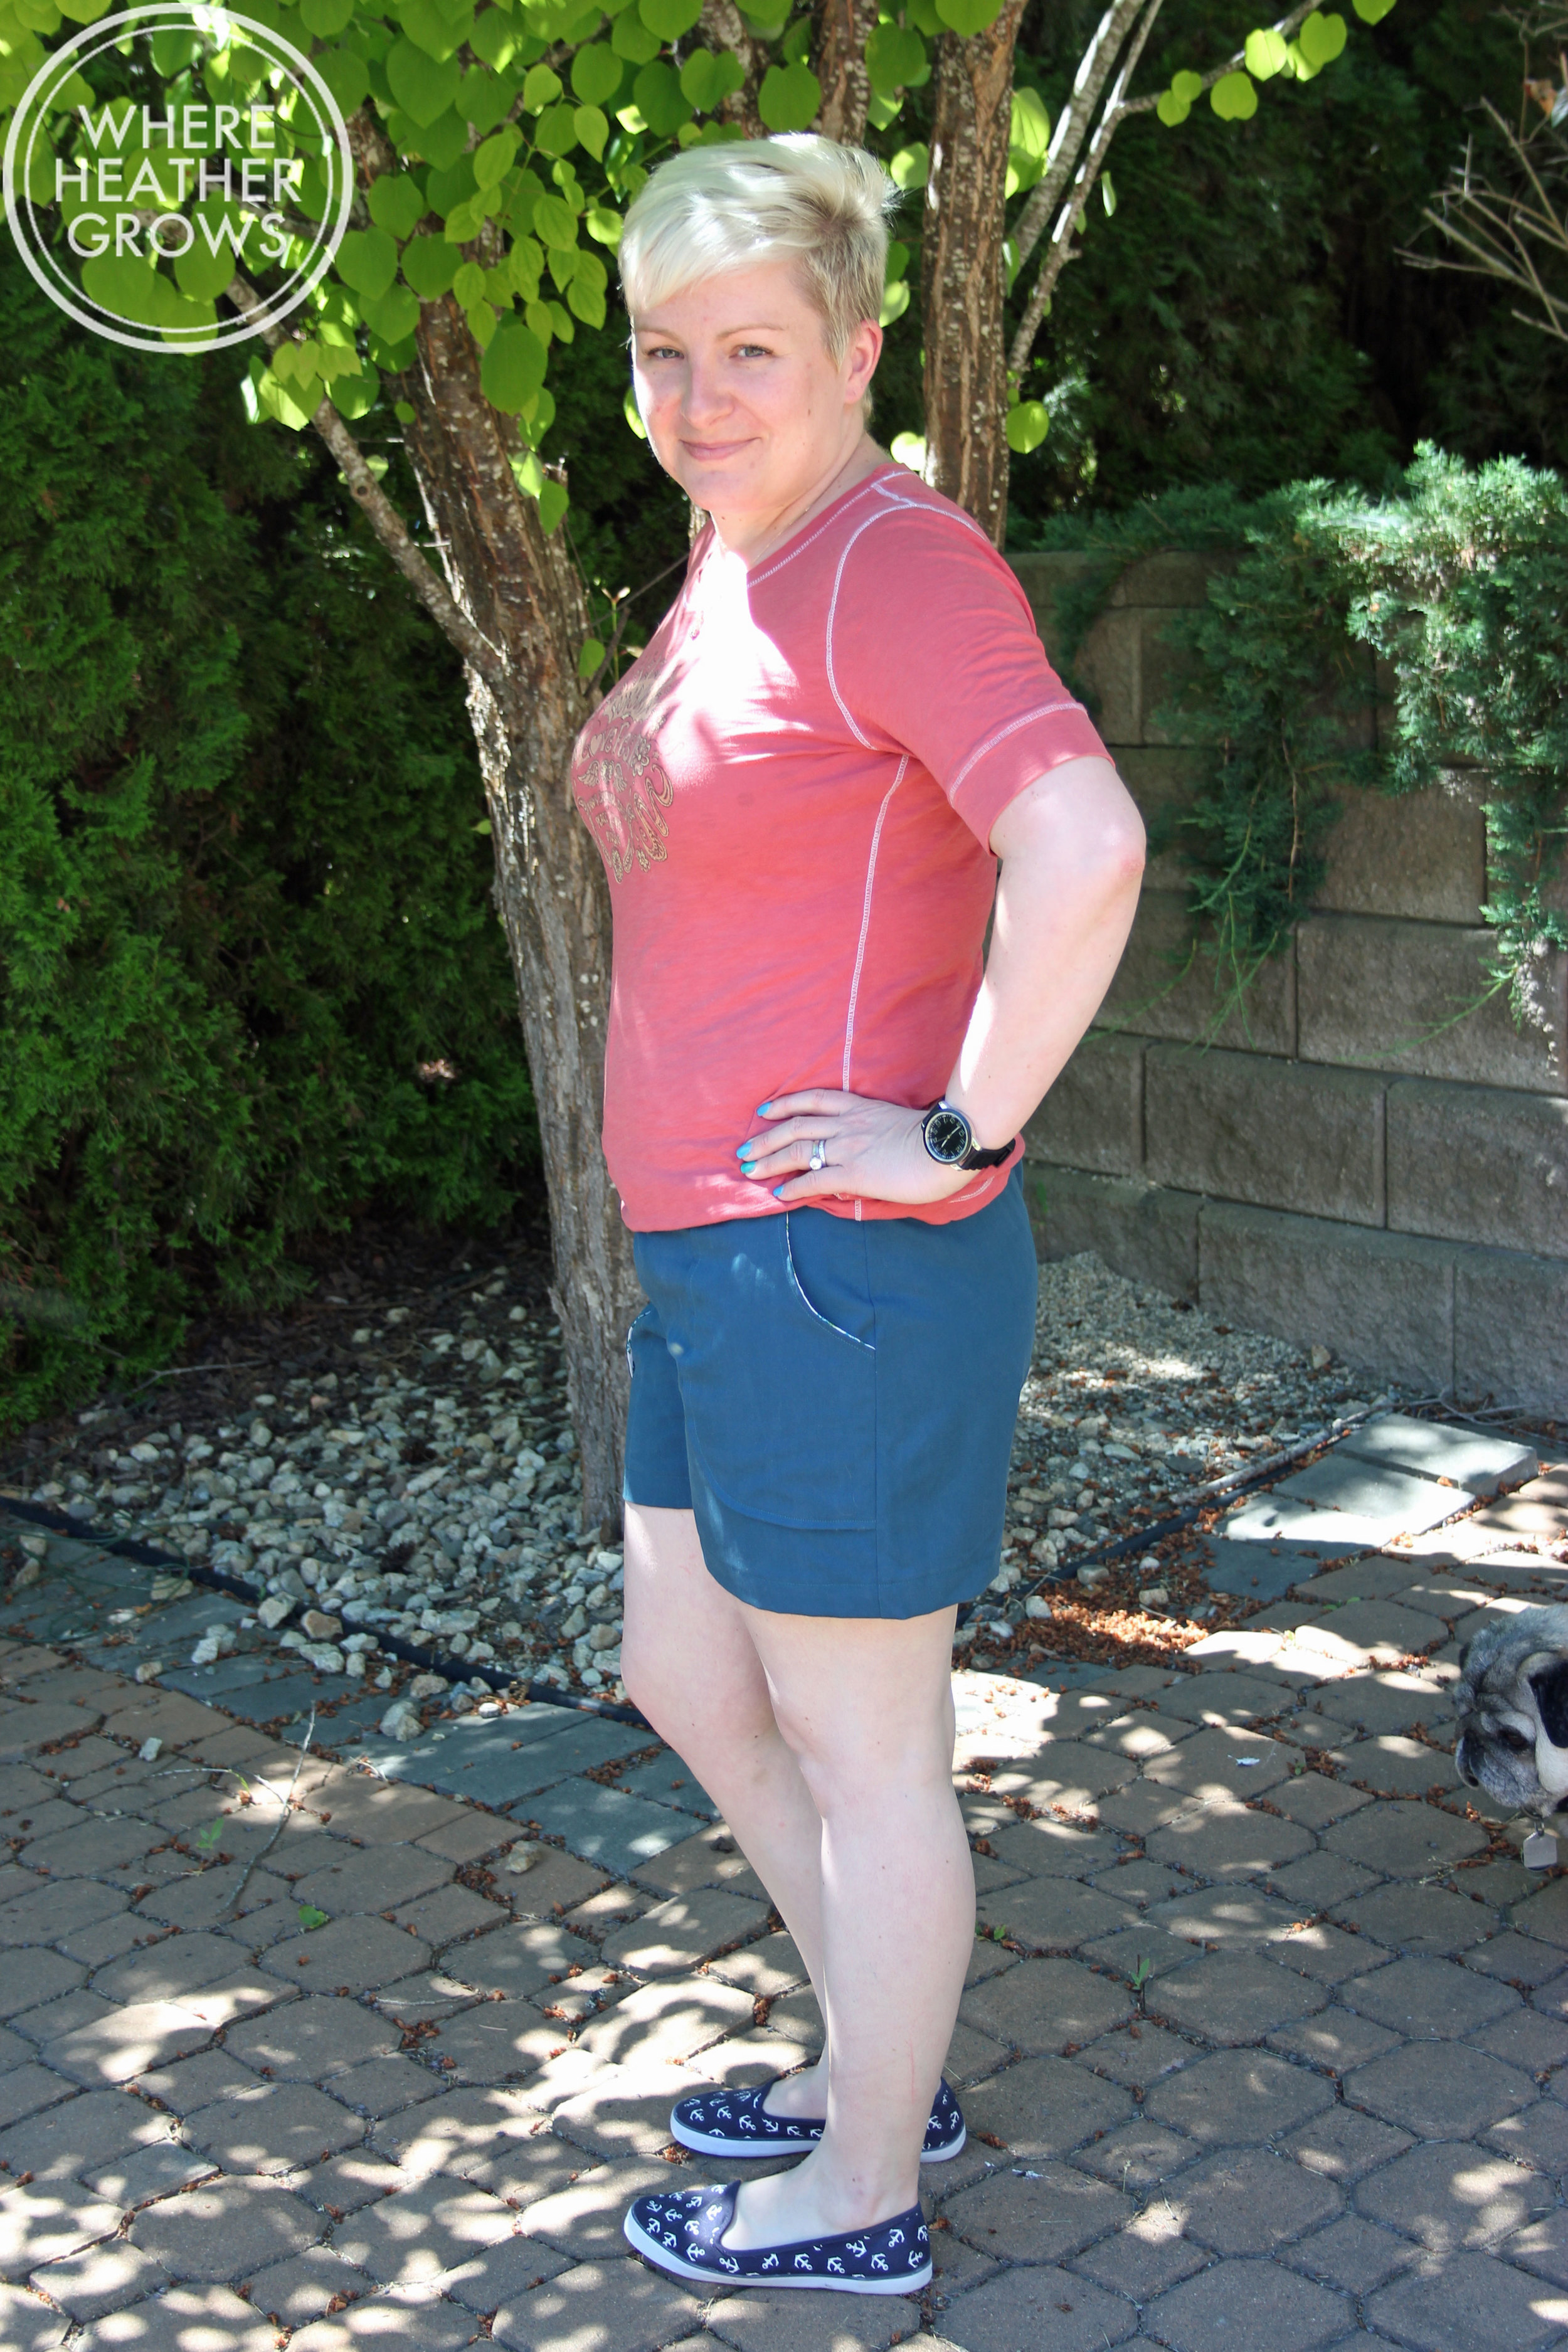
For the second pair, I used a super soft and lightweight cotton twill from the clearance department at Fabricland. I am super happy with how they turned out. A cute casual short. The awesome thing about this pattern, is that it is simple and comfy, and endlessly customizable. I have plans to make another pair with side seam pockets and I am even playing with the idea of trying welt pockets for the back - but welt pockets kind of scare me.

Anyway, how's your summer going so far? Do you wear shorts, or are they on your no no list too?

My New Favourite Lounge Pant - The Hudson!

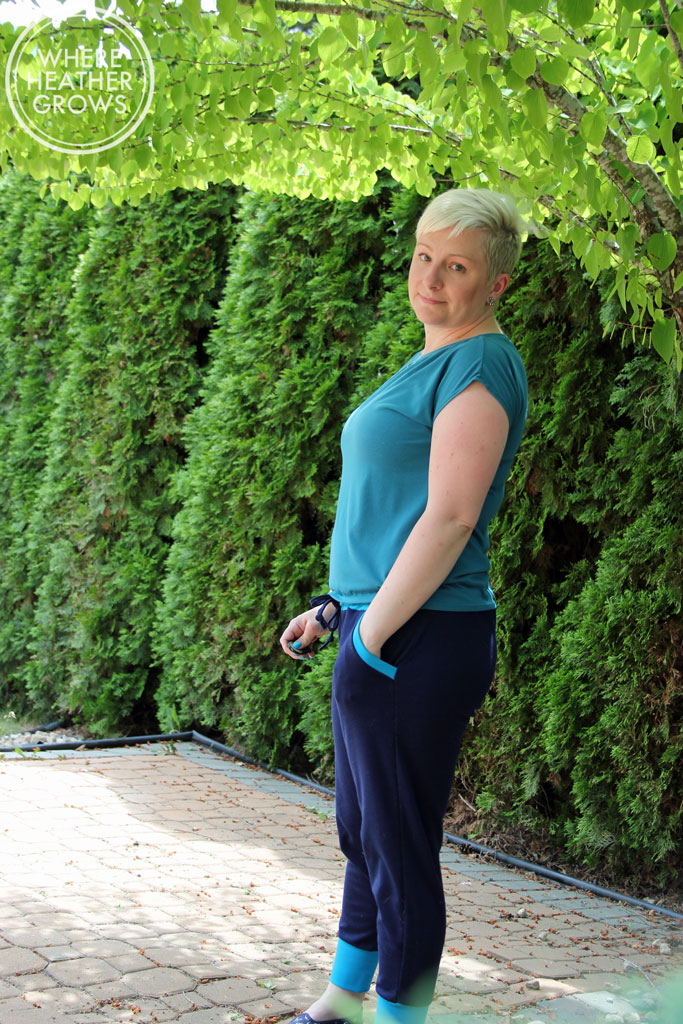
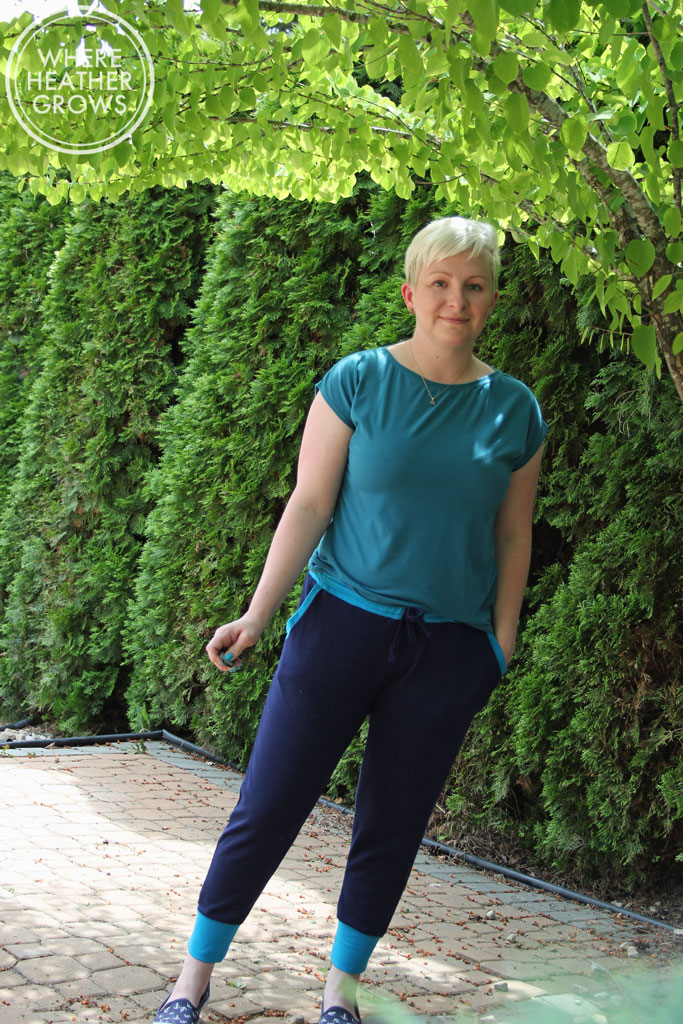
Ya, I know, real creative title. But I'm serious, this is my new favourite thing to wear whilst lounging around the house. It's also super fun to sew up. It's the Hudson Pant by True Bias. IMG_4672

When I first saw these on Instagram, I knew that I wanted to make them. A comfy, lounge pant that can be worn for quick trips to the store? I'm in. Unfortunately, the pattern hadn't been released yet. So I stalked Kelli on her blog and Instagram until the release date, and I bought it the morning it came out.

IMG_4666

For my wearable muslin, I used a ponte de roma that I picked up on sale at Fabricland months ago. It's thick and super soft - perfect for a lounge pant. It was on sale, so I bought 4 colours.

IMG_4655

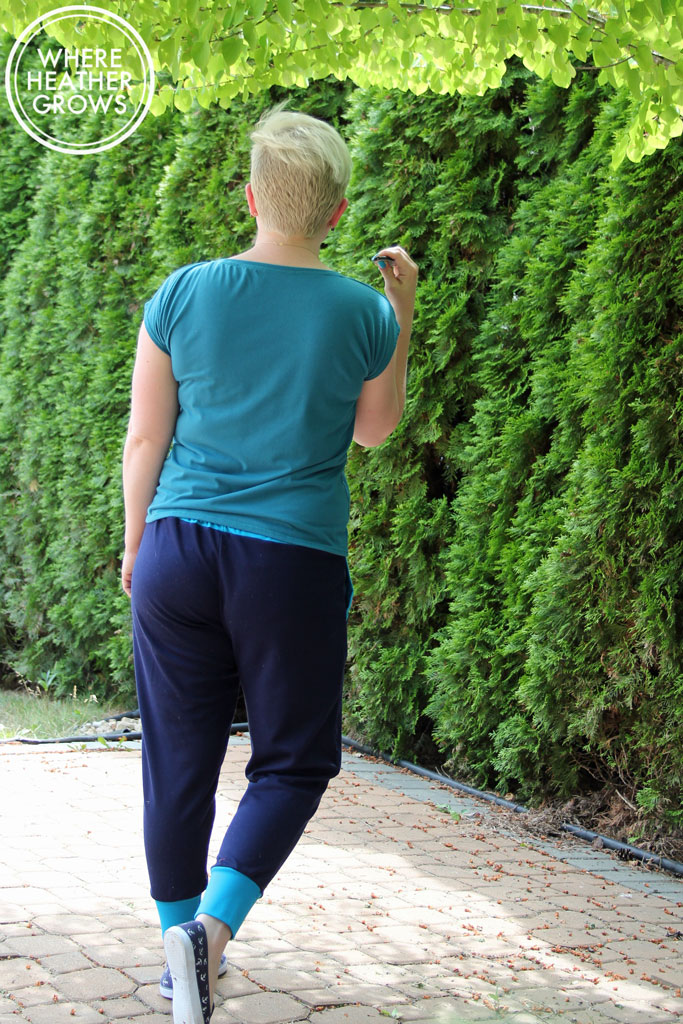
I think they look cool with the contrasting waistband and cuffs, and I like that they have kind of a retro feel. My only issue, is I don't know what to wear them with. Nothing looks quite right to me. I am seriously considering making a matching hoodie to this pair for a full on leisure suit, but that might be a little warm for this time of year. I guess I'll just have to find the perfect t-shirt pattern to go with it.

IMG_4676

There was a little bird in the tree next to me watching and singing as I took these pictures. I guess he was a bit distracting. I really have to work on my photography skills. Taking good selfies is harder than it looks.

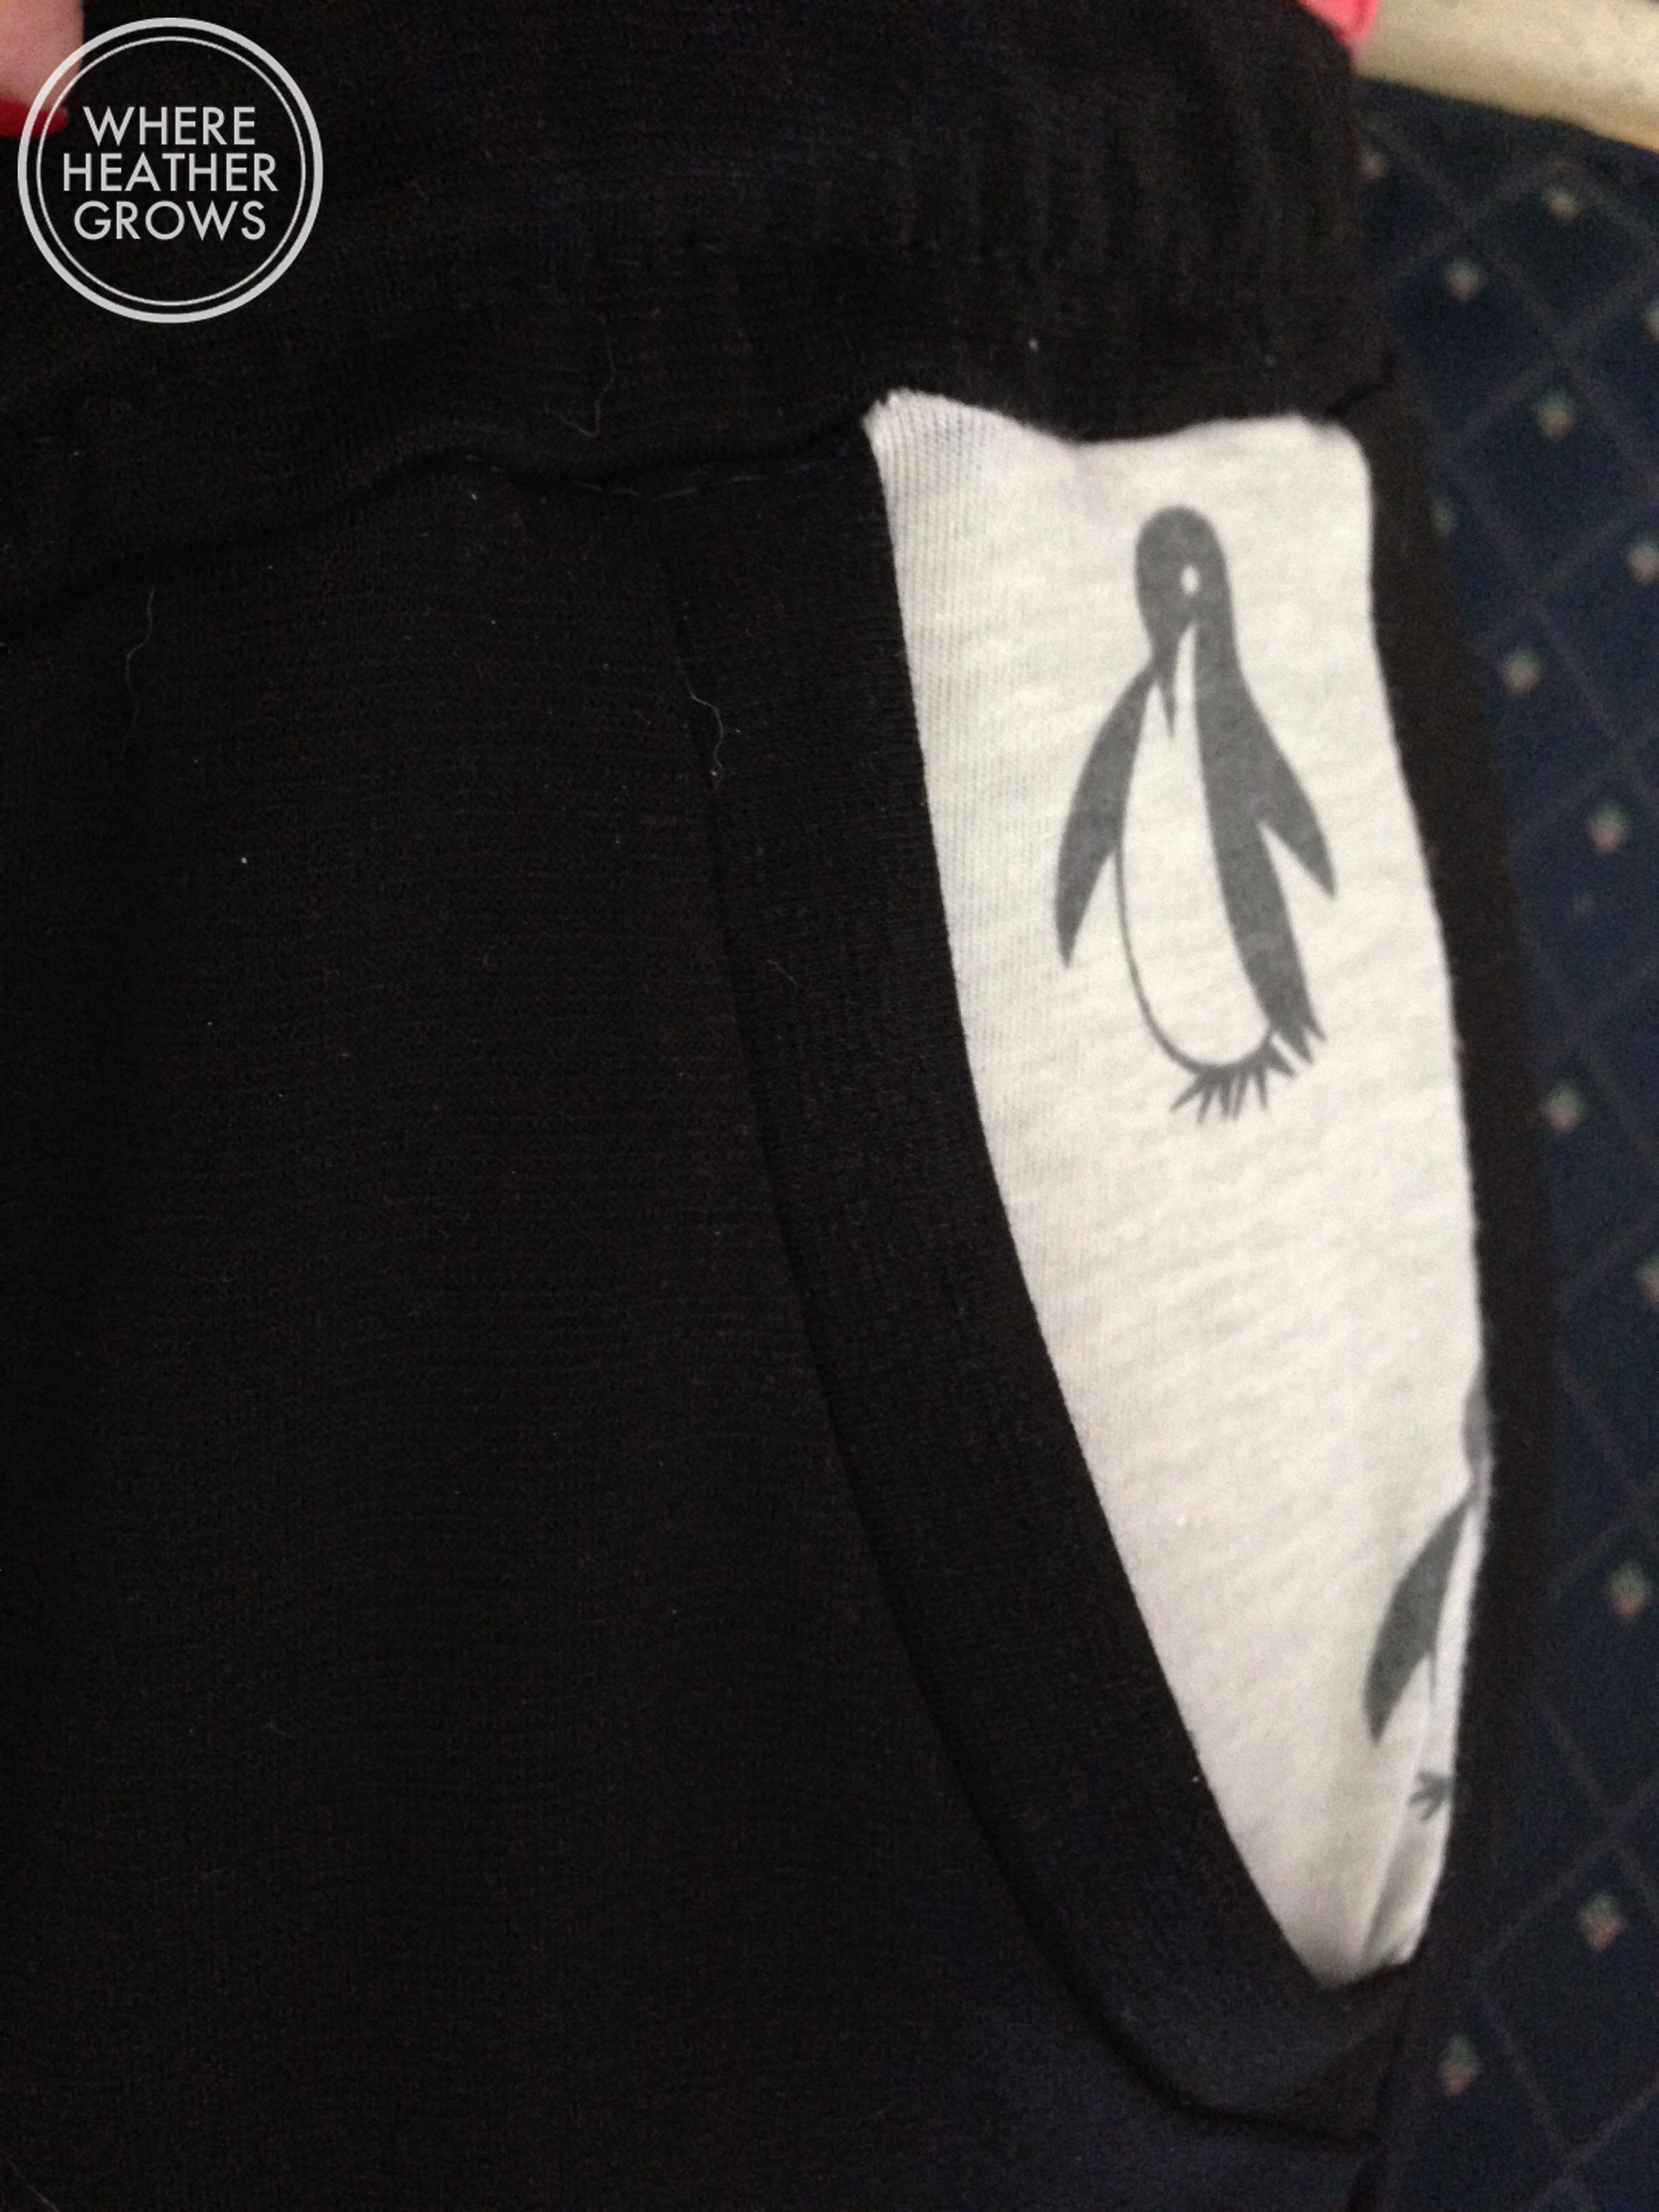
Of course, I loved these pants so much, I had to make another pair.  I decided to go with black ponte de roma, and a contrasting pocket.

IMG_4690

IMG_4691

I love these ones even more than my first pair. And because they are a basic black, they go with everything! The only really problem with them, is that they seem to be a magnet for pug hair! But that's the story of my life - perhaps I need to make a fawn coloured pair, so the hair just blends in.

IMG_4696

Here I am in an extremely awkward pose, trying to show off the pocket detail. I like the penguins, but I think it might have looked better with a different print. Maybe next time - I definitely see more of these pants in my near future.

IMG_4699

IMG_6450

These pants are a little bit lower rise than I usually wear, but I don't normally walk around with my shirt tucked in, so I think they work. And they are super comfy. I like that they are slim, but not legging tight. I am looking forward to sewing up another pair in the shorter - capri-length. And I am also looking forward to experimenting with different fabrics too. This is a great pattern and definitely at TNT (Tried and True) for me.

If you are interested in sewing up a pair of your own Hudsons, Kelli has a great sew-a-long on her blog and these are a pretty easy project.

Happy Sewing!

WHS - A Kimono Tee and More Leggings!

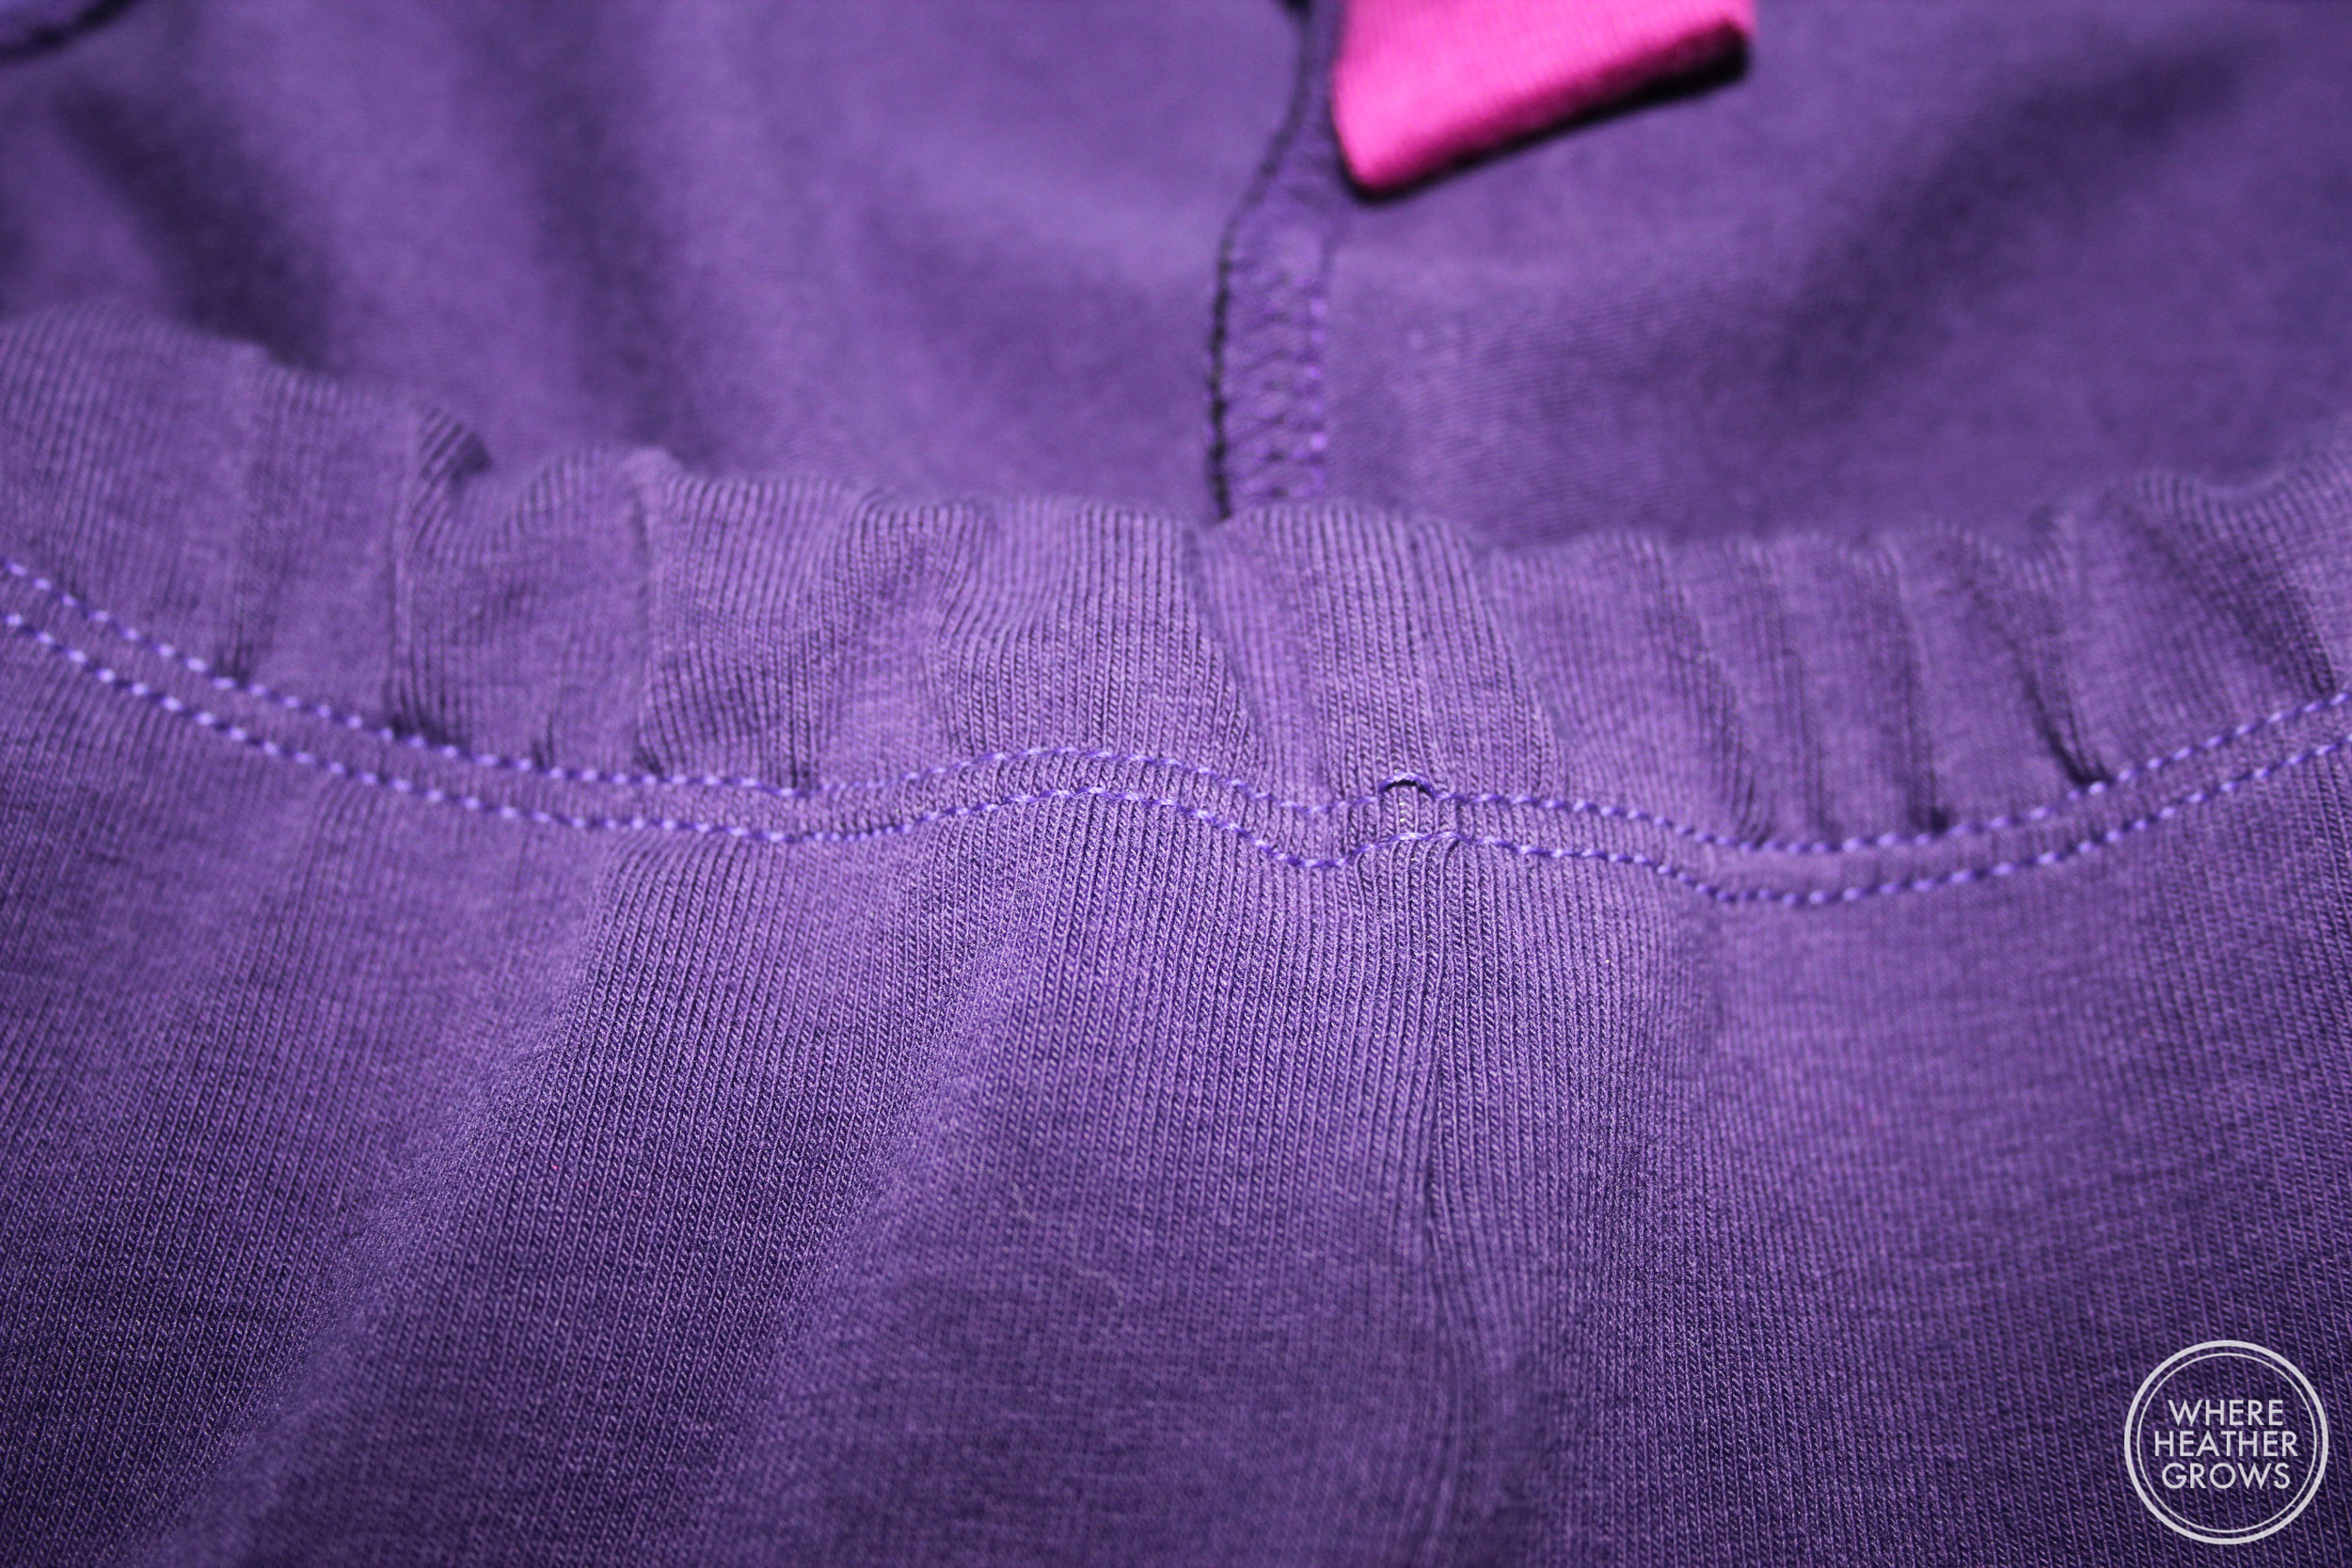
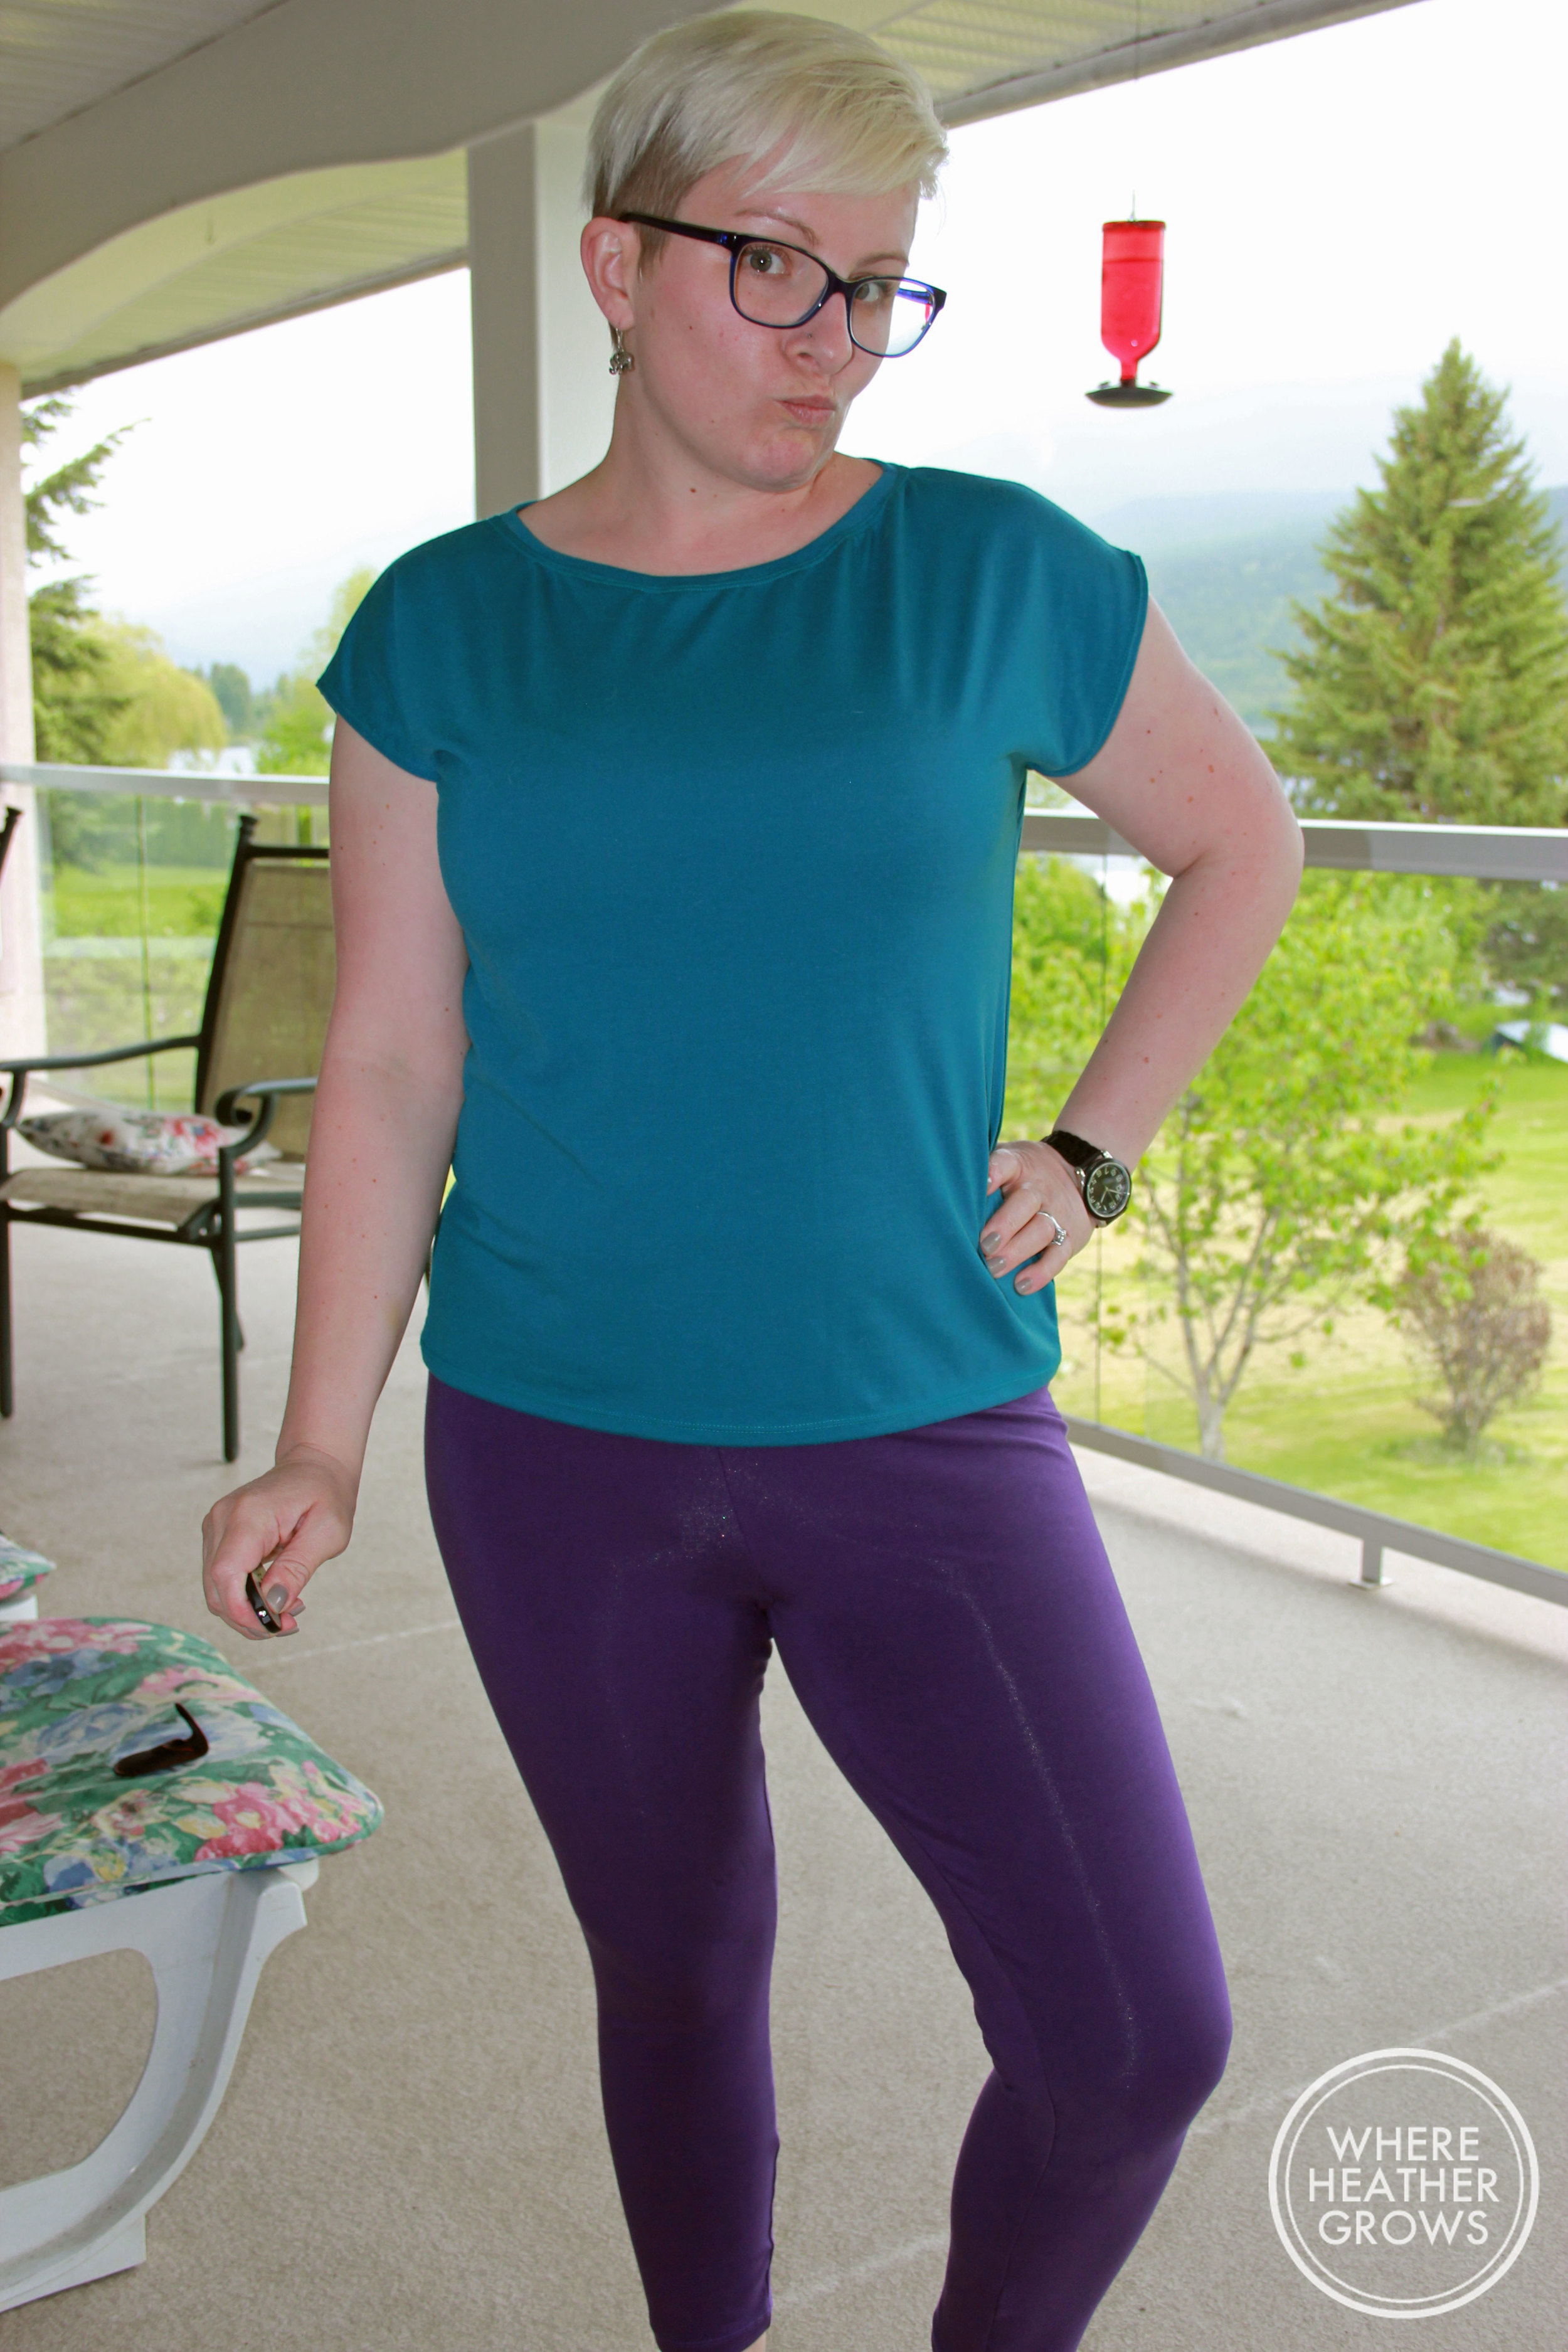
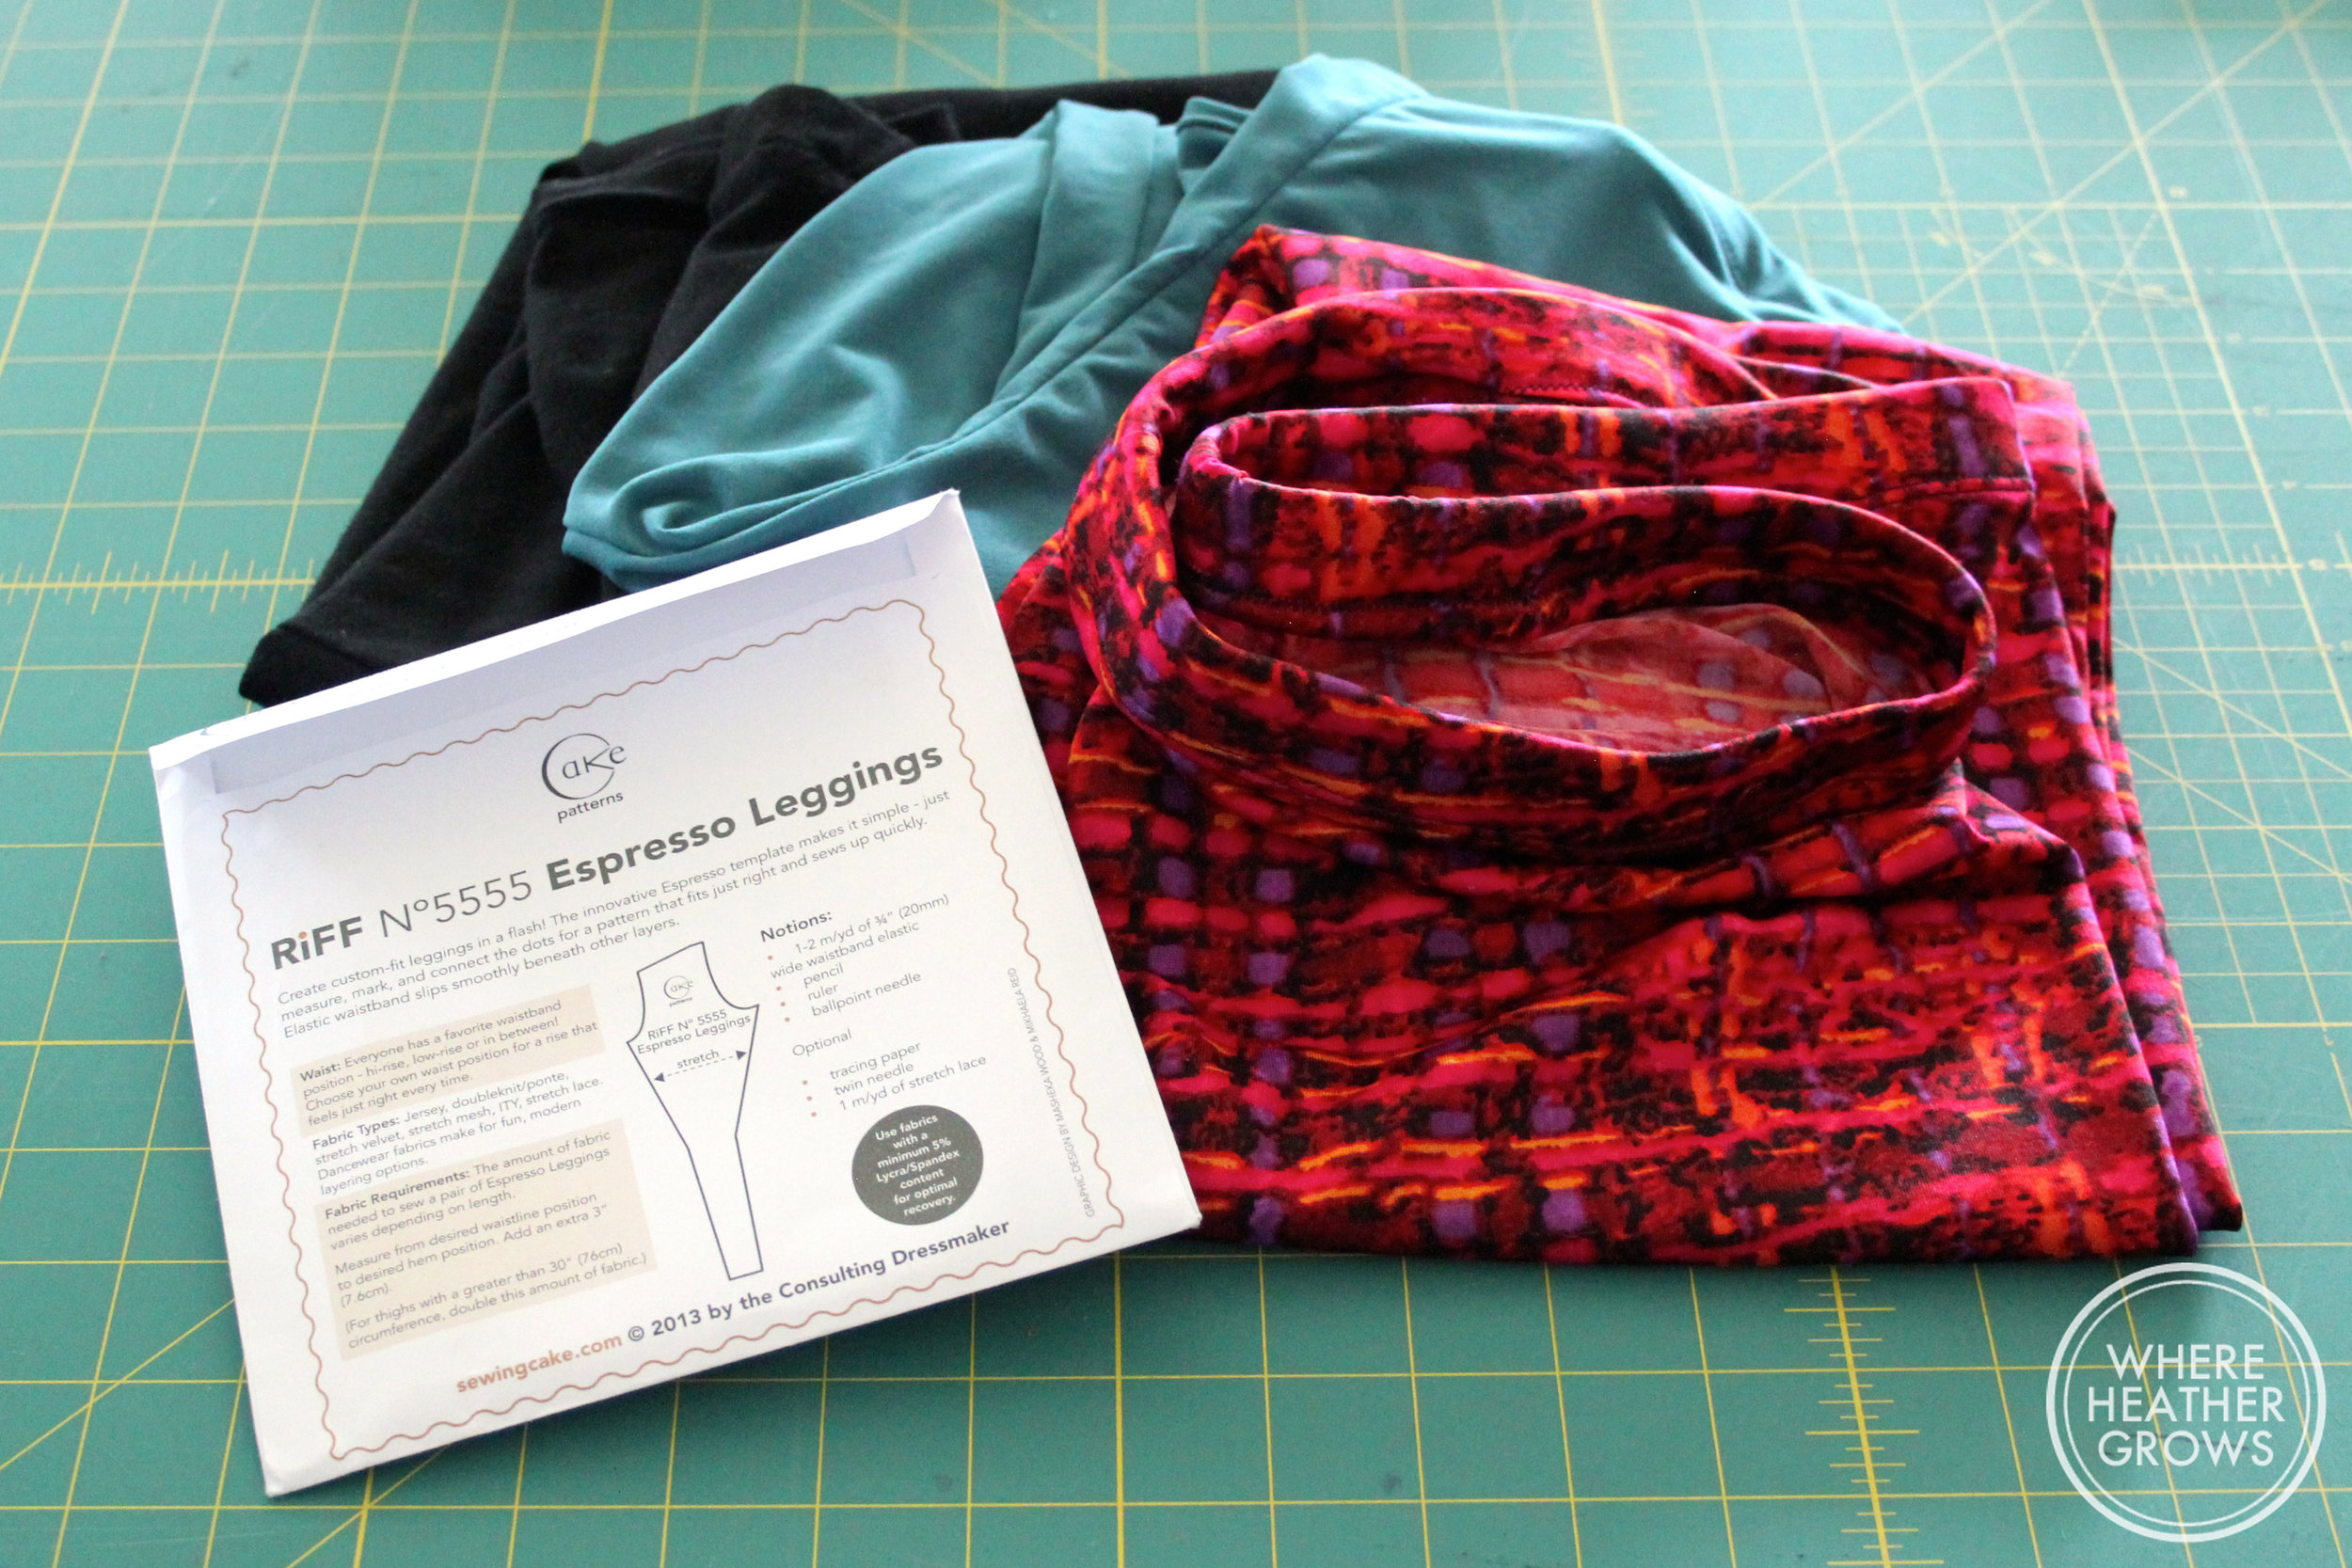
I know, I know...how many pairs of crazy leggings could one girl need? Well a lot apparently. Now that I have this pattern all figured out, and it's super simple, I have to make it! I'm a bit of monster about it really. So I used what was left of my Renfrew and made purple leggings. My best pair yet, I think. I am really proud of my sewing on this pair. I used my double needle to do the hemming and top-stitching and I think it turned out really nicely. IMG_4351

IMG_4348

IMG_4347

IMG_4346

The other lovely thing I made, is another freebie! The Kristen Kimono tee by MariaDenmark. This t-shirt was super easy and I actually love the fit. I was a little bit skeptical as I thought it might be a little tight for me around the belly, but it's not. It's just right.

IMG_4418

This pattern is a downloadable PDF, and it super easy to assemble. There are only two pattern pieces and a neck binding - super easy! To be honest, I don't really love the neck binding - I think when I make this top again, I will just turn it under for a cleaner finish.

IMG_4421

The fabric I used for this guy, is more mystery jersey knit from Fabricland. It was part of the buy 1 metre, get 3 free deal, so I still have a couple of metres left, which is awesome because it is super soft and I love the colour. And because I know you are dying to see what my purple leggings look like on, and more of my awkward selfies: Ta Da!

IMG_4463

IMG_4465

Ooooo, shiny bum! I can't really decide if I am a leggings as pants kind of girl. Definitely, when I am lounging around the house I am, but in public? I'm really not sure, maybe if I was 20 years younger. Some of my skinny jeans/jeggings I own are probably just as tight, but they are of a much weightier fabric.  With leggings I feel the need to have my butt covered, so usually in public that would mean a long tunic top or a dress. What do you think?

IMG_4459

What can I say, I am starting to have fun with it! (The camera that is.)

Happy sewing!
Where Heather Sews - Finally A Sewing Post!
I feel like I've been doing copious amounts of fabric shopping (and blogging about it), and not nearly enough sewing (and blogging about it). Well that all stops today - I have finally put together a sewing post complete with awkward/terrible selfies. Woo hoo! We are currently, chilling at our country place on White Lake, and I have brought all, well most of, my sewing gear. So while John's out fishing, I'm sewing. I've actually been having a ton of fun, although I'd be lying if I said I didn't have some frustrating moments. Which brings us to the first project I will share with you: Espresso Leggings by Cake. IMG_4310 This is actually a really cool pattern. You take various measurements of your legs, waist and rise, and then you connect the dots, and voila: you have your very own custom leggings pattern. I've had this pattern for weeks, but haven't tried it. I had read lots of great things about it: that it was super easy and resulted in amazing custom fit leggings. I always have problems with getting store bought leggings to fit. I think it's because of my super short legs, so I was super keen to try this.

Let the great leggings adventure begin! Have you ever had one of those days where nothing goes right? No matter what you do? That was how my day went when I first attempted these leggings. I have only been sewing clothes for about 4 months now, so I was fully prepared for my test pair to not be perfect (or was I?). Don't get me wrong, I had my fingers crossed and hoped that because this pattern was so "easy" that they would be perfect, but I was also prepared to cut myself some slack. Well, my first pair I couldn't even get on! I made a classic rookie mistake. It was a 2-way stretch fabric, and I cut my leggings so that the stretch was vertical instead of horizontal. DOH! I couldn't even get over my knees. I felt pretty silly, but I shrugged and laughed it off. I still had enough fabric left over for another pair, no harm, no foul.

Second attempt: somehow I made them about 5 inches too short, and they were pretty much cutting off the circulation to my feet. Plus my butt fell out when I sat down. Not a good thing. What did I do wrong?? (Um, measure twice, cut once Heather, hello-oh!) At this point I was pretty tired and frustrated, so I called it a night, but I vowed to not be defeated and told myself I would try again the next day.

Third attempt: Success!! I had John go over my measurements with me again, and it turned out that I had completely miss measured the length of my legs, and I didn't do a very good job measuring my rise either. So with new measurements in hand, I made a completely new template and discovered that I had marked some of my dots wrong, which also added to my fit issues. Anyway, long story longer, my third pair turned out pretty awesome. So awesome that I made a second pair, and then a third pair. Cue awkward selfies:

IMG_4306

IMG_4303

IMG_4302

Ya that's my butt! These ˆˆˆ are my favourite of the three pairs. They fit awesome, and I love the crazy print. I have no idea what I will wear them with in real life, but I picture them with a long black tunic top, or maybe a simple black knit dress. I am sure I will think of something.

IMG_4294

Don't I look totally 80's on my bottom half? Excuse my lulu hoodie, I was just lounging around. What happened to my face, why is it so blurry? And what's going on with my hair? I s that what it always looks like?

IMG_4298

While these ones don't look that flattering in pictures, they are pretty awesome too. I got both of these fabrics from Denver Fabrics and they are both an ITY knit. At the time I had no idea what an ITY knit was (and to be honest I still don't) or what it felt like, but it was cheap and pretty, and when it arrived, I saw that it had tons of stretchy-ness so I thought it would make great leggings. And the best part, so far this fabric repels pug hair. Score!

My last pair, are just plain black leggings. Probably the most practical of the three. I got the fabric from Girl Charlee, and it is a super soft cotton jersey. I am hoping that they won't stretch out over time, but we'll have to see. Unfortunately, this fabric attracts pug hair, so not the best fabric for lounging around cuddling my grumble, but great for out of the house attire (with a long top or dress of course).

IMG_4284

Whoa, what am I doing in this pose? And how did my face get so shiny? Of course no selfie is complete without a pug or two hanging out.

IMG_4283

IMG_4281

So that's pretty much it for leggings. While this project didn't start off the greatest, I am glad I persevered, as I am thrilled with my new leggings.  I also learned a couple of things about my crotch curve and how to fit pants so fingers crossed that helps with future makes. Hopefully this post wasn't too painful for you, as there will be more coming your way.

Do you sew? Have you ever made your own clothes or clothes for someone else? Got any tips for me on taking selfies? (Or maybe in airbrushing? LOL.)